Once we successfully installed vCenter Server 5.5 it is time to enhance its functionality by installing VMware vSphere Update Manager.
What is VMware vSphere Update Manager?
In short words, Update Manager is used to automating patching of VMware hosts. It is really simple yet powerful tool - it allows you easily update your whole infrastructure with zero downtime (if all done properly 😉 ).
You can read details on VMware site http://www.vmware.com/products/vsphere/features/update-manager.html.
VMware vSphere Update Manager Database creation
I didn’t find anything on VMware site how to prepare or create VMware Update Manager database but I will use example script for vCenter Database and just rename it.
|
|
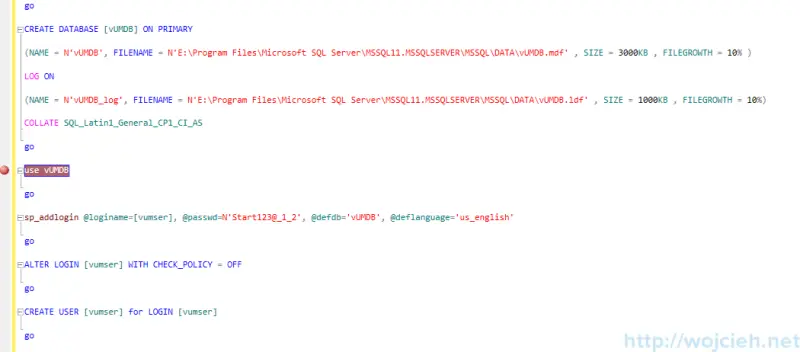
After successful Database creation, you need to add a user to db_owner to VUMDB.
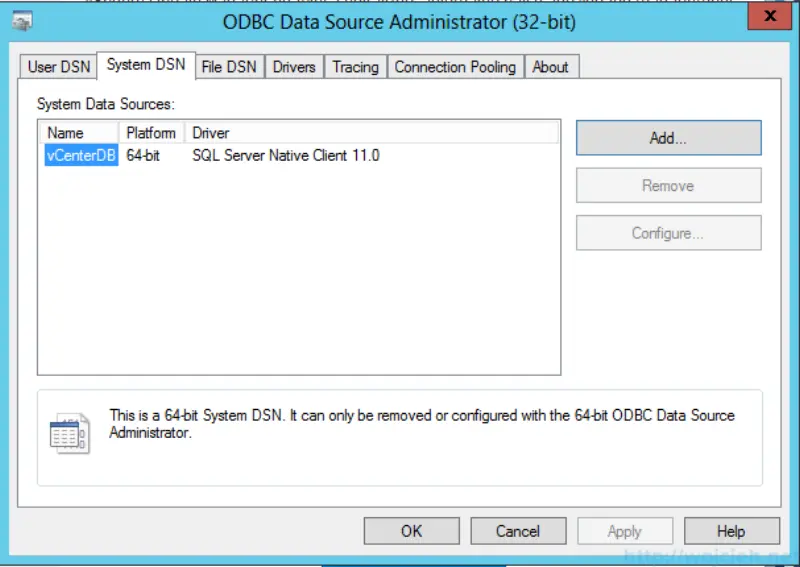
VMware vSphere Update Manager 32 bit DSN creation
VMware vSphere Update Manager use 32 bit DSN ODBC connector. In order to configure it, you need to navigate to %windir%SysWoW64odbcad32.exe directory and create DSN. It is pretty much the same next, next, finish creator. Please remember to use SQL Native Client 32-bit DSN, otherwise, it will be not detected by VUM.
- Navigate to directory and start odbcad32.exe
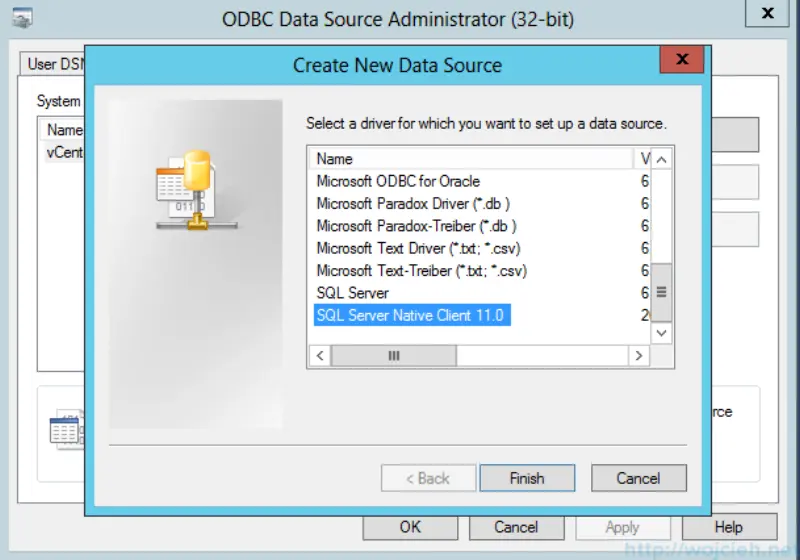
- Click Add and select SQL Server Native Client and click Finish.
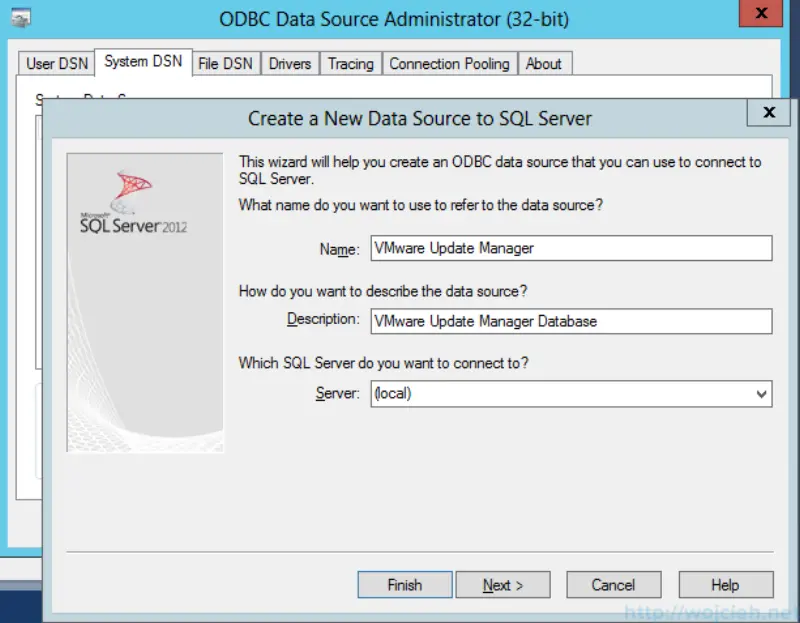
- Provide Name, Description and SQL Server.
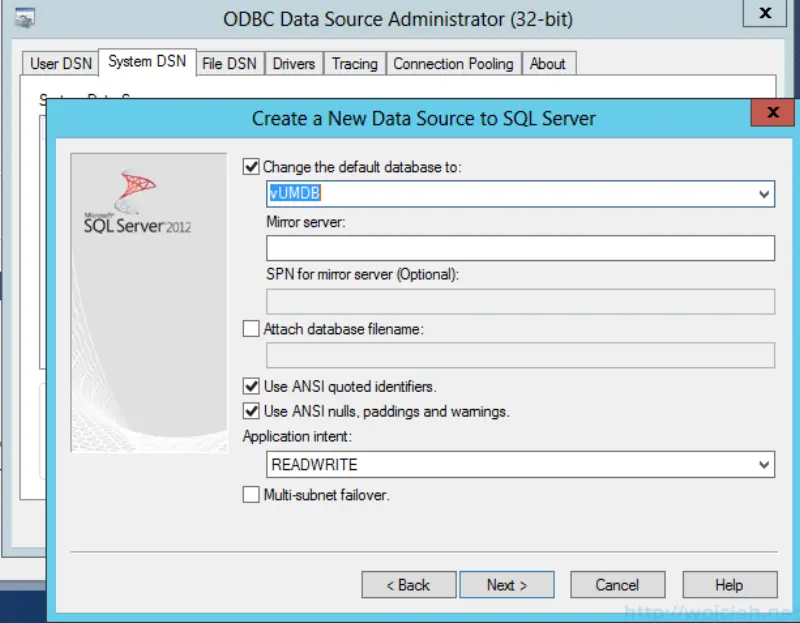
- Point to SQL Database VUMDB
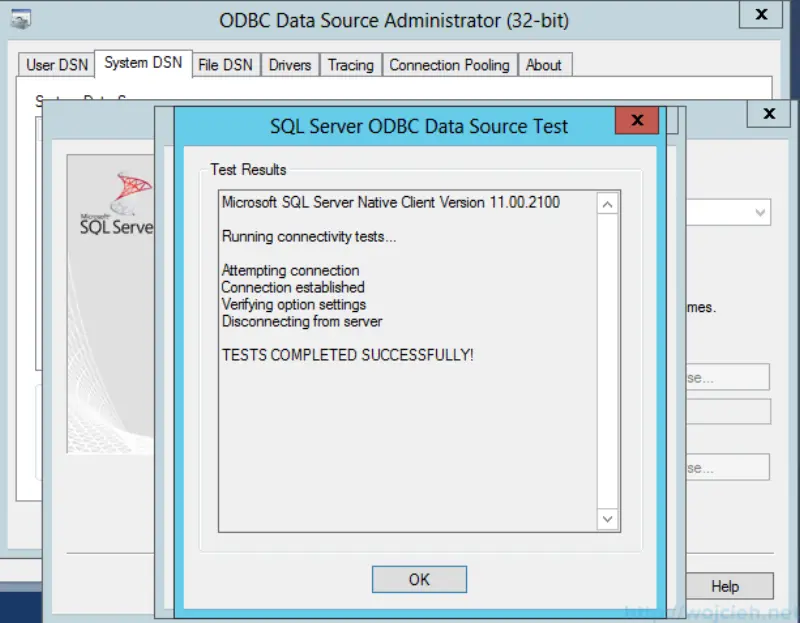
- Go to the end of setup and test connectivity.
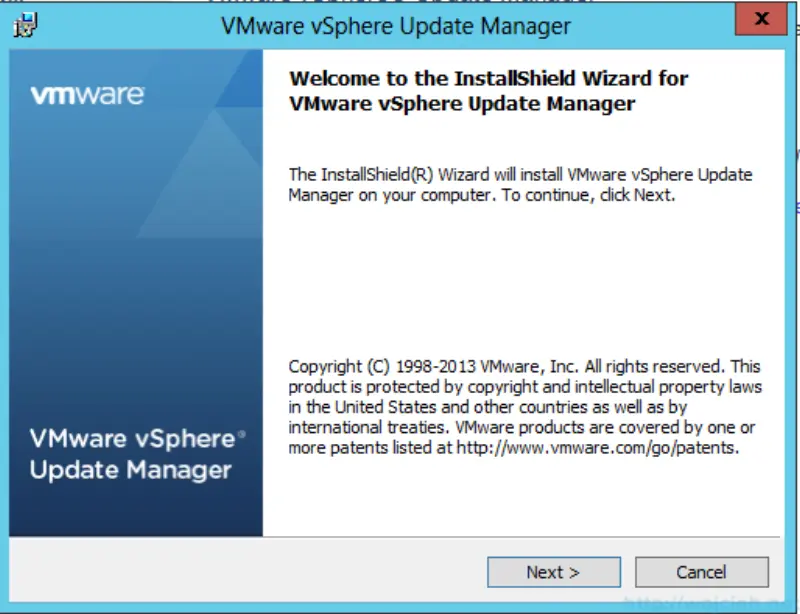
VMware vSphere Update Manager Installation
Installation is pretty straight forward. If you configured 32-bit DSN it will be painless. Let us go through it quickly so we can patch our Infrastructure.
- Launch installation from ISO
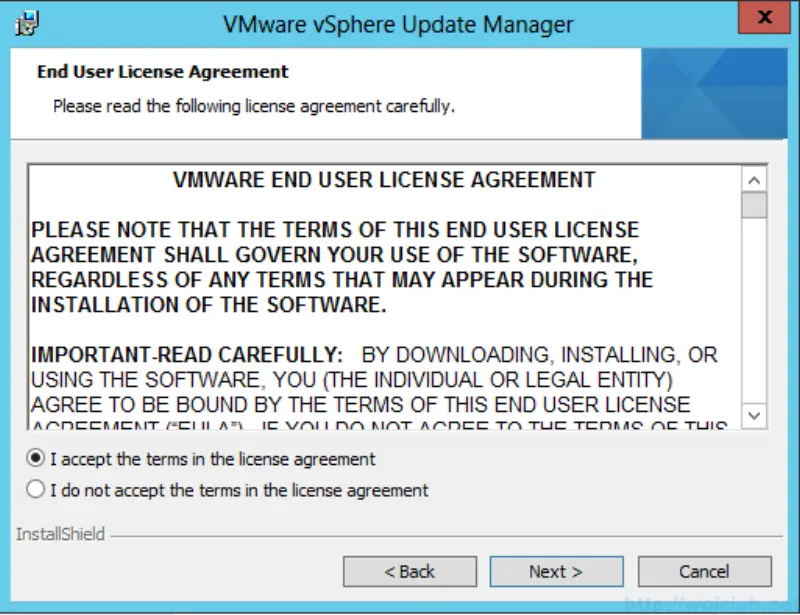
- Accept License Agreement
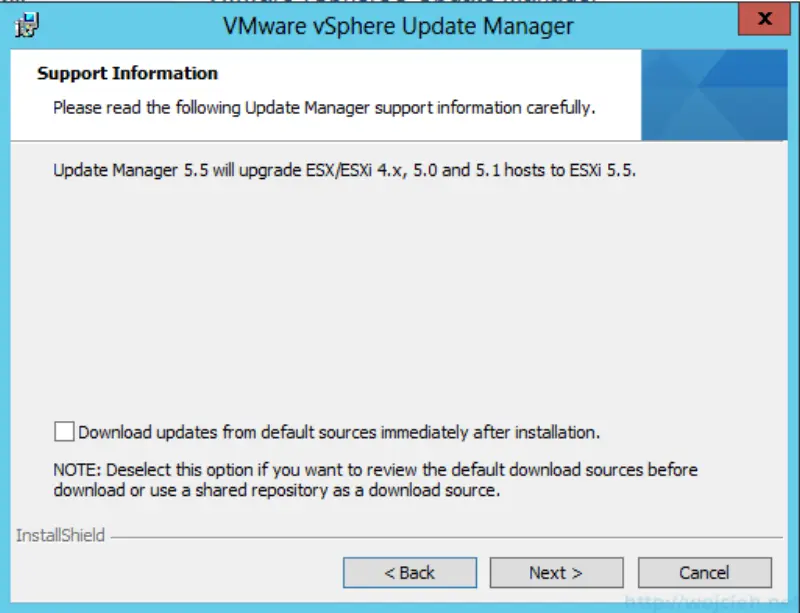
- Select if you want to immediately download patches from VMware site. I deselected it because I want to do it manually later.
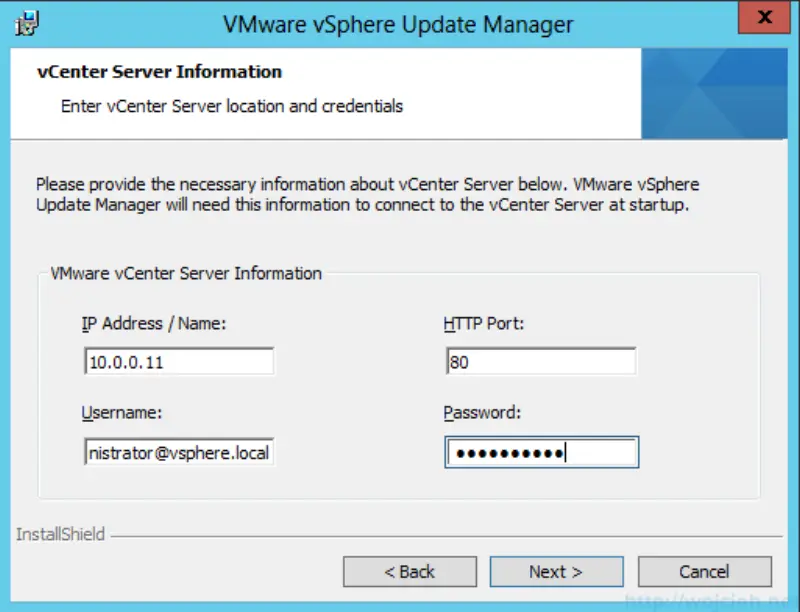
- Provide vCenter Server IP address and credentials.
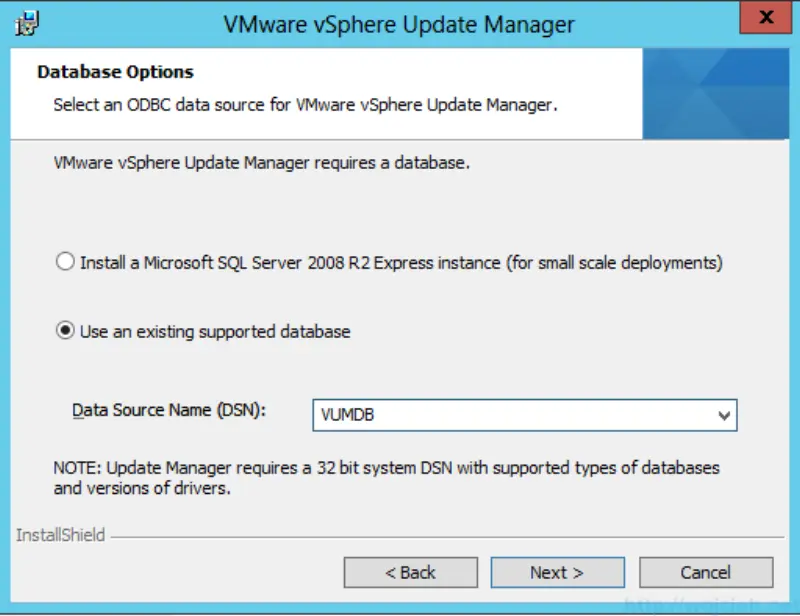
- Select previously configured 32-bit DSN.
- Summary of Database information

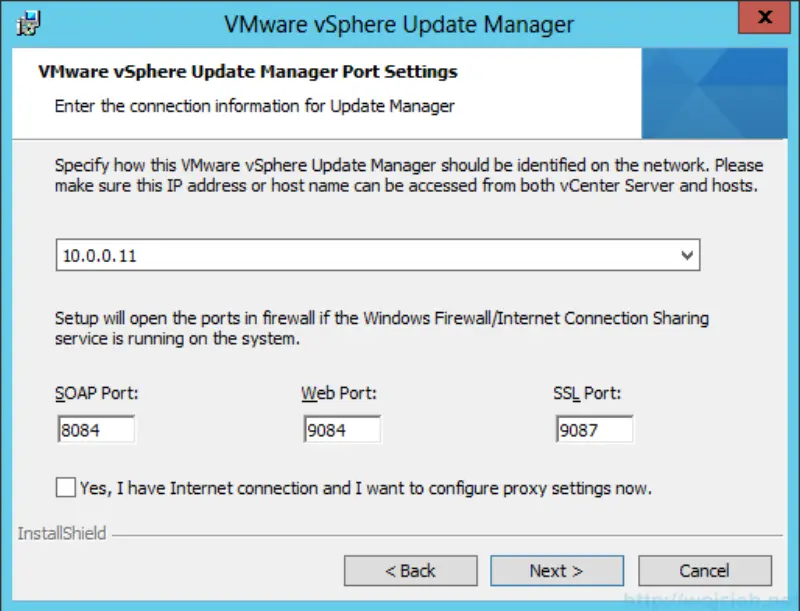
- Enter connection information in your environment.
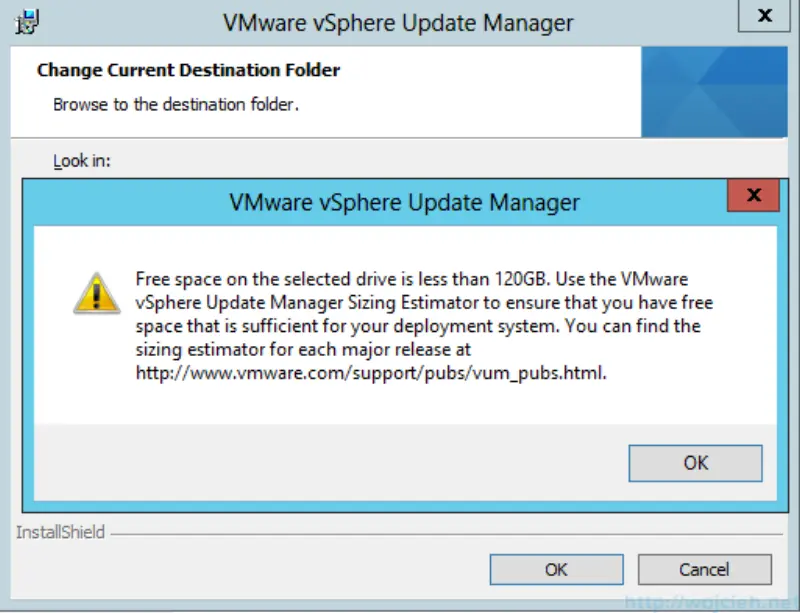
- If you have less than 120GB free on disk where you will install VMware Update Manager you will receive this warning. Don’t worry - installation will be not canceled.
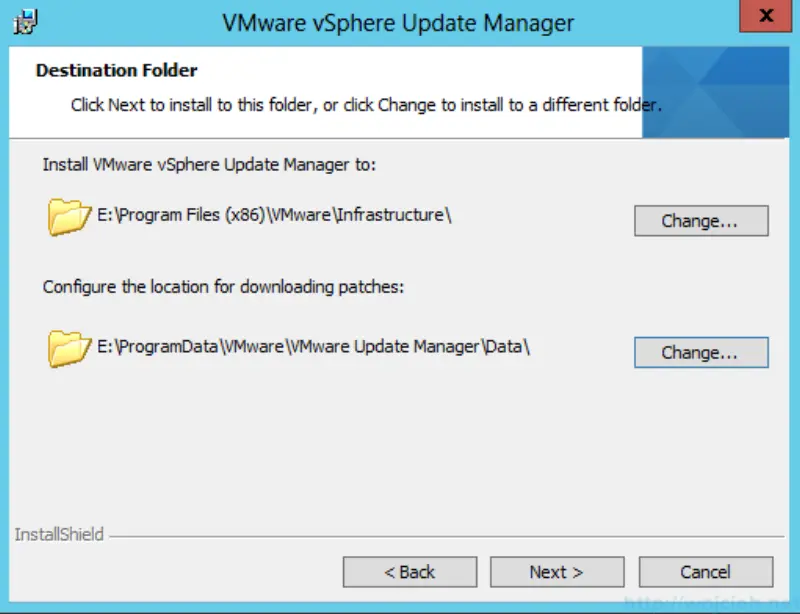
- Change Directory if needed.
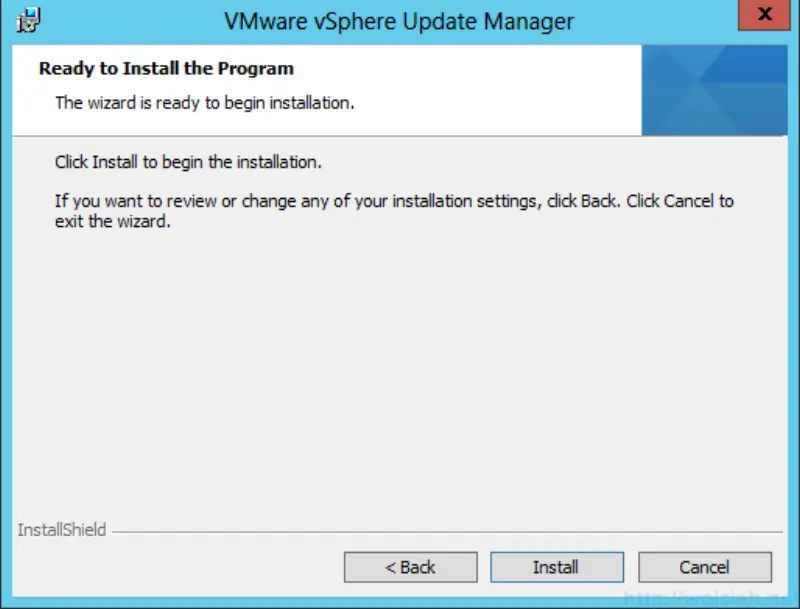
- Click Install to go ahead with the installation.
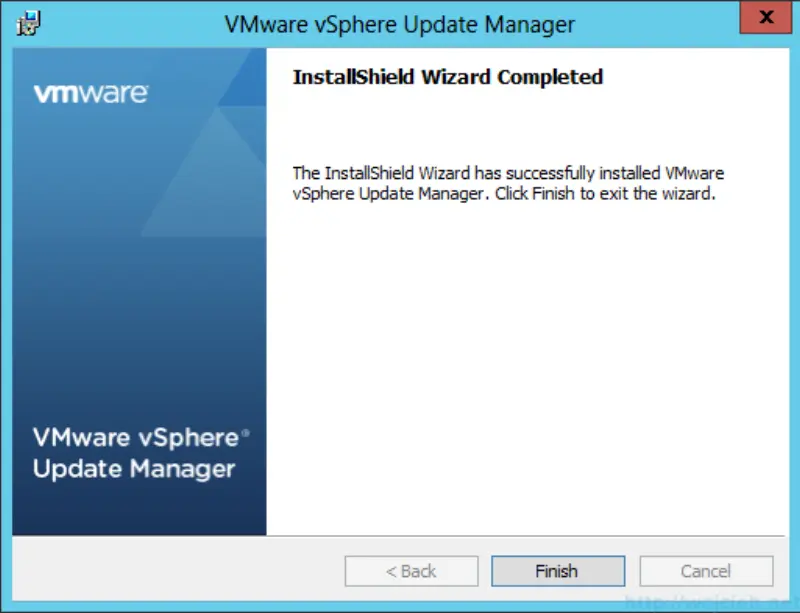
- Click Finish.
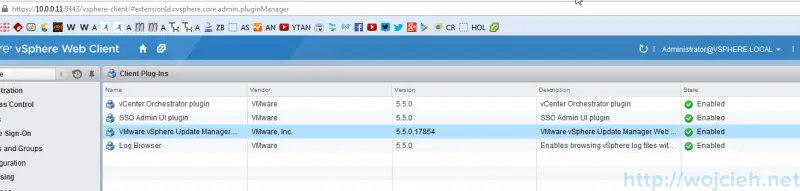
Once VUM is installed you can check via vSphere Web Client or vSphere Client if the plugin is available.As you see on the screenshot it is available.
That is it. I hope your installation process was painless and it worked fine. I will cover VUM usage in next posts.