In third and last part of vCenter Server 5.5 installation I will cover vCenter Server installation with all bits and pieces around it.
vCenter Server 5.5 step by step installation
Version 5.5 consists following components:
- vCenter Single Sign On
- vSphere Web Client
- vCenter Inventory Service
- vCenter Server
In version 5.5 VMware there are two ways for vCenter Server installation. First one is called Simple Install where all components are kept on one server and you can’t change directories where vCenter components are installed.
By the way this is current recommendation from VMworld sessions to install everything in one box - more about this later.
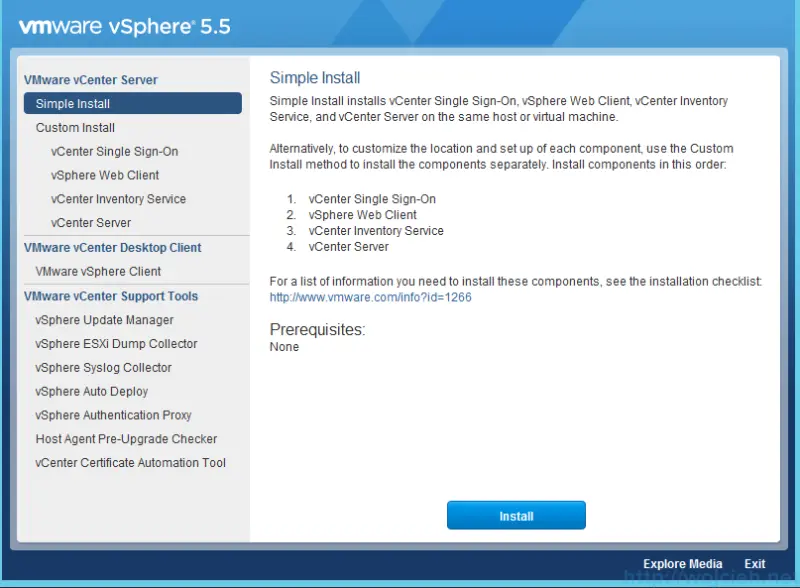
Of course if you plan to spread components across server than you should choose Custom Install. Also if you want to change default directories custom install is right choice for you.
vCenter Single Sign-On
Single Sign-On is greatly improved in comparison to SSO in vSphere 5.1. There is no SQL Database needed any more - everything is based on flat files. More details about new features in vSphere 5.5 is available here http://www.vmware.com/files/pdf/vsphere/VMware-vSphere-Platform-Whats-New.pdf
In order to install SSO click Install and follow installer.
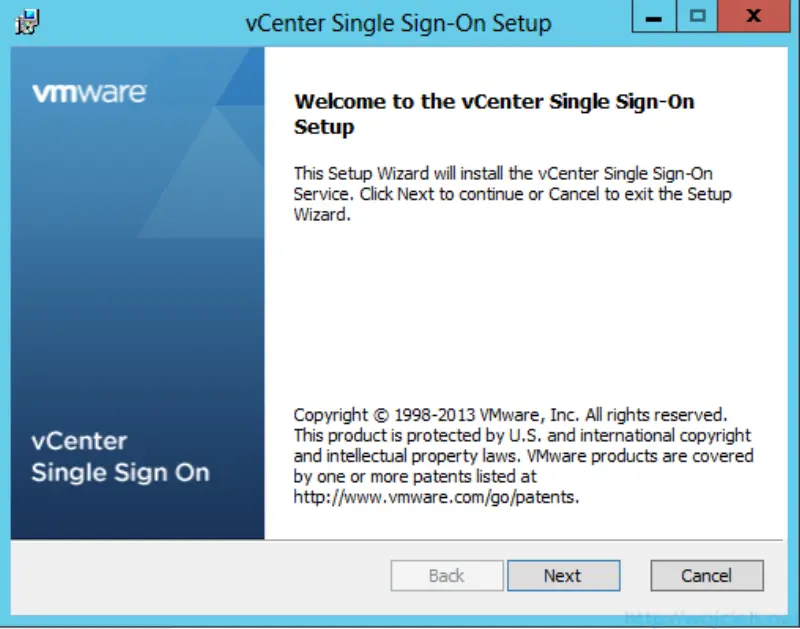
- Click Next
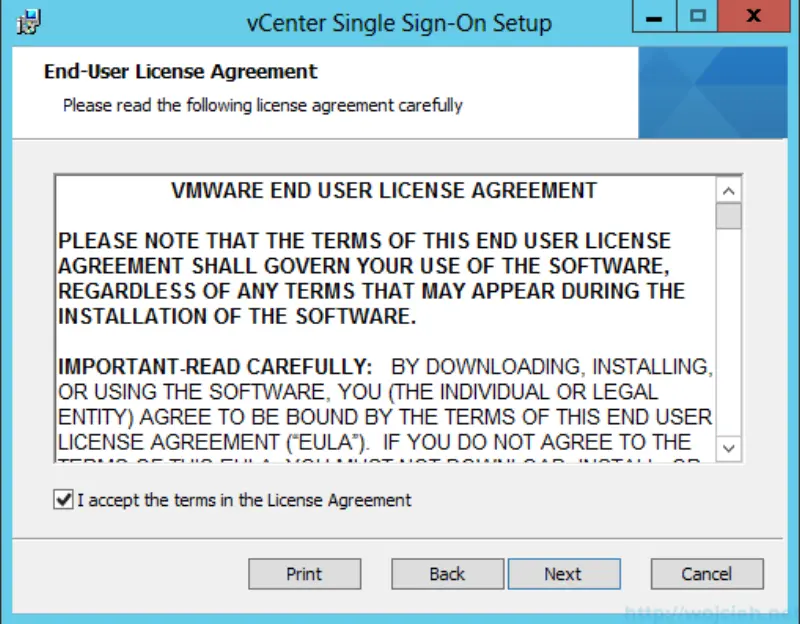
- Accept License Agreement
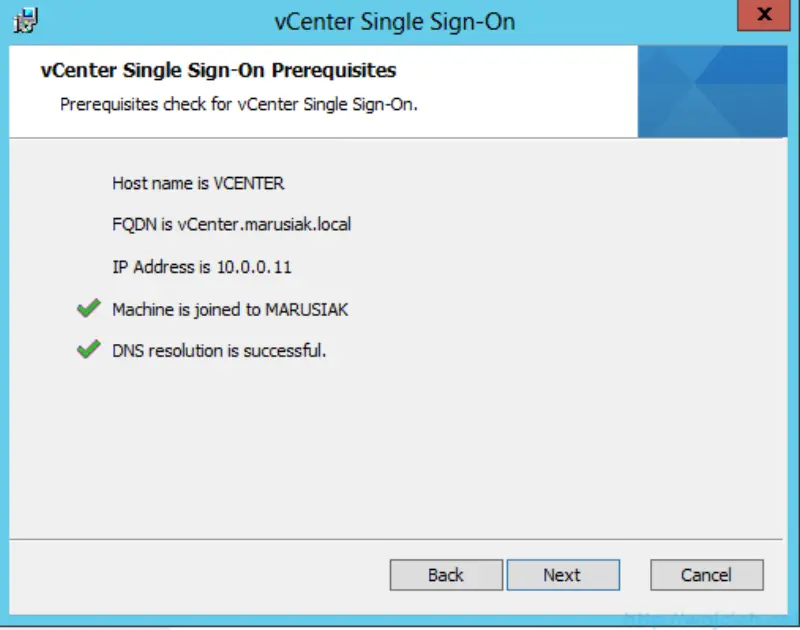
- Setup is checking for prerequisites
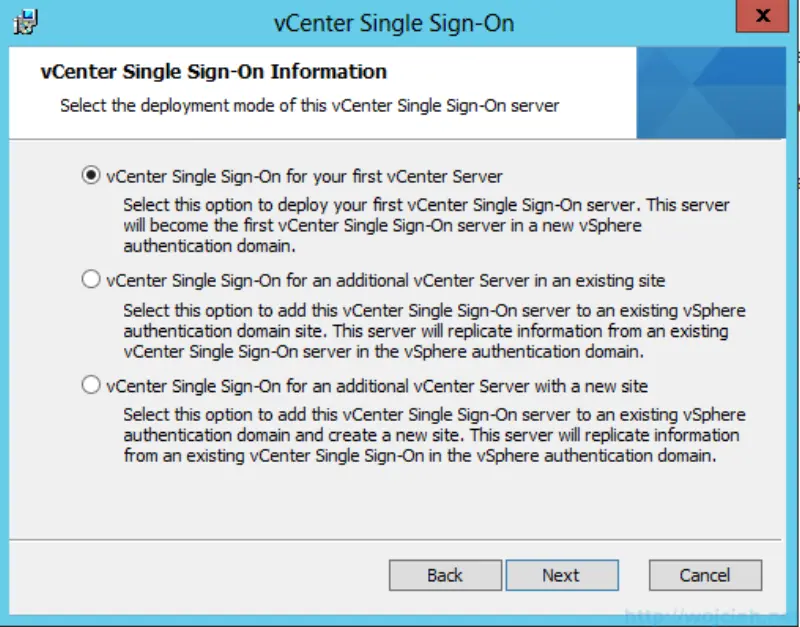
- vCenter Server deployment mode. Choose one option - in my case it is first vCenter Server so I choose vCenter Single Sign-On for your first vCenter Server
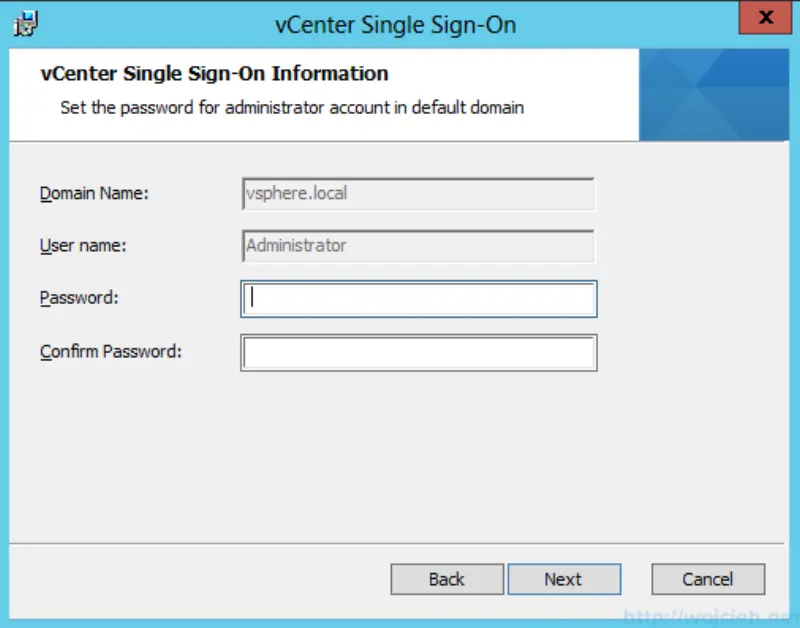
- Provide SSO password - write it down. Without it you will have problems to login.
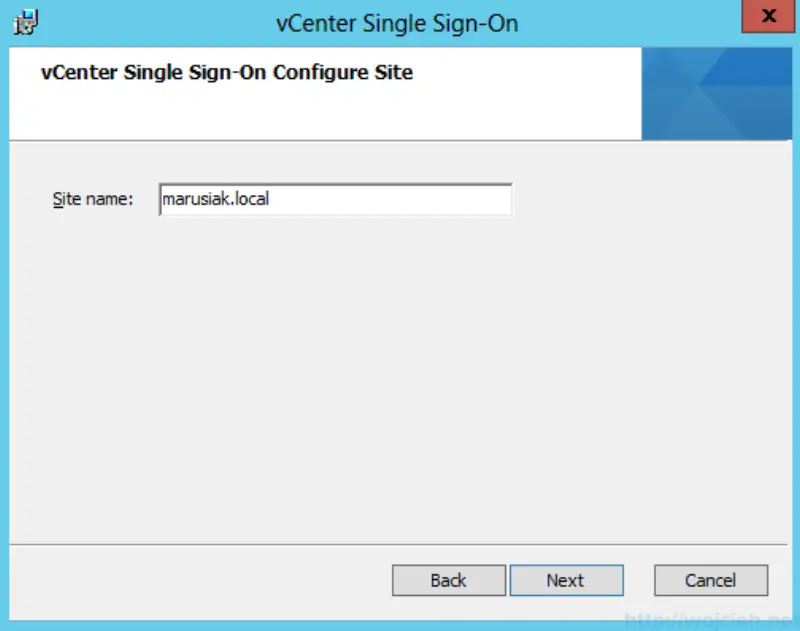
- Provide Site name
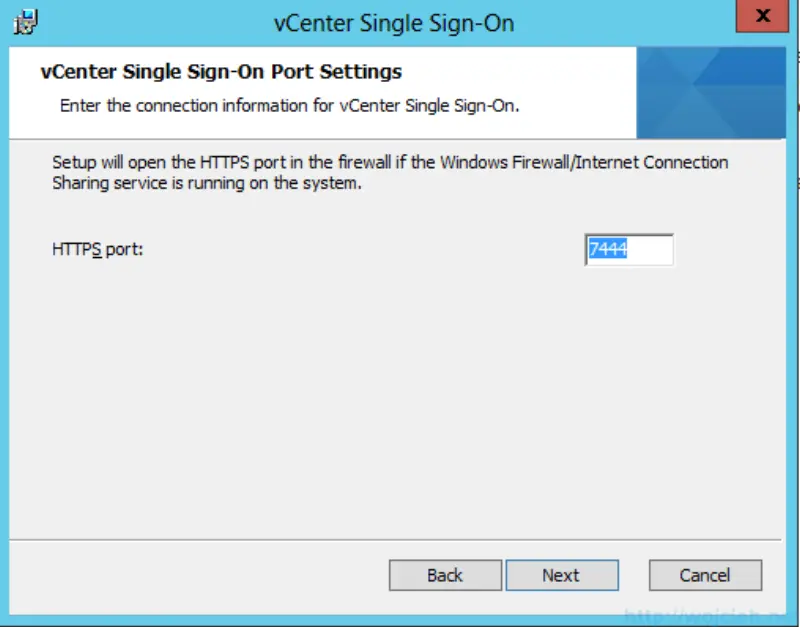
- Provide port on which SSO should run. Default SSO port is 7444 - if you change it, write it down. You will need it in order to register other parts of vCenter.
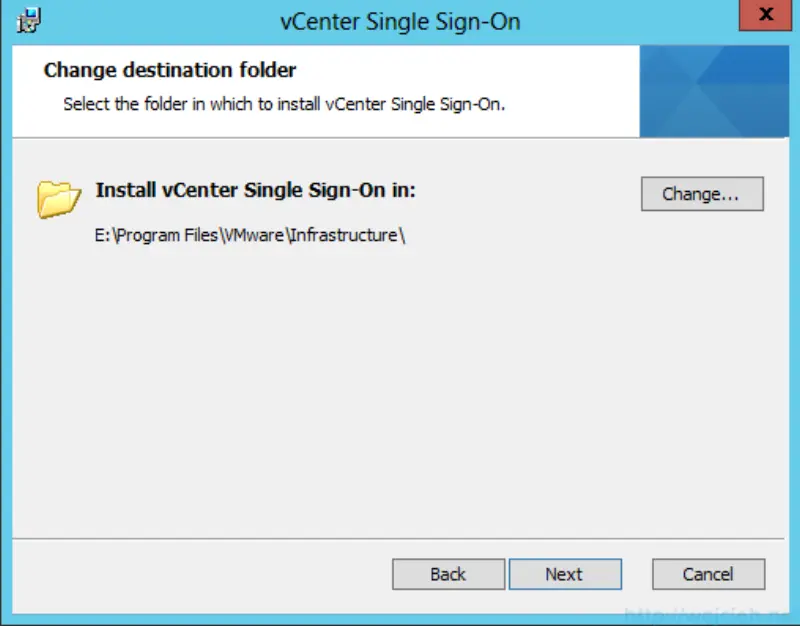
- Confirm or change desired directory. I changed it to different drive.
- Installation summary

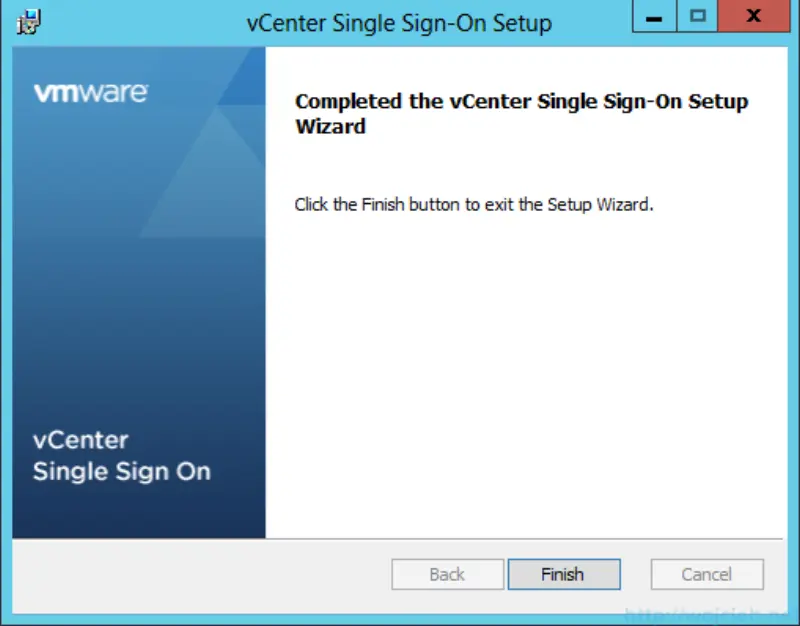
- SSO installed
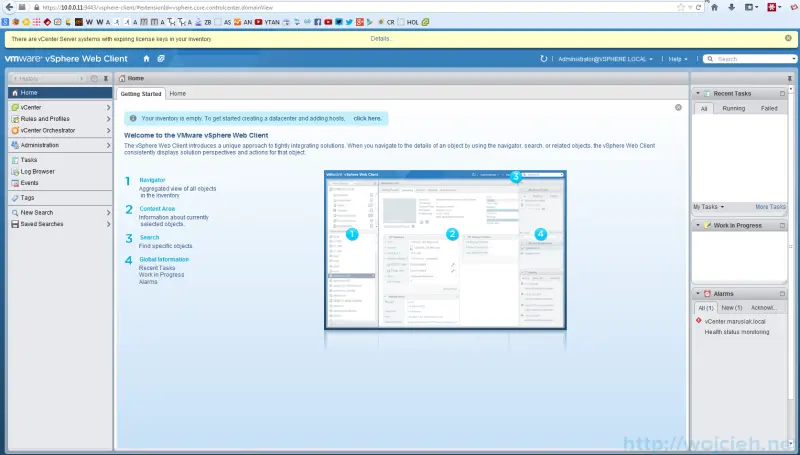
vSphere Web Client
![]()
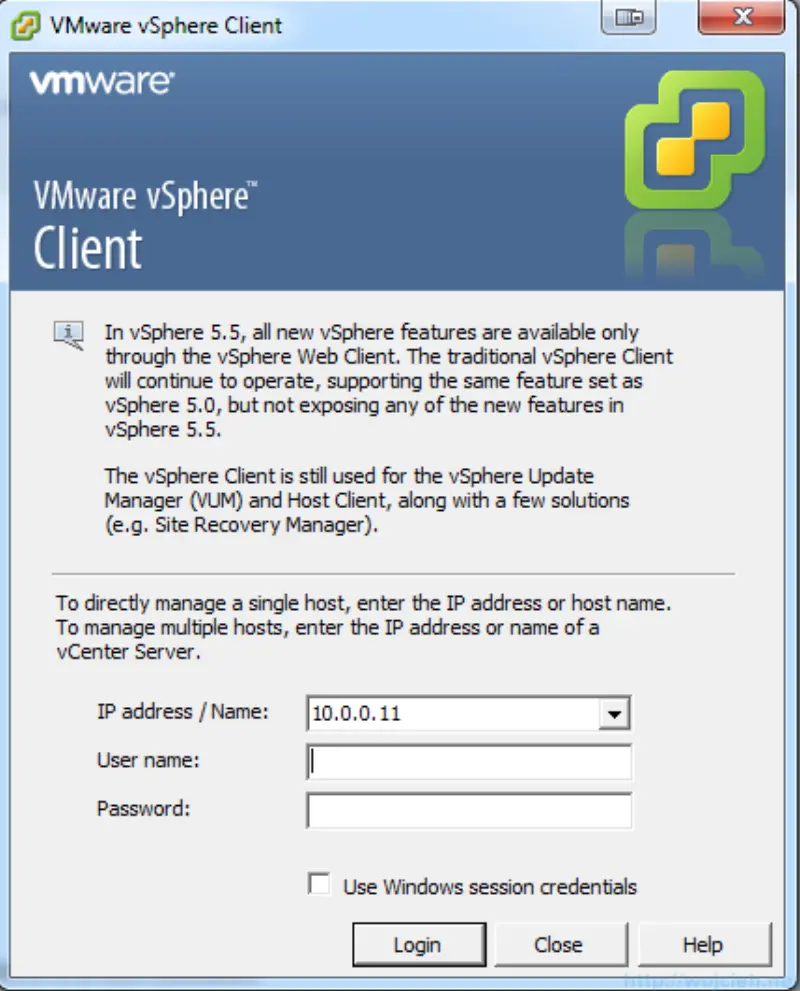
Next part of vCenter Server installation is vSphere Web Client. Web Client is a tool available pretty much for every modern Web Browser. It is based on flash and it allows to manage your whole infrastructure.
In version 5.5 vSphere Client there is clearly stated that all new features are available only via vSphere Web Client.
 ]14
]14
Message is clear - VMware will get rid of classic vSphere Client pretty soon so I suggest to familiarize with Web Client and forget about classic Client.
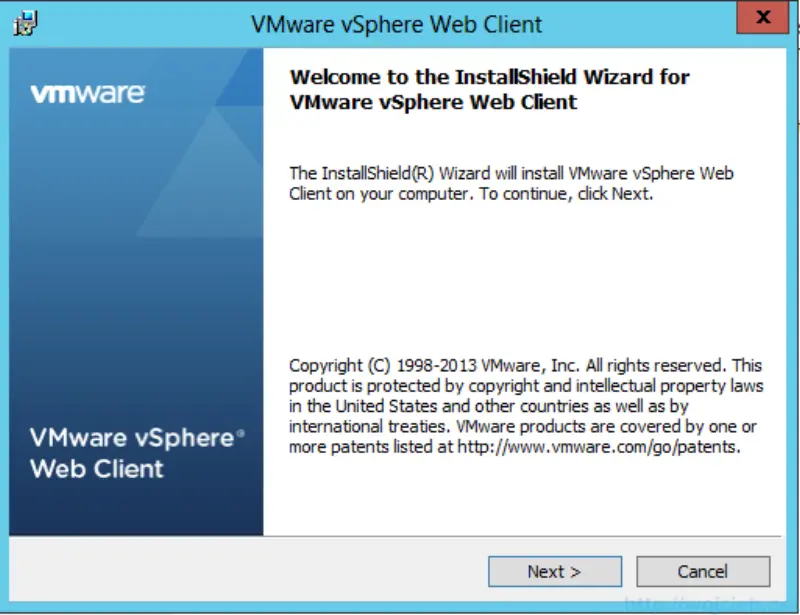
Let us install vSphere Web Client.
- Installer start, click next.
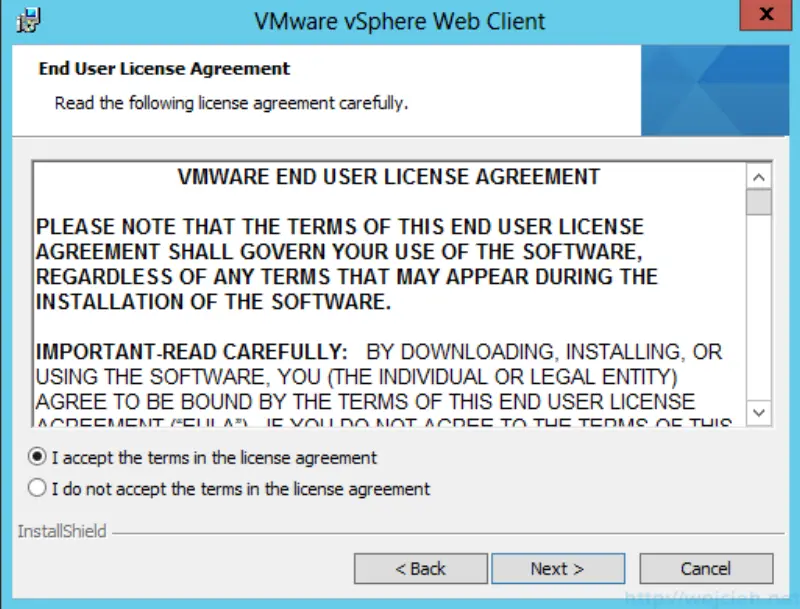
- Accept License Agreement
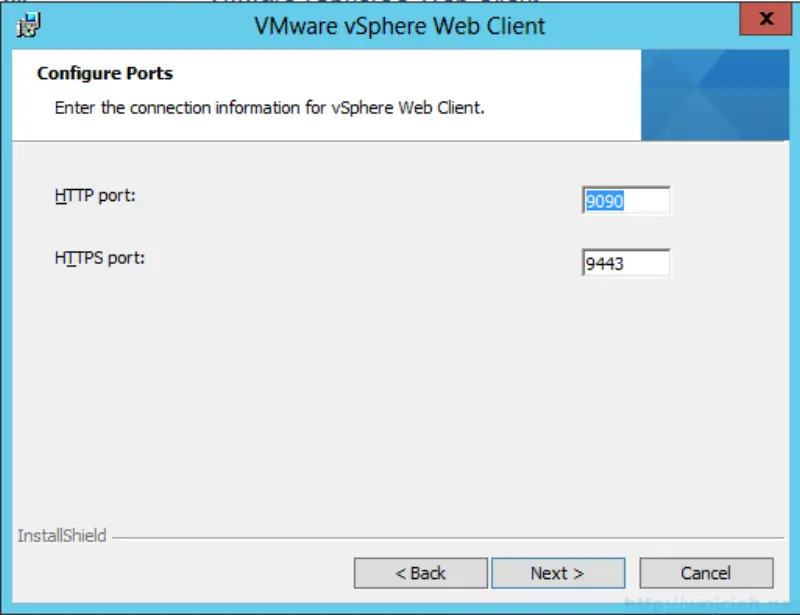
- Accept or change ports. Remember - default ports for vSphere Client 5.5 are:
- http - 9090
- https - 9443
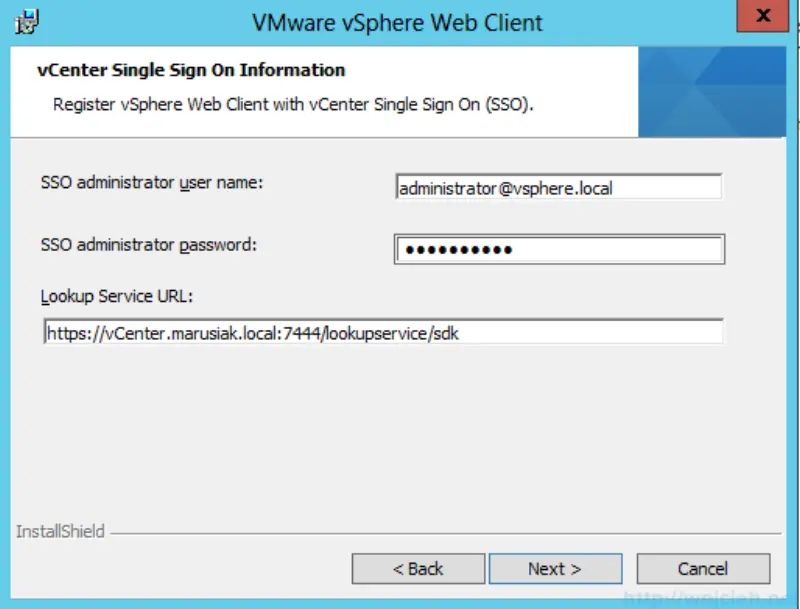
- Provide administrator SSO credentials and accept SSO certificate.
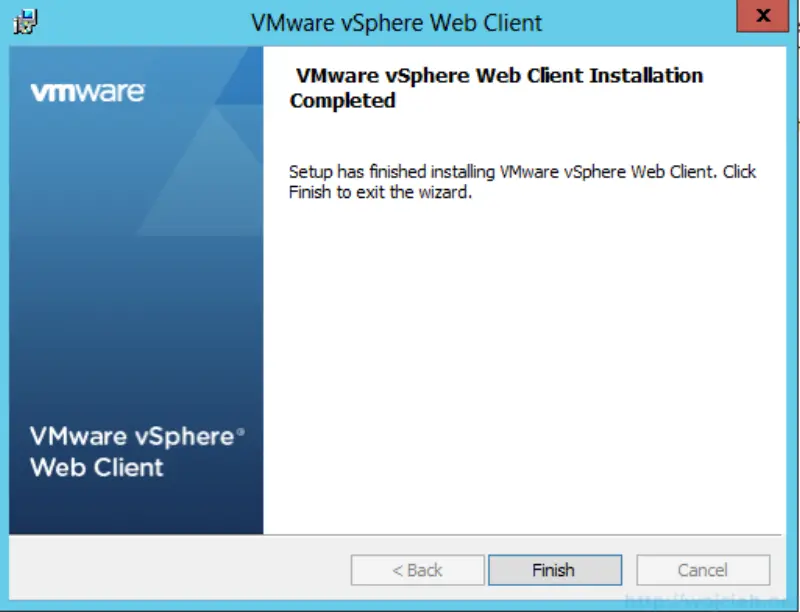
- Installation is successful
Let us install vCenter Inventory Service.
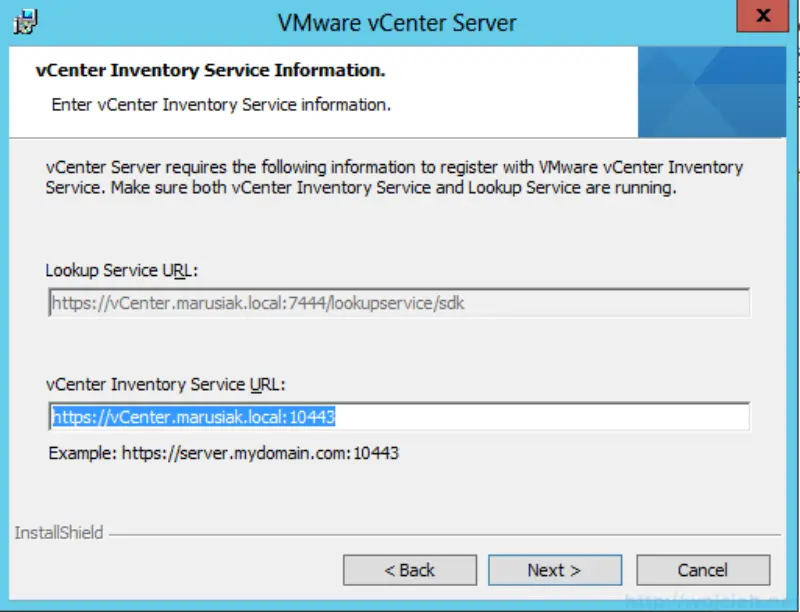
vCenter Inventory Service
![]()
vCenter Inventory Service was release in version 5.1. Basically what it does it gather information about your infrastructure and provides this information to clients. It is used only in vSphere Web Client as some sort of proxy. You don’t need to collect this information every time you login to vCenter Server. It is much more efficient than constant query which is used in classic vSphere Client.
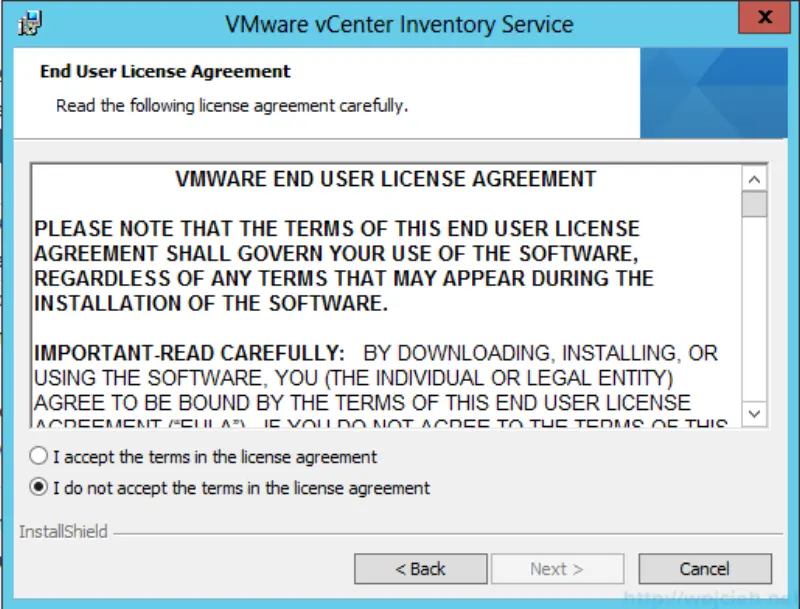
- Start installation by choosing vCenter Inventory Service and accept License Agreement
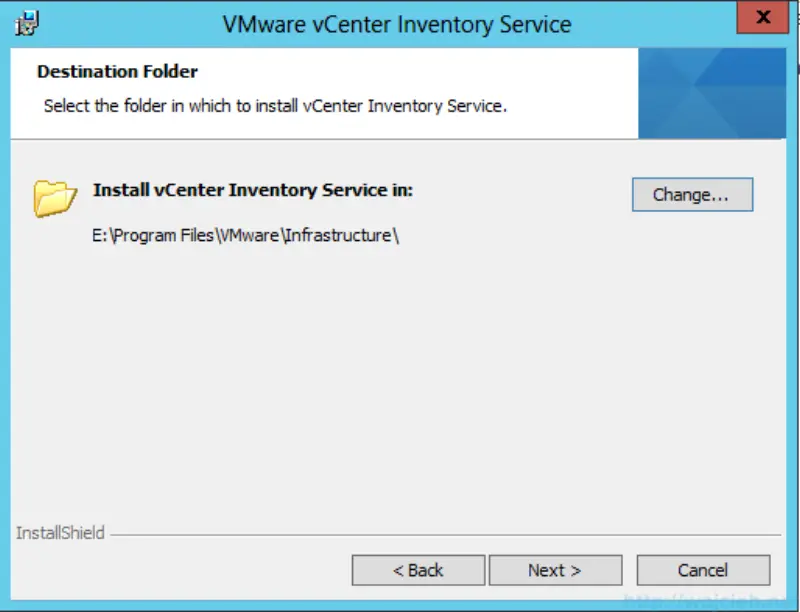
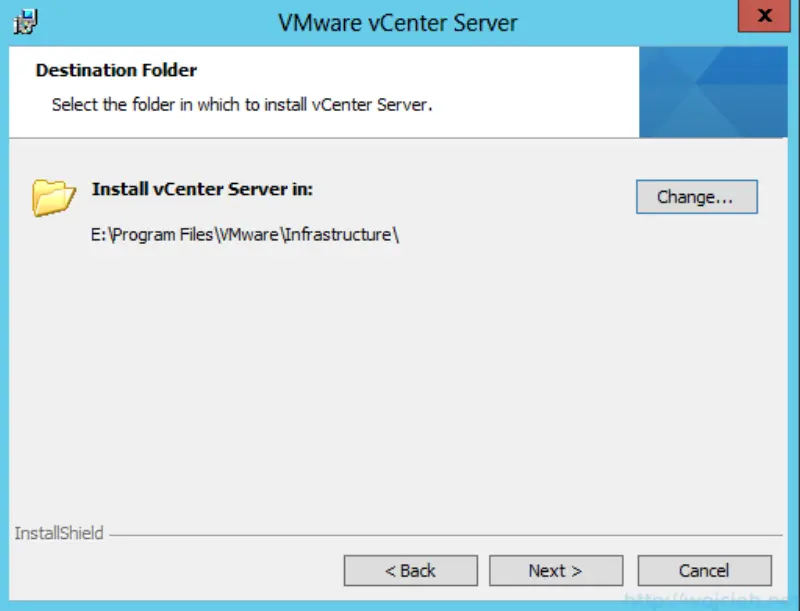
- Choose directory - in my case I selected E drive.
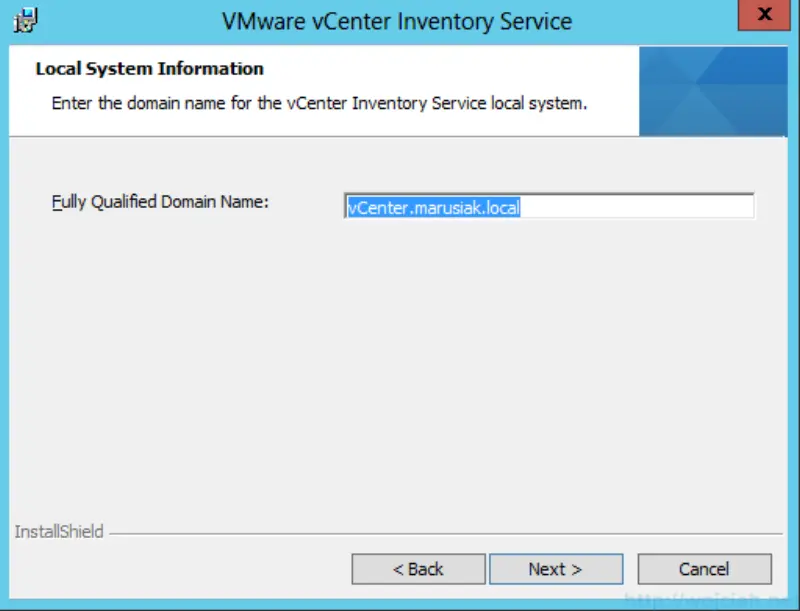
- Provide FQDN
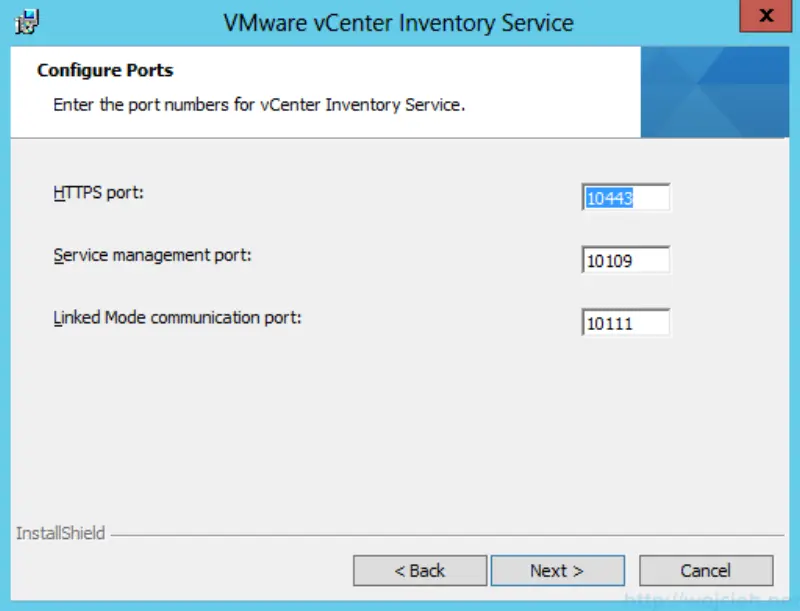
- Choose appropriate ports - if you change them to different ones write them down. It will save you time later on.
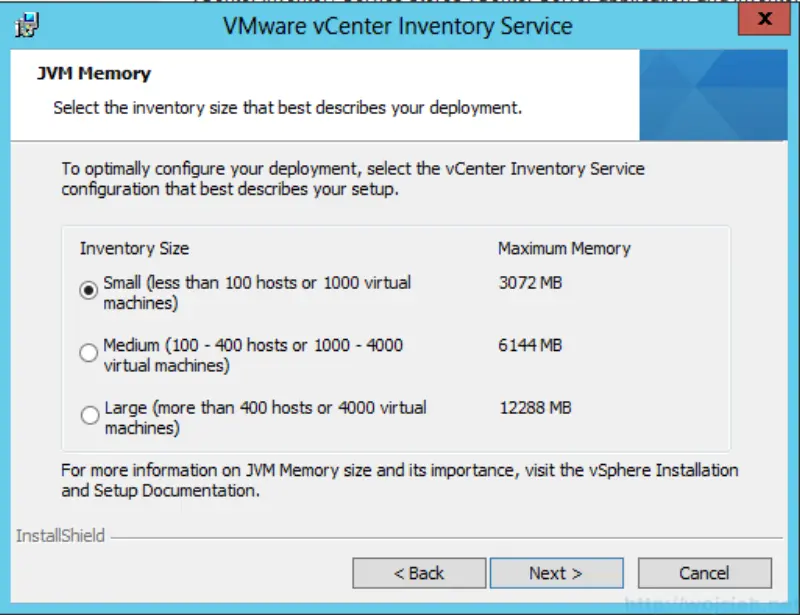
- Choose size of your inventory. It is needed to correct settings for JVM.
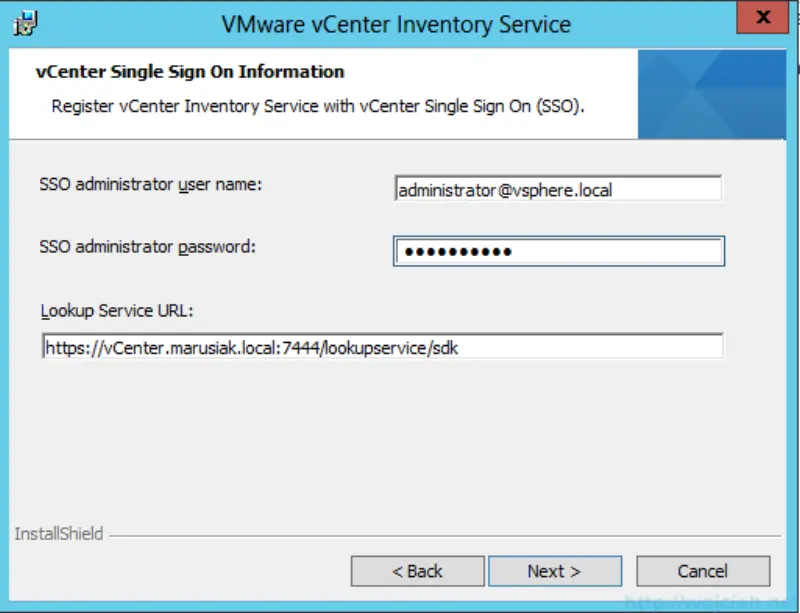
- Provide SSO credentials, click next and accept SSO Certificate.
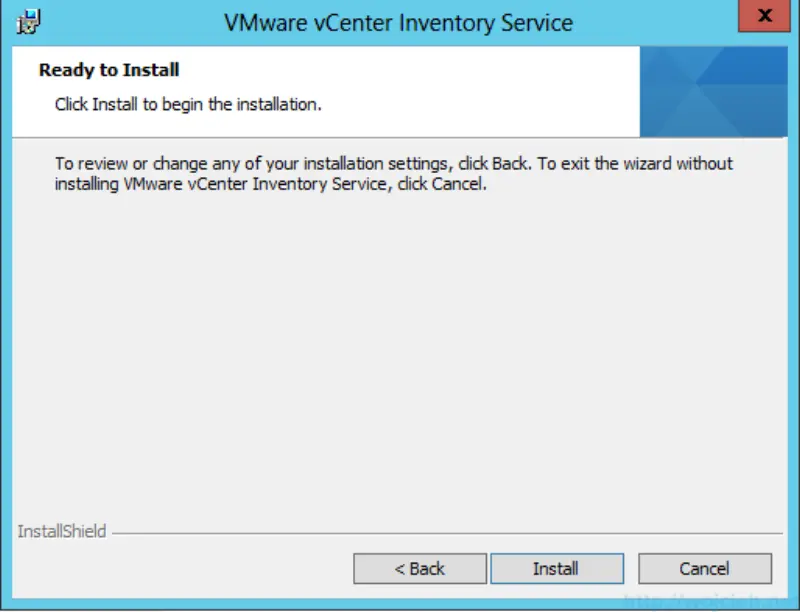
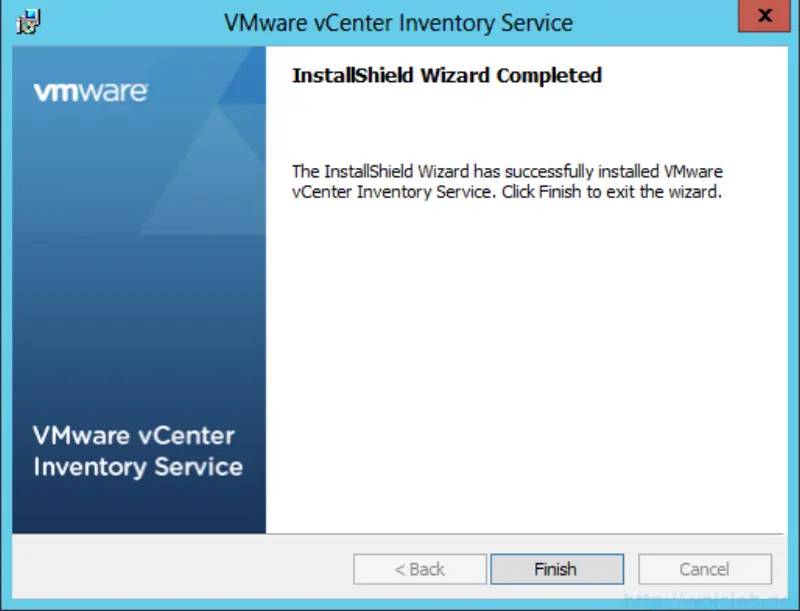
- Click install and wait for installer to finish.
- Close installer and let us proceed with vCenter Server installation.
vCenter Server
![]()
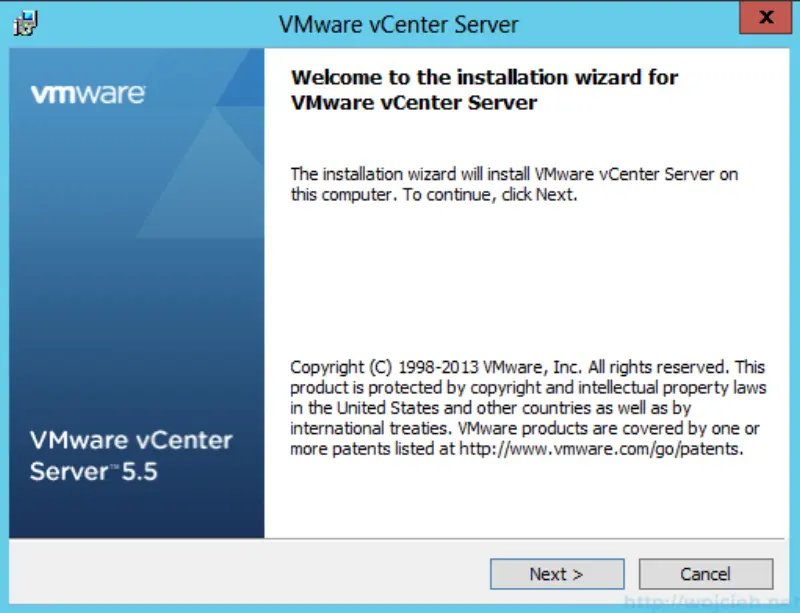
From installer select vCenter Server and let us go ahead with installation.
- Click next
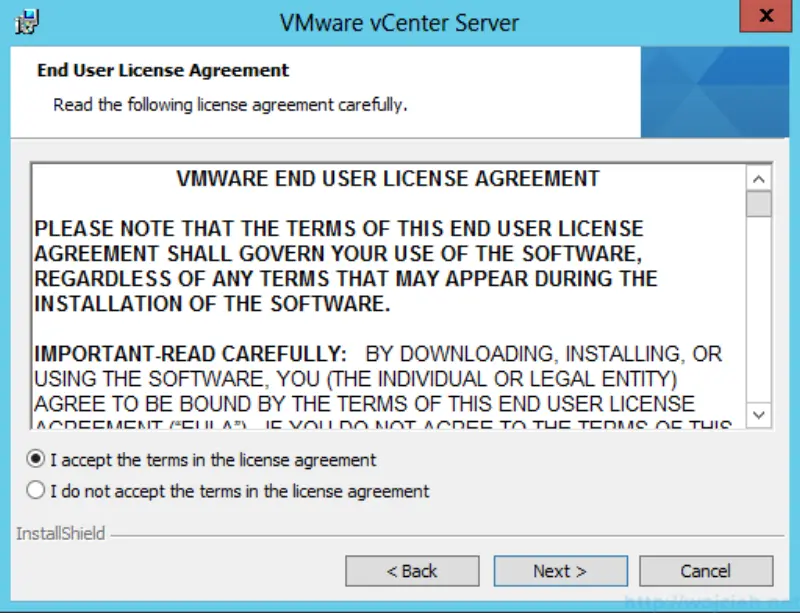
- Accept License Agreement and click Next
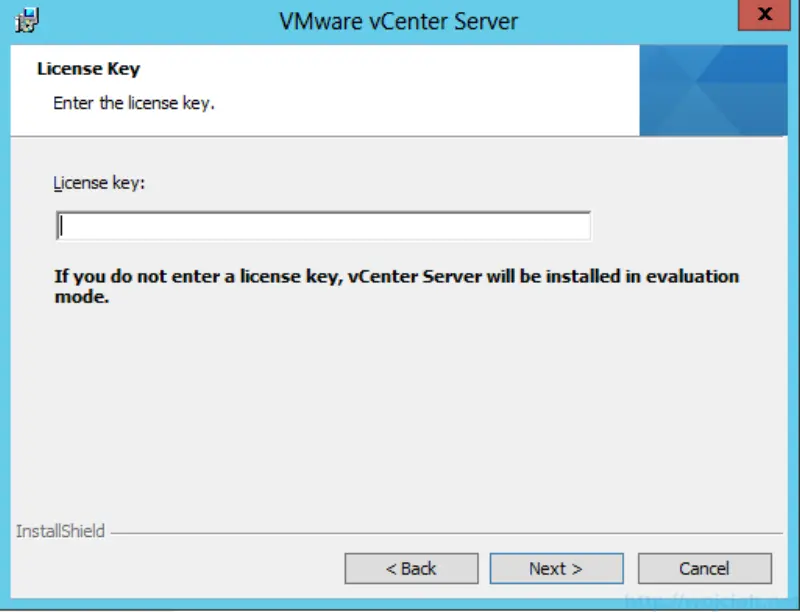
- Provide vCenter serial number or just select next and vCenter will be installed in evaluation mode.
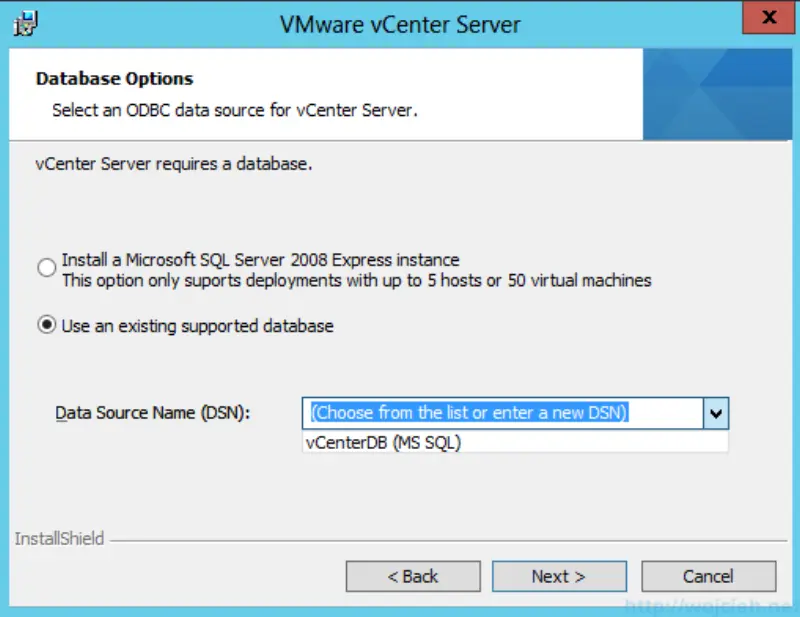
- Select SQL Express installation or in my case click Use an existing supported database. If you configured your DSN correctly than your vCenter Database should appear there.
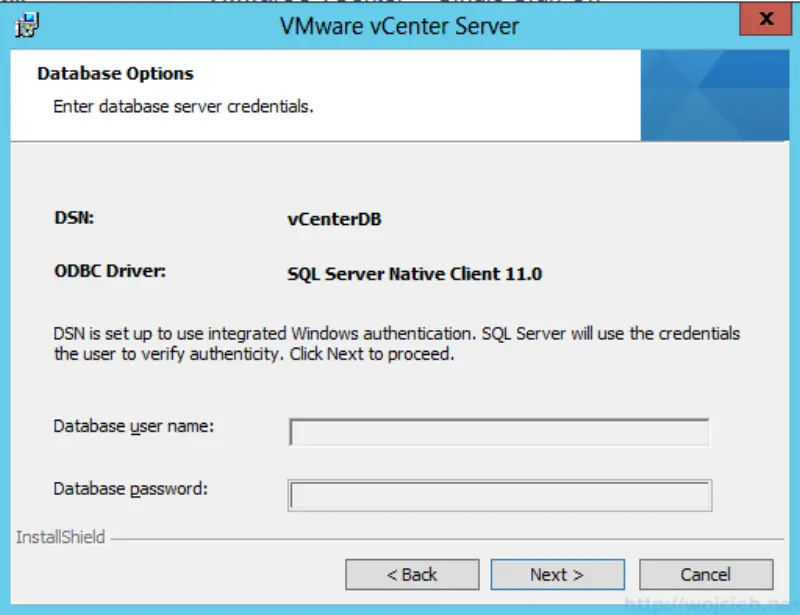
- If you choose to use SQL authentication provide created user name and password. I use Windows authentication which is already configured.
- Provide local administrator password. We will choose later to use Active Directory account.
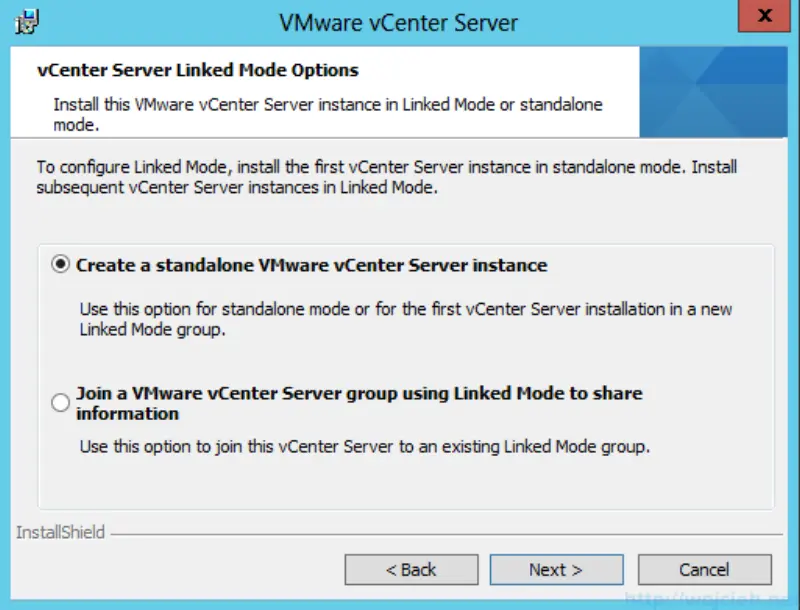
- Select Standalone vCenter Instance or vCenter Linked Mode. I am deploying my first vCenter Server so I choose first option.
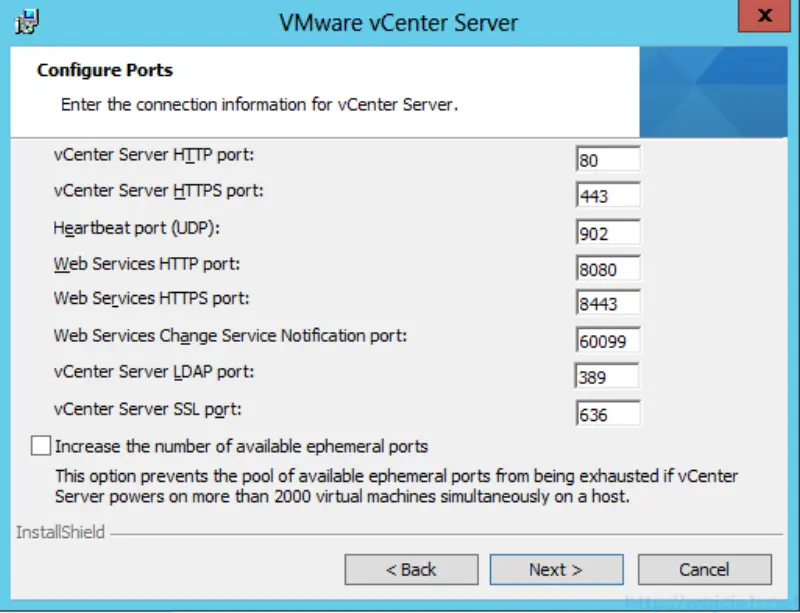
- Review / change ports if needed.
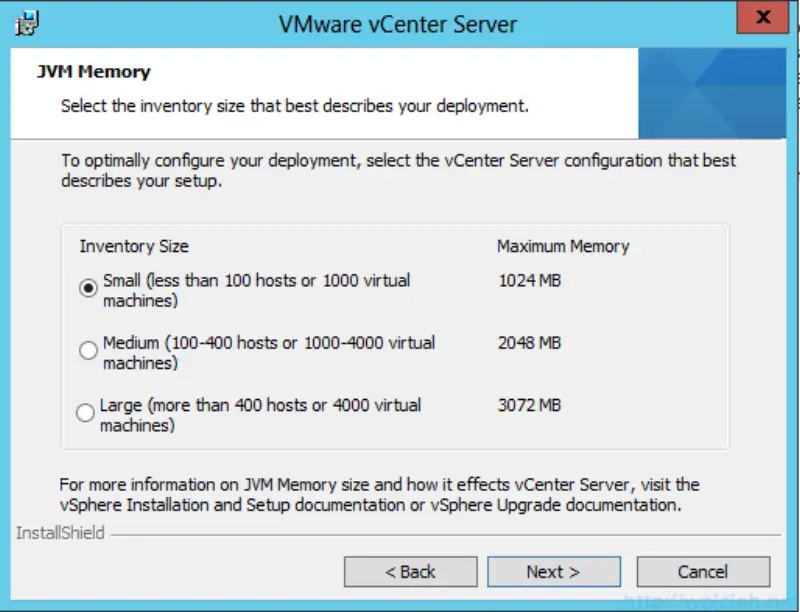
- Choose size of your inventory.
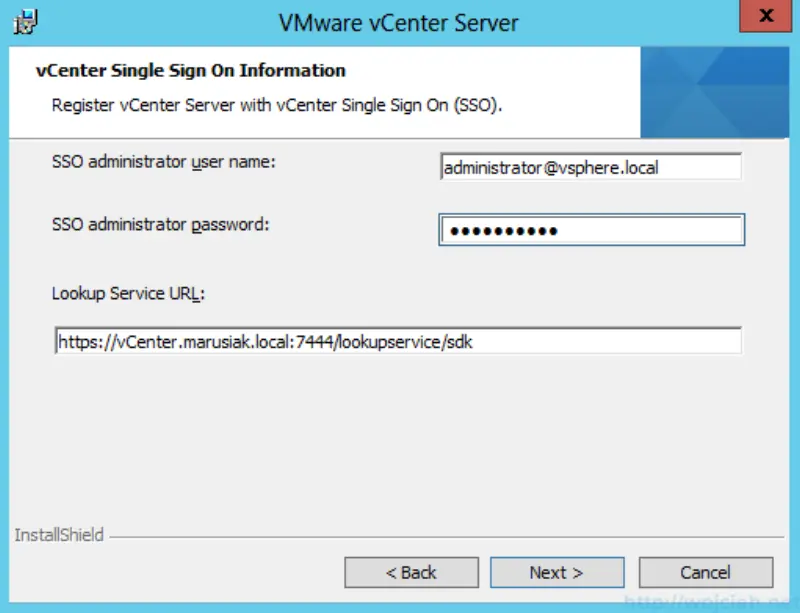
- Register your vCenter Server in SSO and accept its certificate.
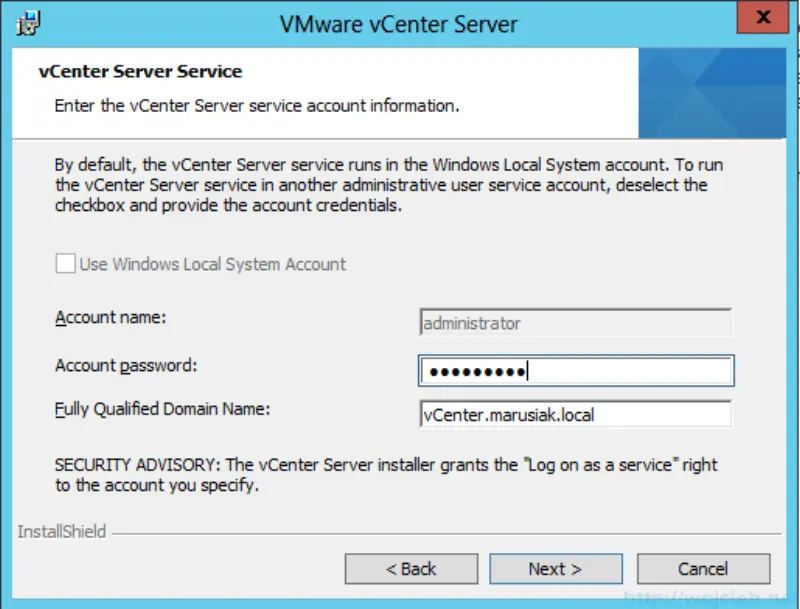
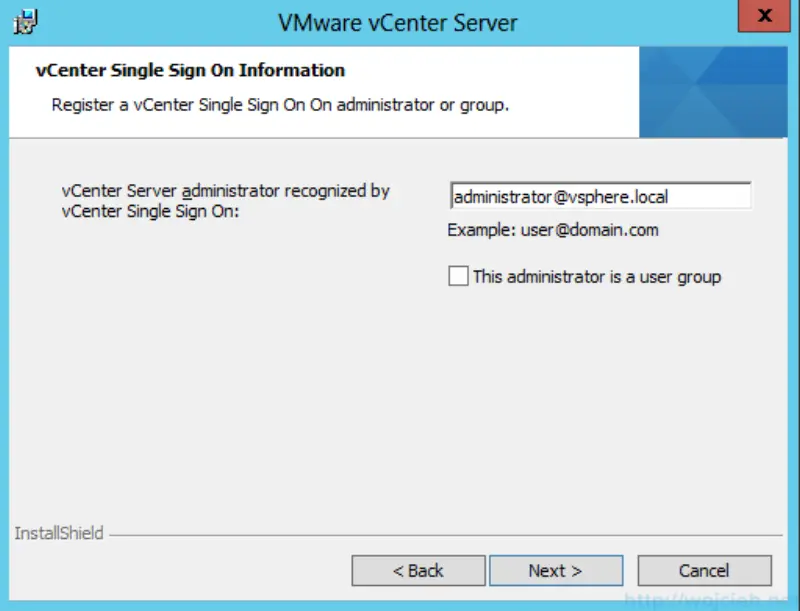
- Provide administrator account in your vCenter Server.
- If you changed vCenter Inventory Service URL enter it here. If you went with defaults that click next.
- Select where you want to install vCenter Server. Click Next and finally install it.
When installation is completed I changed following things:
- In SQL Server Manager I created new security login for ap-vcenter@marusiak.local with db_owner rights for vCenterDB.
- ap-vcenter@marusiak.local was added to local administrator group
After all changes I was able to start vCenter Server as ap-vcenter@marusiak.local.
Summary
I hope you enjoyed this series of post and installation will work like in my environment. If you have any questions just post comment.