It has been a while when I wrote some technical post, but for me this is kind of habit after I pass huge exam. With this post and following ones I will focus on version 6 of vSphere and some topics around SDDC.
Installation prerequisites
As usual before installation / upgrade it is recommended to know prerequisites.
- DNS – Ensure that resolution is working for all system names via fully qualified domain name (FQDN), short name (host name), and IP address (reverse lookup).
- Time – Ensure that time is synchronized across the environment.
- Passwords – vCenter Single Sign-On passwords must contain only ASCII characters; non-ASCII and extended (or high) ASCII characters are not supported.
vCenter Server Appliance installation
In version 6 VMware changed the way how vCenter Server Appliance is installed. In version 6 we need to mount vCenter Server Appliance ISO into our operating system and begin installation. If you are using Windows Server 2012 R2 you can mount ISO image directly in Operating System otherwise I recommend to use tool called Virtual Clone Drive.
VMware Client Integration Plugin
Before installation itself you need to install Client Integration Plugin. If you will not do it you will see same screen as I did.

So it seem like we need to install plugin to start installation. Simply navigate to VCSA ISO and launch windows installer.

After installation you will be asked to allow plugin to work in your browser - allow it to start installer.
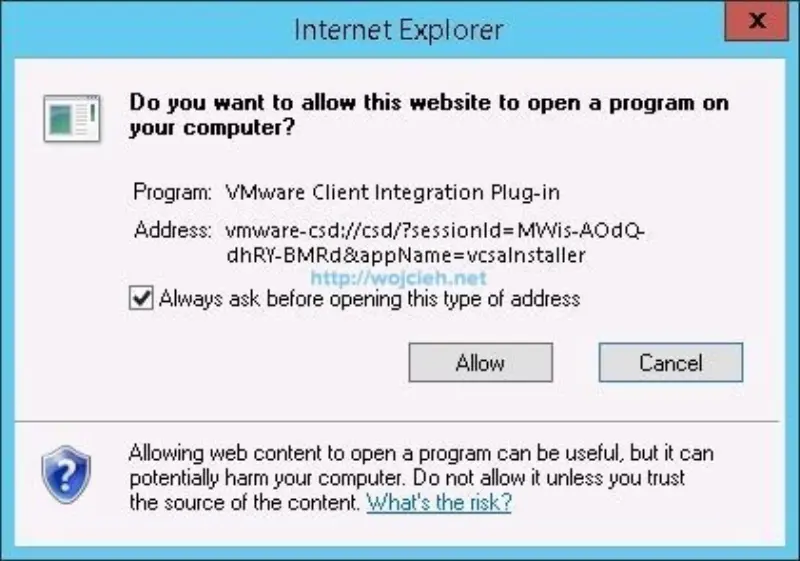
When you see this picture we can start installation.
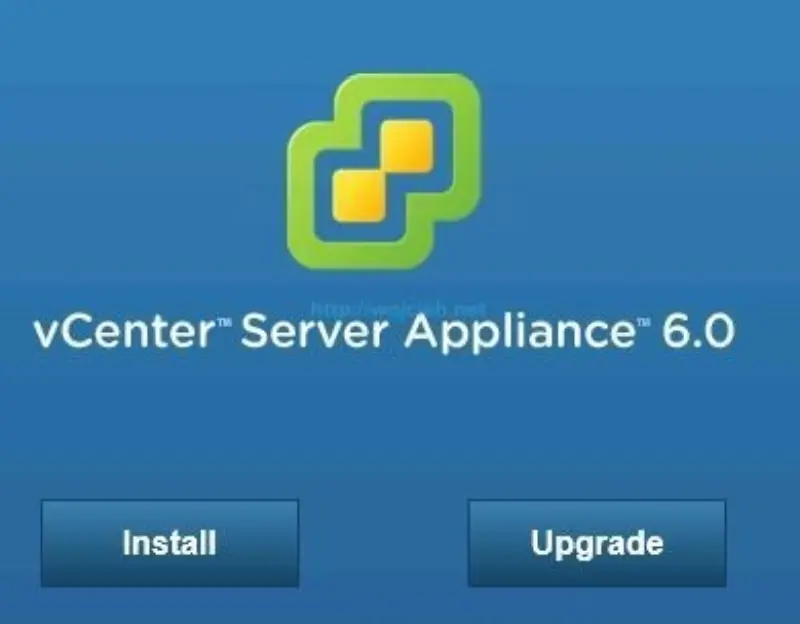
vCenter Server Appliance 6 installation using Web Browser
- On previous screen click Install. VMware vCenter Server Appliance Deployment wizard will appear.
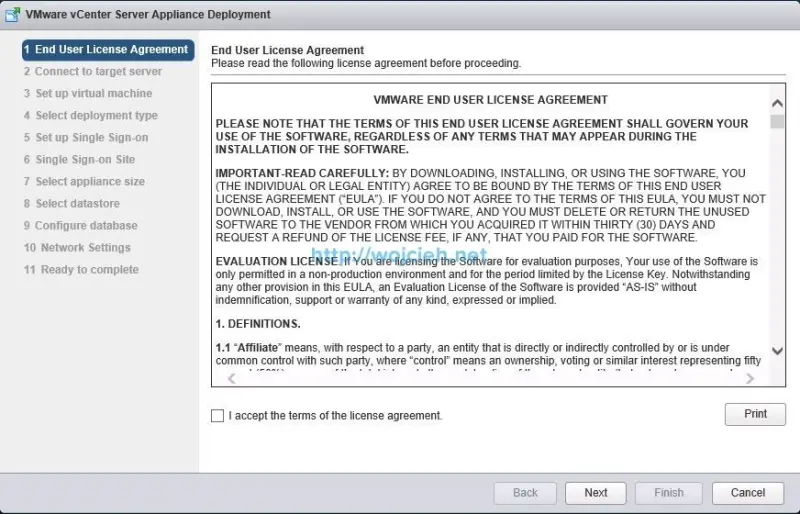
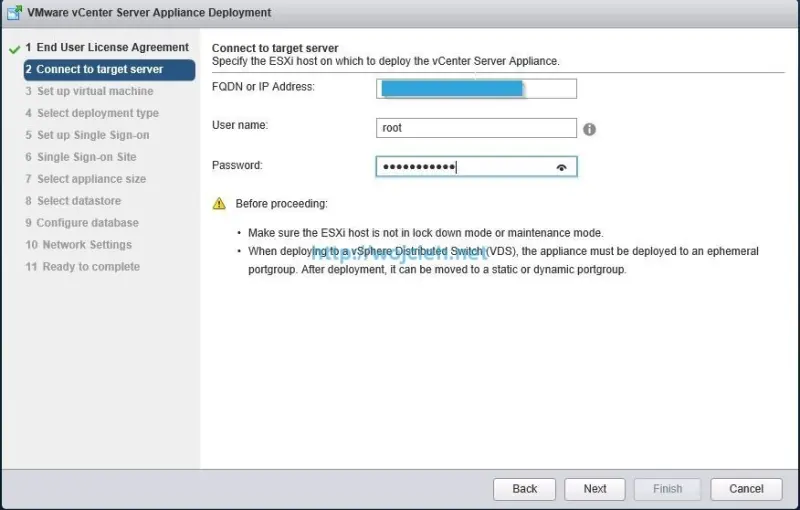
- Accept Eula and click Next. Provide FQDN or IP Address of ESXi host on which vCenter Server Appliance will be deployed. Click Next.
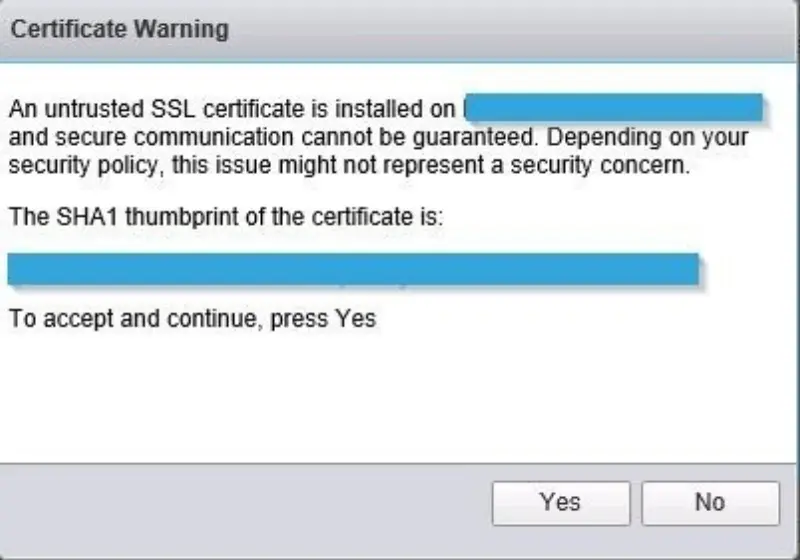
- Accept SHA1 thumbprint and click Yes.
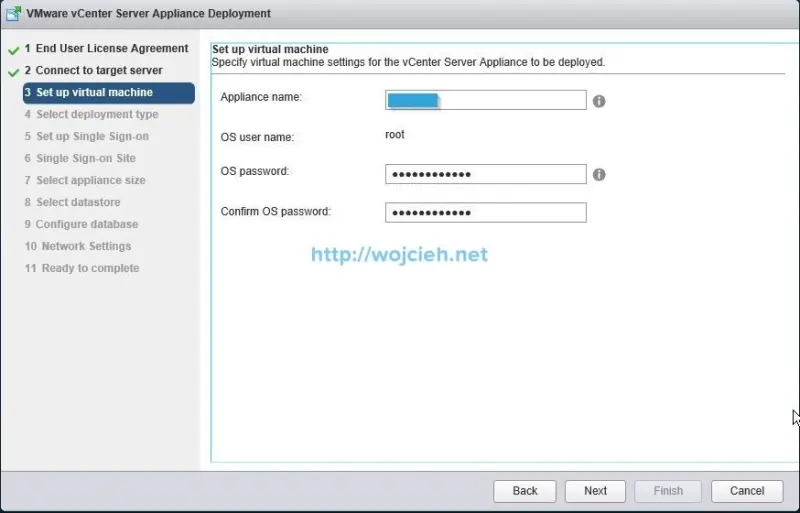
- Wait for credentials validation and give desired appliance name and root password.
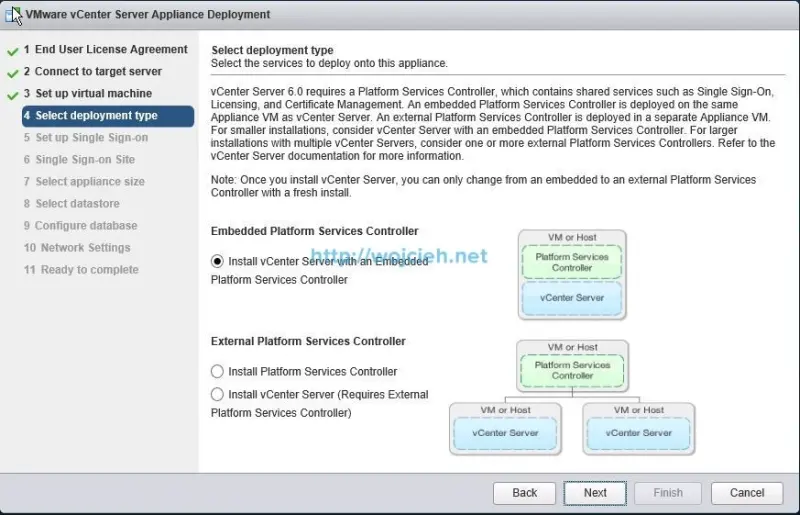
- Select vCenter Server deployment type. I selected vCenter Server with an Embedded Platform Services Controller because this is lab deployment. For other deployment methods please refer to VMware documentation VMware vCenter Server™ 6.0 Deployment Guide.
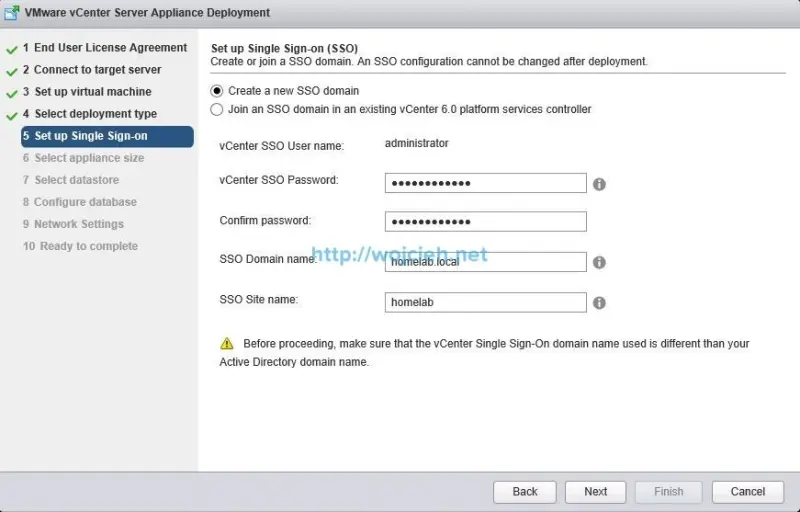
- In the next step I selected Create a new SSO domain. If you previously installed platform services controller select another option. Provide vCenter SSO password, SSO Domain name and SSO Site name.
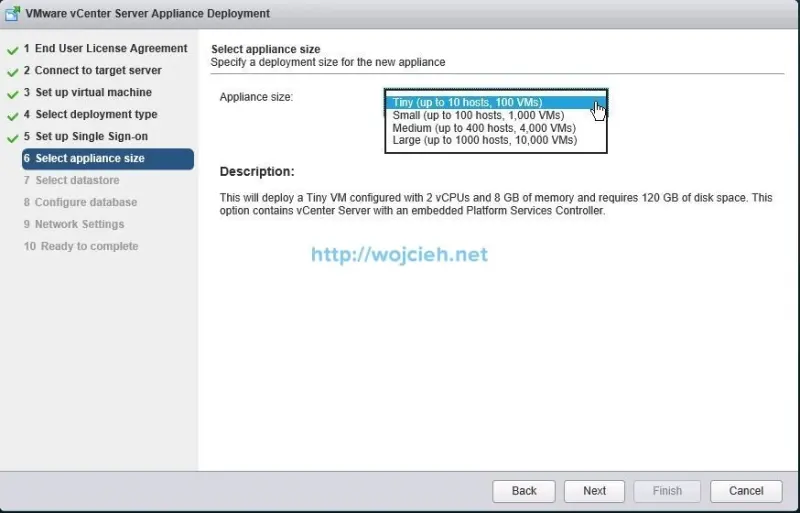
- Select appliance size. In my case I selected Tiny because I will not have more than 10 hosts. Select appliance size according to your environment or planned growth.
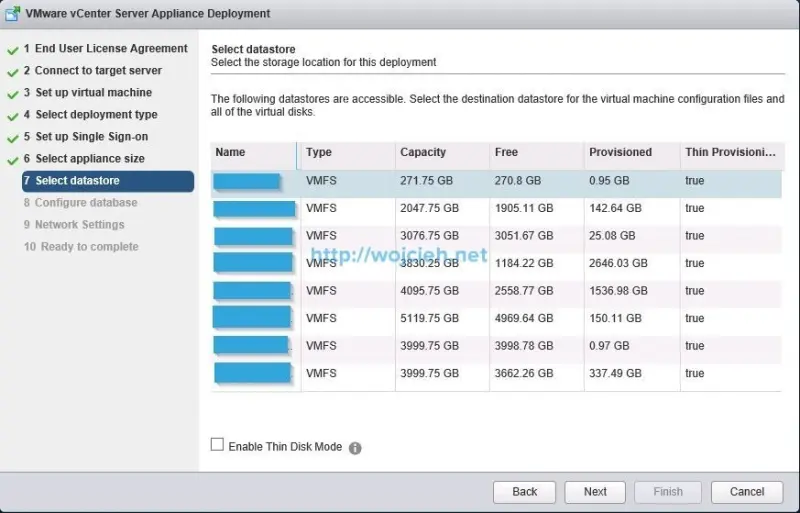
- Select desired datastore and click Next.
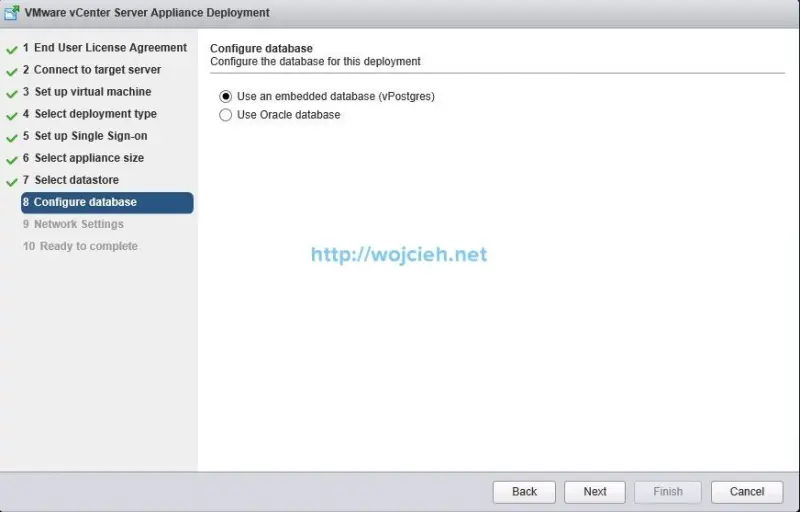
- Choose database installation type - embedded vPostgress or external Oracle database.
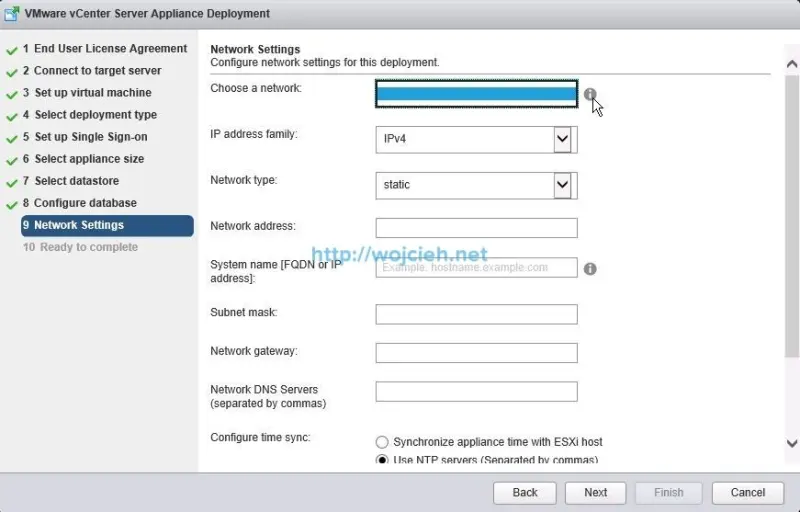
- In order to deploy vCSA on VMware Distributed Switch you must use ephemeral port binding on portgroup. If you don’t have one or you didn’t create it in advance you will see this.
- I quickly created ephemeral portgroup and now we can go ahead with installation.
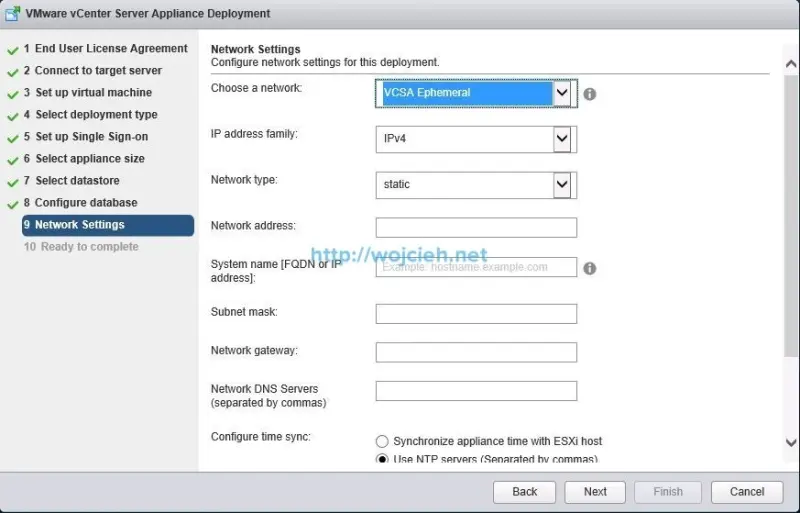
- Provide all networking information:
- Network address
- System name
- Subnet mask
- Network gateway
- DNS Servers
- NTP servers if you want it
- If you want you can enable ssh
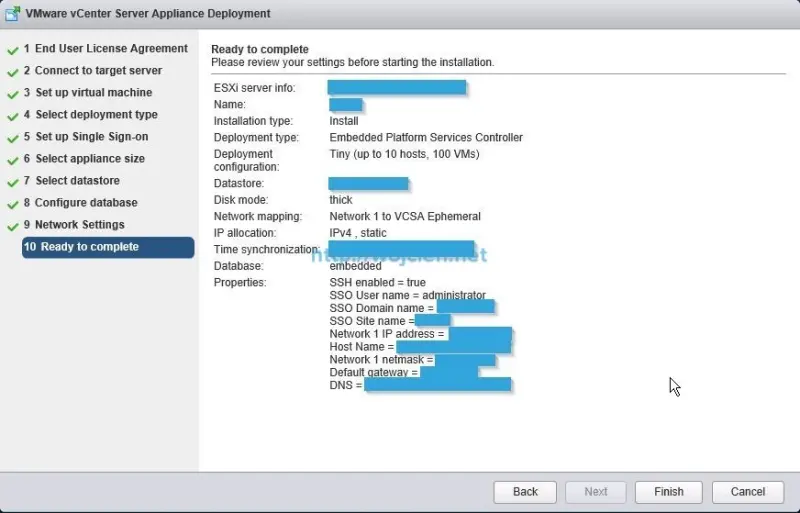
- On **Ready to complete **screen you can check all settings you provided.
- Click Finish and wait for deployment.
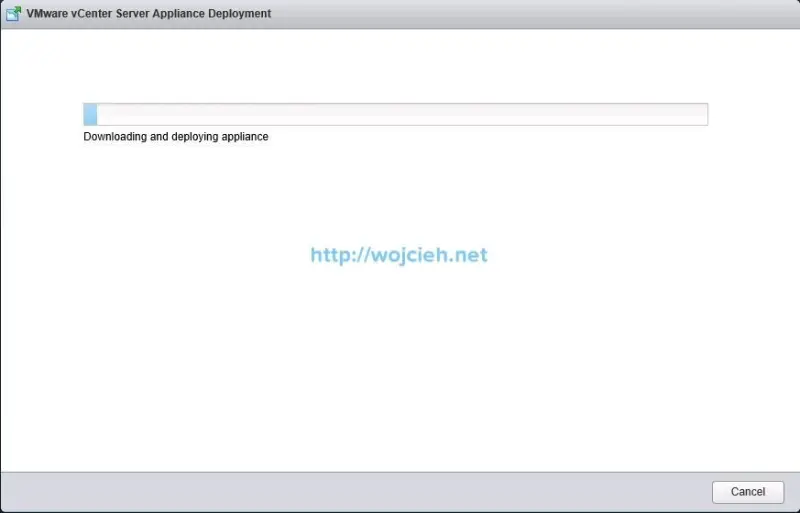
It takes some time, you can see progress when you connect to virtual machine by hitting ESC key.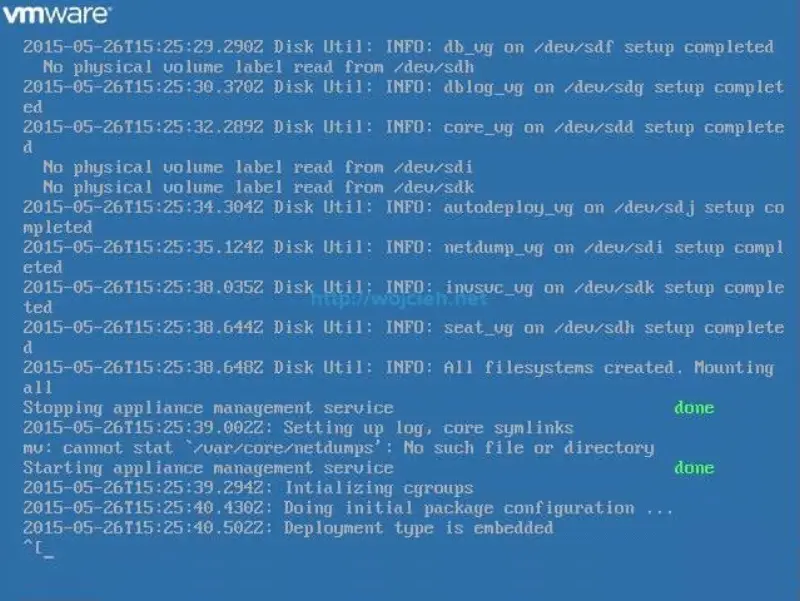
- After few minutes if everything is configured correctly you will see confirmation on screen that vCenter Server Appliance is installed.
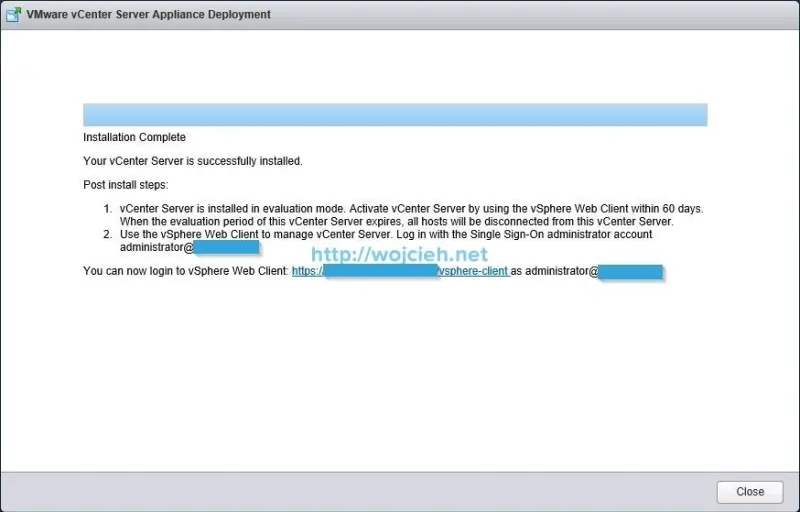
- To login use link https://FQDN:/vsphere-client/ or followed by administrator@your-domain password.
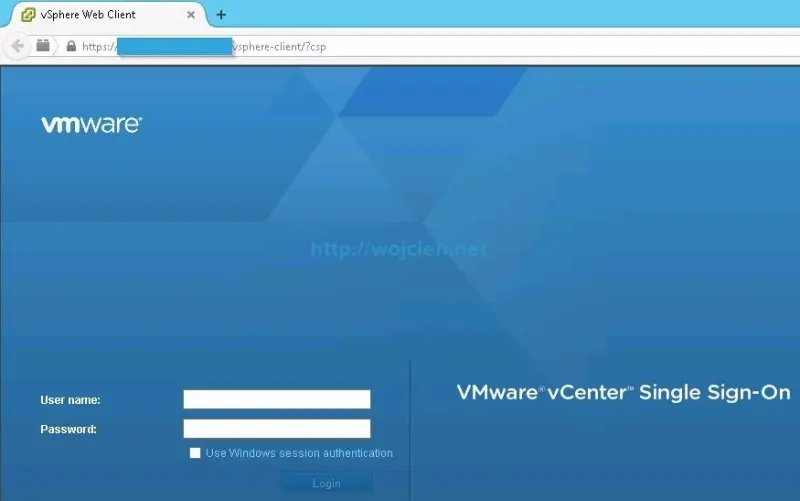
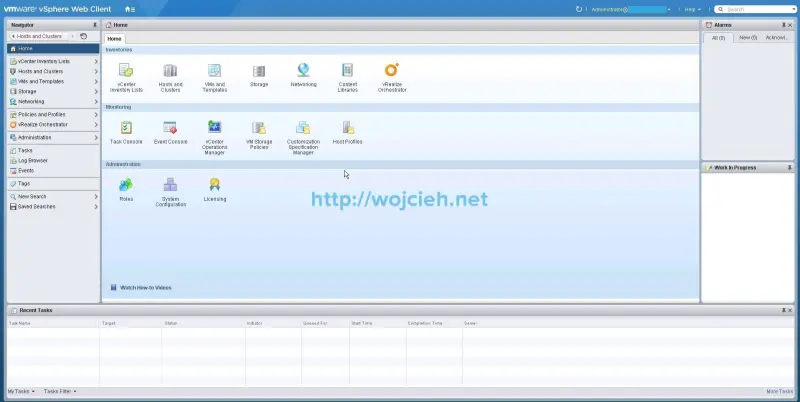
- After providing credentials you will see new vSphere Web Client.
Summary
This concludes vCenter Server Appliance 6 deployment. In next post I will focus on configuration of Appliance so we can use it in our environments.