This blog post is intended for my future use in post. It will shorten future post because I will just refer to this installation guide.
Besides, that it will be used in future I think it might be useful for people who never deployed anything using OVF or OVA files.
Deploying OVF template using vSphere Client
Let’s start with vSphere Client we know for a while.
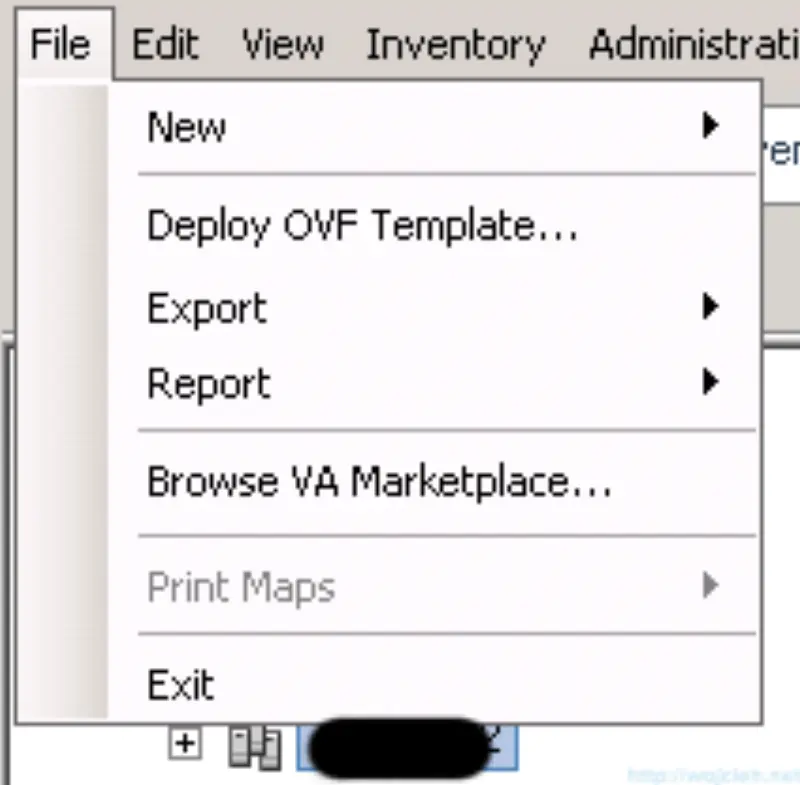
- Open vSphere Client and click Deploy OVF Template.
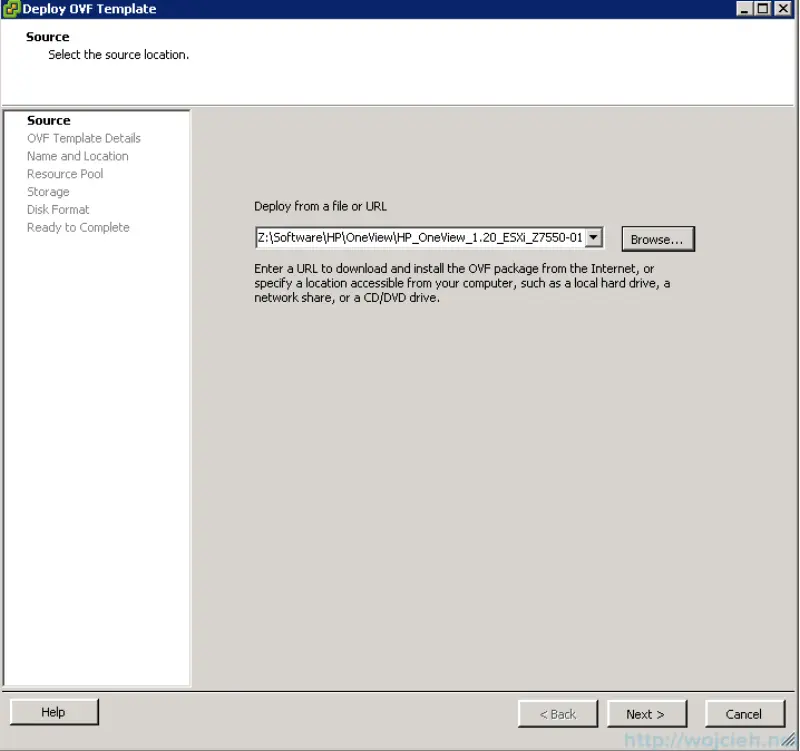
- Navigate to directory which has your OVF template, select it and click Next.
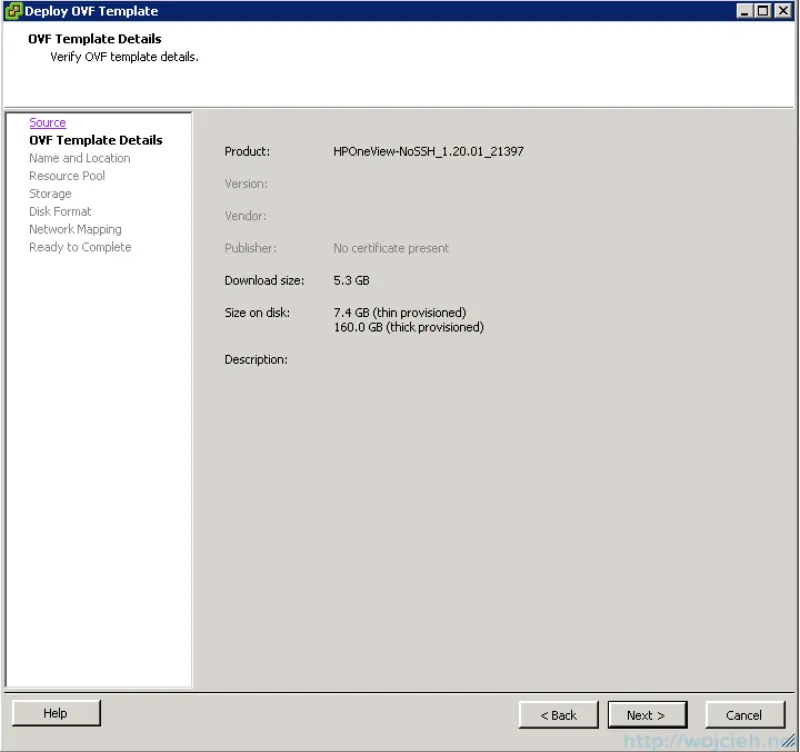
- After reviewing Template Details click Next.
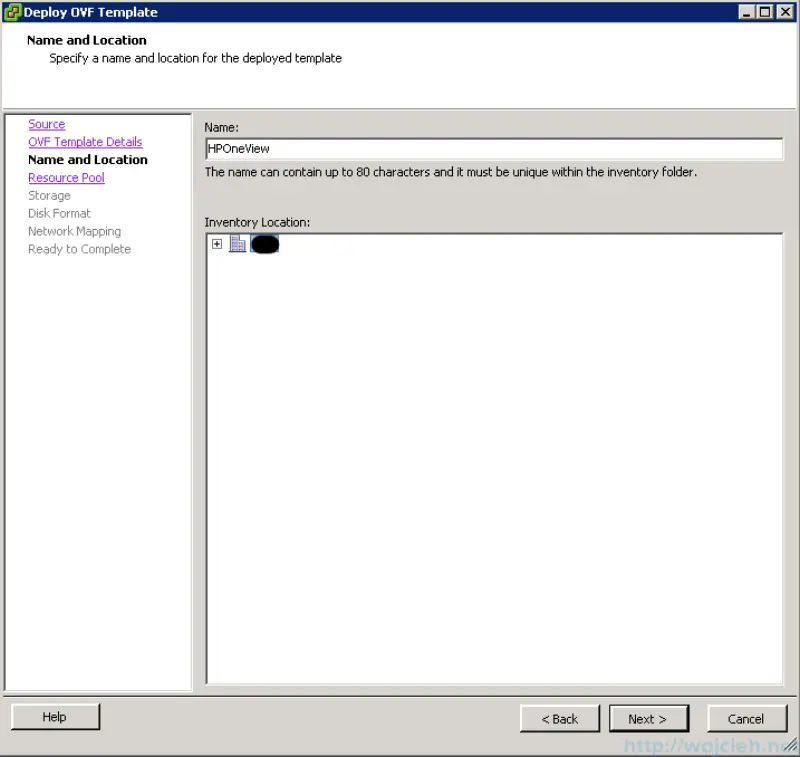
- Give your Virtual Machine Name and place it in inventory.
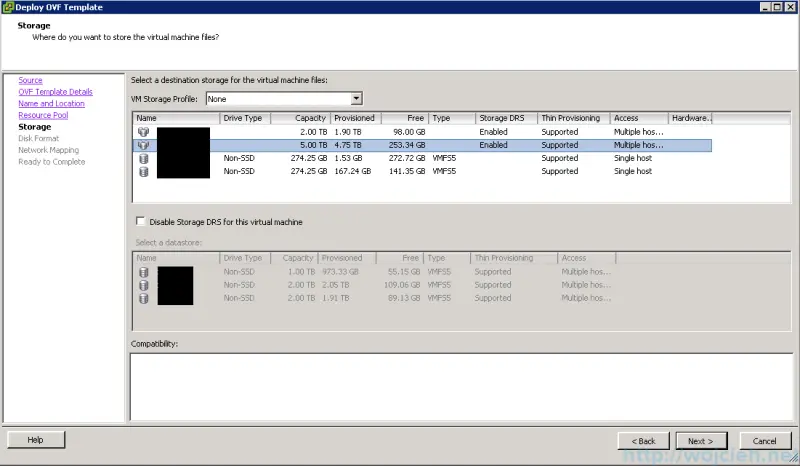
- Select Storage DRS cluster or single datastore.
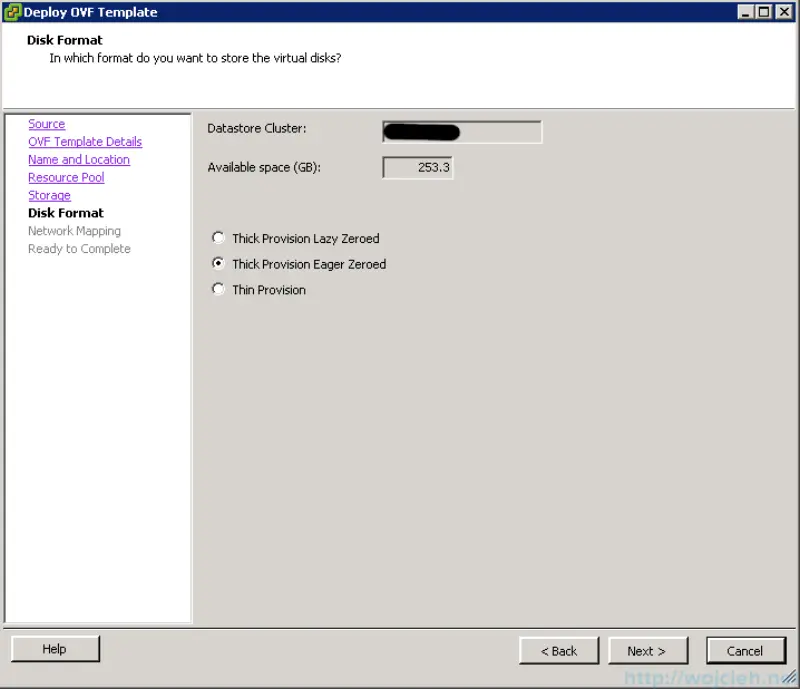
- Select disk type - Thick or Thin and click Next.
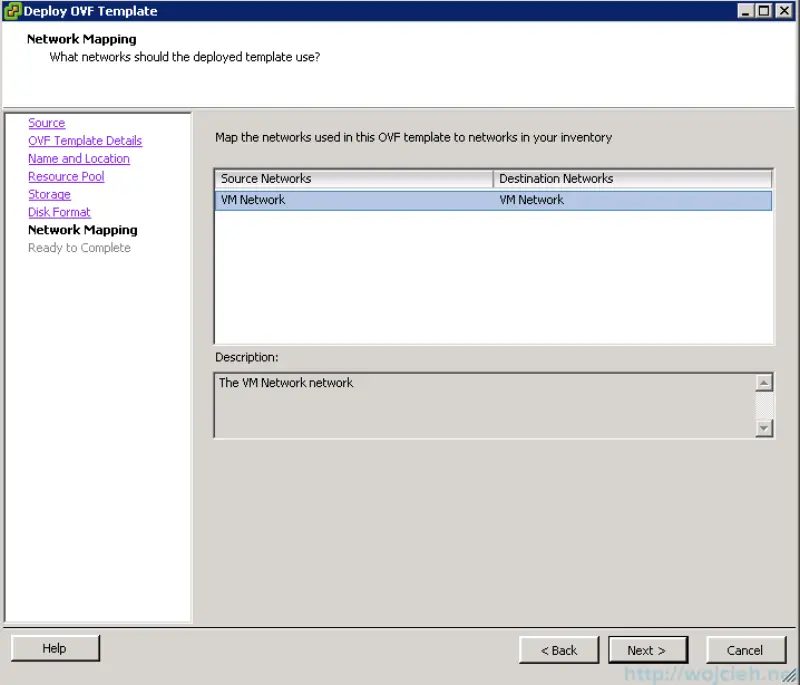
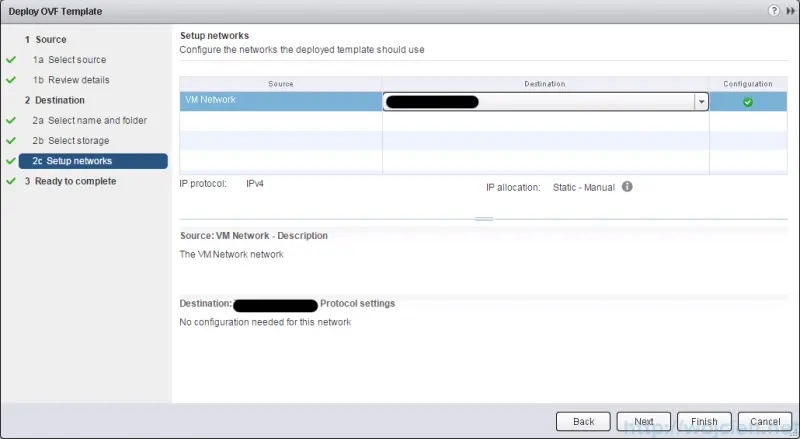
- Select Virtual Machine network - you will change it later afterwards.
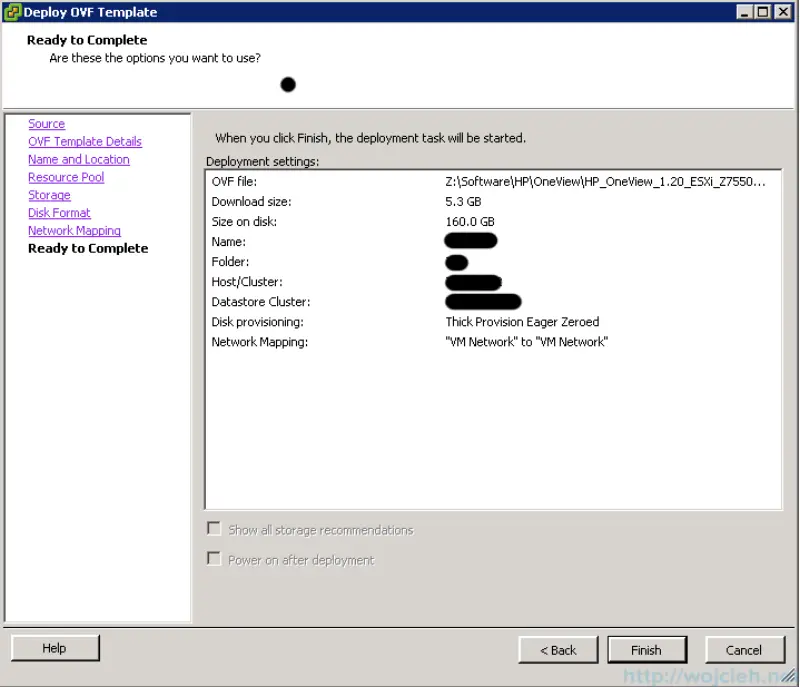
- The last step is to check all deployment settings and click Finish.
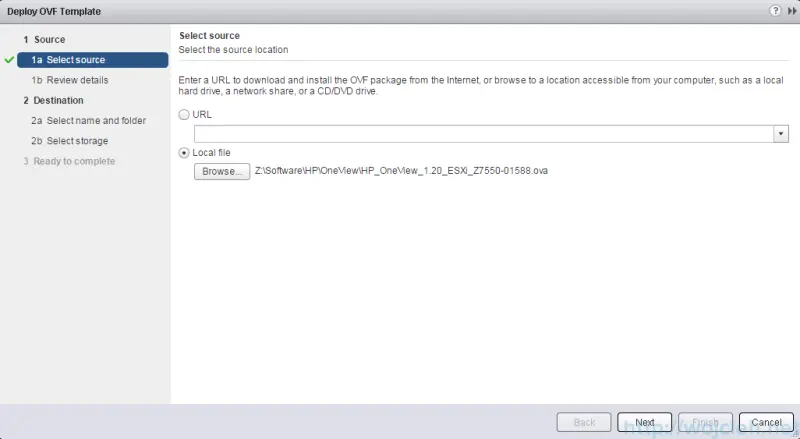
Deploying OVF template using vSphere Web Client
After we finished with vSphere Client deployment I would like to guide you show you how to deploy OVF template using vSphere Web Client.
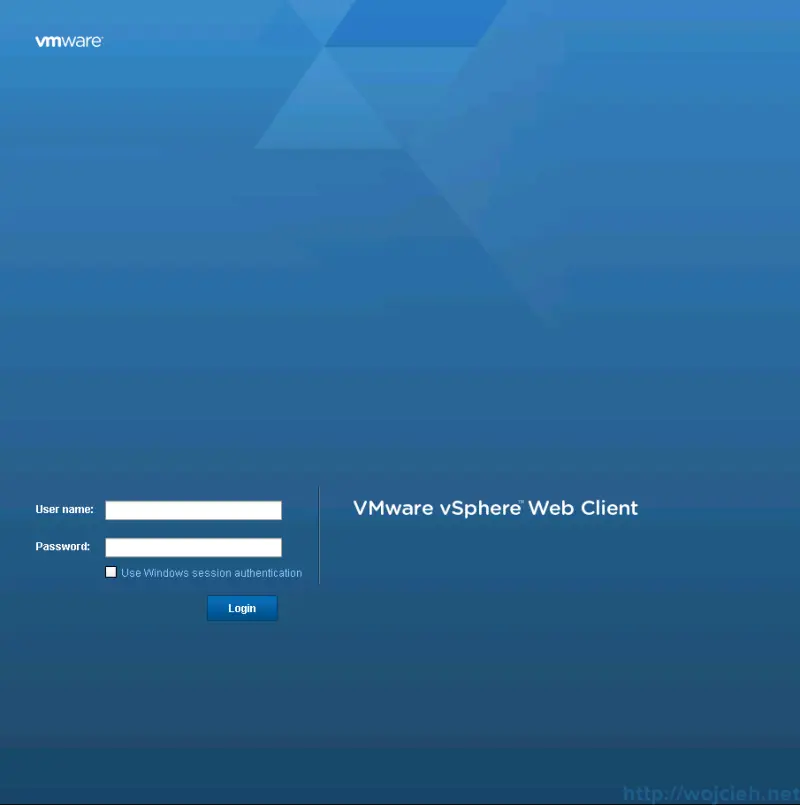
- Connect to vSphere Web Client using Web Browser. Typically address should look like this: https://FQDN:9443/vsphere-client/#.
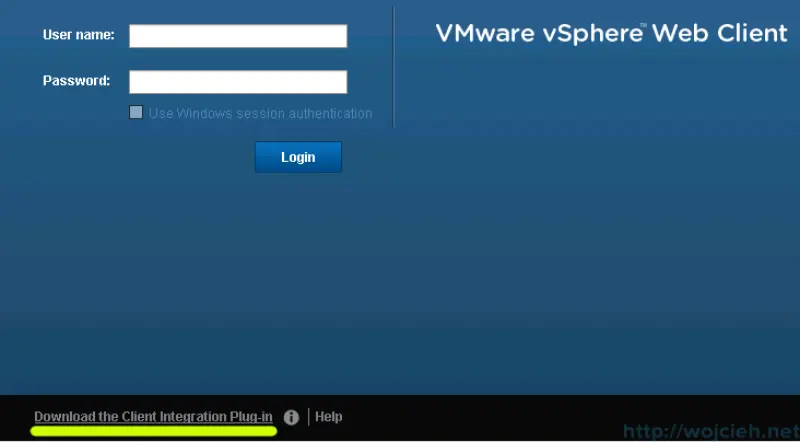
- You can login to vSphere Web Client using Windows session authentication but the **Client ****Integration Plugin **has to be installed first. Simply click on link and install it.
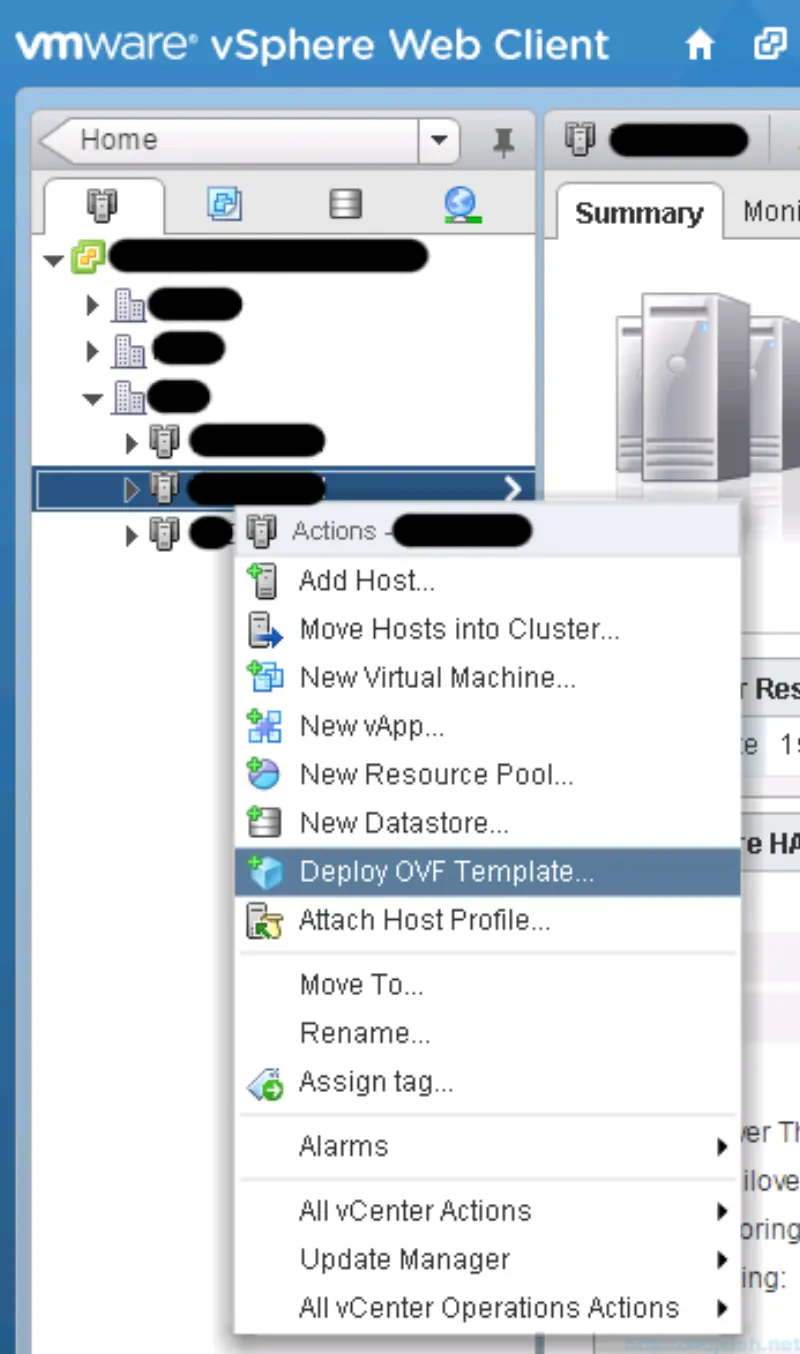
- Once plugin is installed you can login using Windows session credentials. Navigate to Hosts and Clusters, select Datacenter, Cluster or specific host and click right mouse button on selected item. Click Deploy OVF Template…
- Select URL or Local file and click Browse to provide OVF location. Click Next.
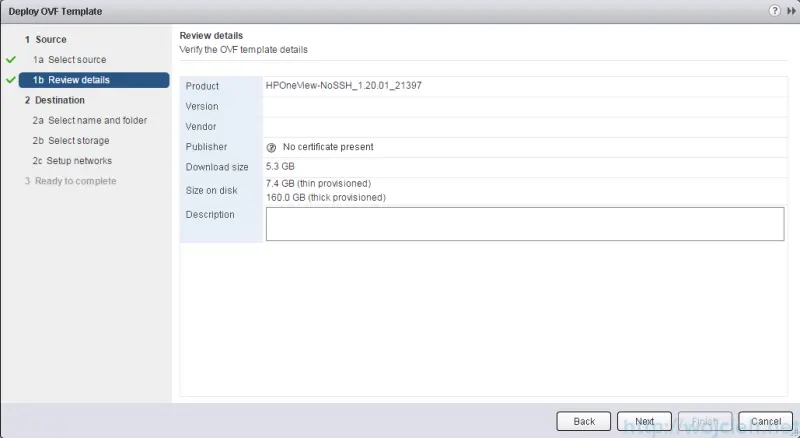
- Review details of OVF template and click Next.
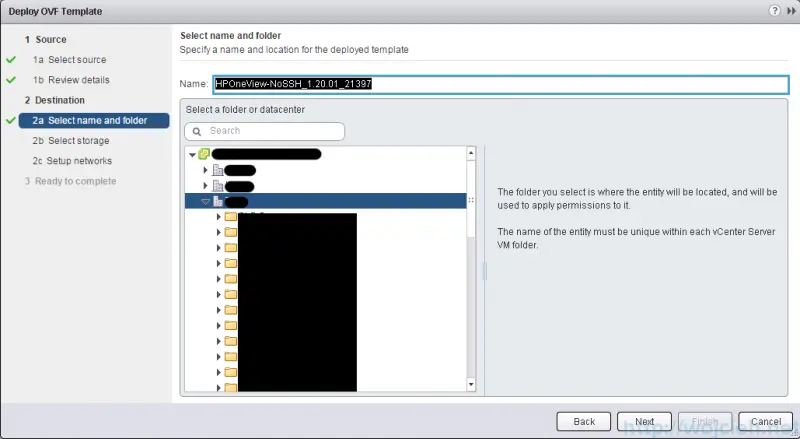
- Select name and folder for the deployed template. Click Next.
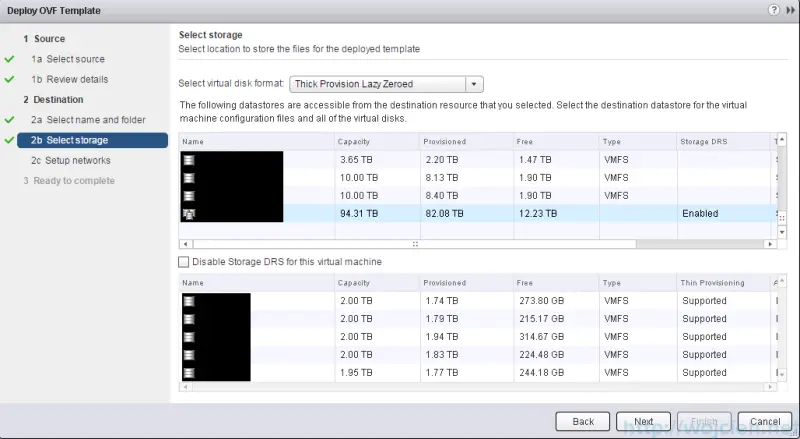
- Select virtual disk format and choose destination from accessible datastores and click Next.
- In vSphere Web Client you are able to select desired network for your Virtual Machine which you can’t do in vSphere Client.
- On Ready to complete section you can check your settings selections. You can as well power on Virtual Machine after deployment by selecting check box.

Summary
In this post we covered deployment of OVF Template using classic vSphere Client and new vSphere Web Client. The process itself is not difficult and you shouldn’t have any problems with it.