It has been a while since I was dealing with vCenter on SQL Server simply because I used vCenter Server appliance. In series of post, I would like to guide you through the installation of Microsoft SQL Server 2014, vCenter database creation and preparation and vCenter 5.5 Update 2 installation.
In my guide I will use following software:
- Operating System - Windows Server 2012 R2 Datacenter Edition
- Database - Microsoft SQL Server 2014 Enterprise Edition
- VMware - VMware vSphere 5.5 Update 2b
Microsoft SQL Server 2014 preparation
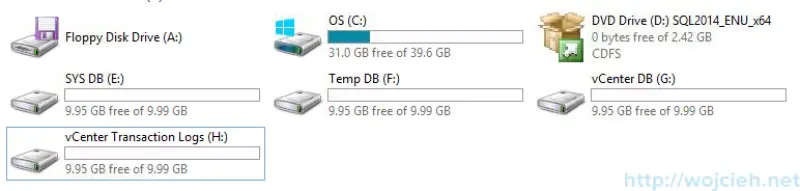
Following Microsoft SQL Server best practices I will install SQL Server 2014 with following disk layout:
- Disk 1 : OS/SQL Binaries
- Disk 2: System databases (aside from tempdb)
- Disk 3: tempdb
- Disk 4: User databases
- Disk 5: User DB transaction logs
- Disk 6 : VMware vCenter Server binaries
- Before installation, I recommend running System Configuration Checker. It is a tool which checks if all necessary components required by SQL Server 2014 are installed.
- Another thing that we have to do before installation is enabling of.Net Framework 3.5 Service Pack 1. We can do it simply from PowerShell by executing following command.
|
|

- We will create application users: **ap-mssql **and ap-vcenter and we will use it to run SQL Server services and vCenter services. I described how to do it in this post: https://www.wojcieh.net/how-to-create-application-user-in-active-directory/
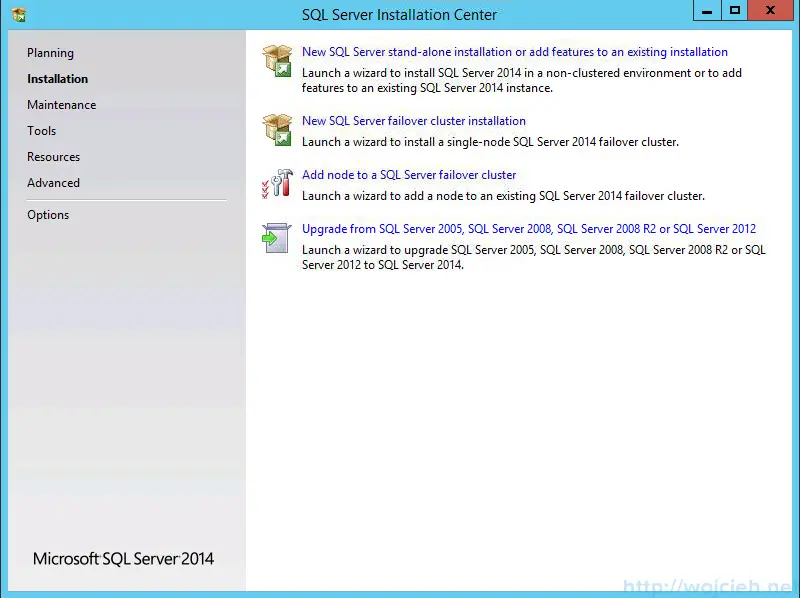
Microsoft SQL Server 2014 installation
- We switch to Installation section and select New SQL Server stand-alone installation or add features to existing installation.
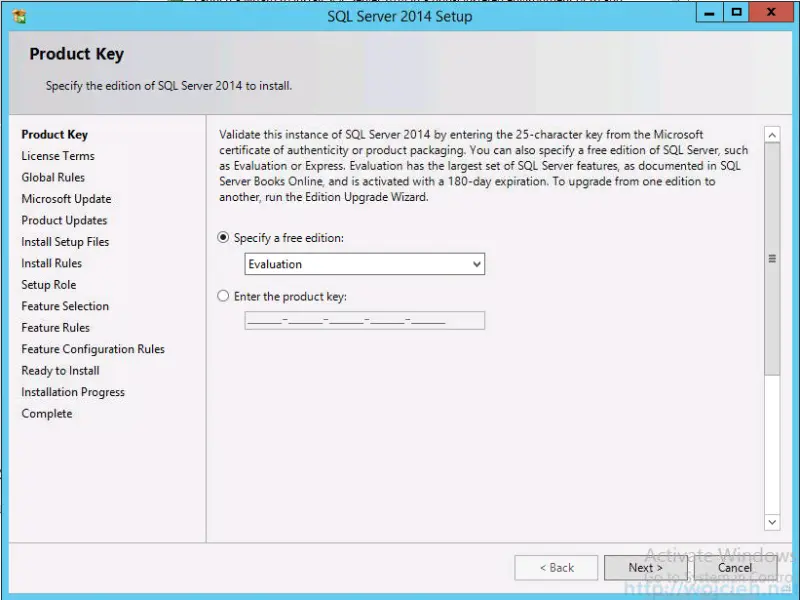
- Provide SQL Server 2014 product key or select evaluation.
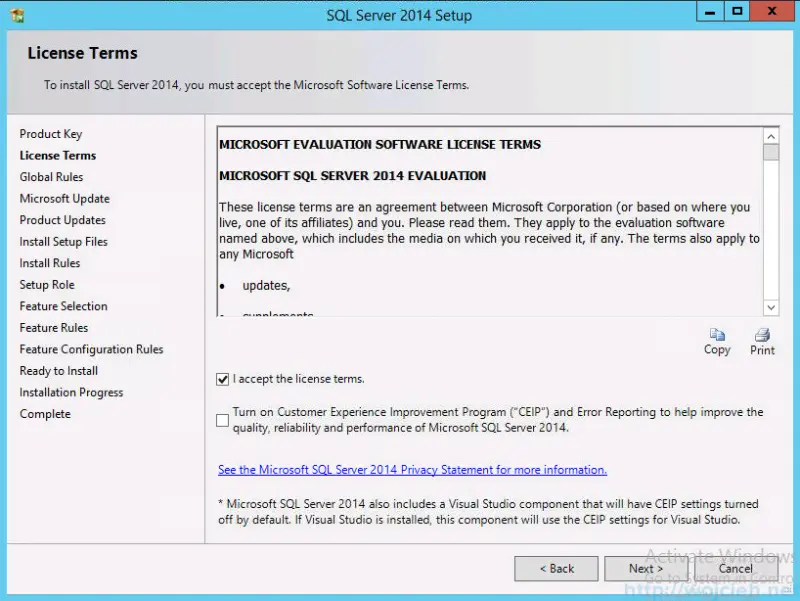
- Accept the license terms and if you want you can join **Customer Experience Improvement Program **also called CEIP.
- Choose if you want to receive Microsoft Updates to patch SQL Server 2014.

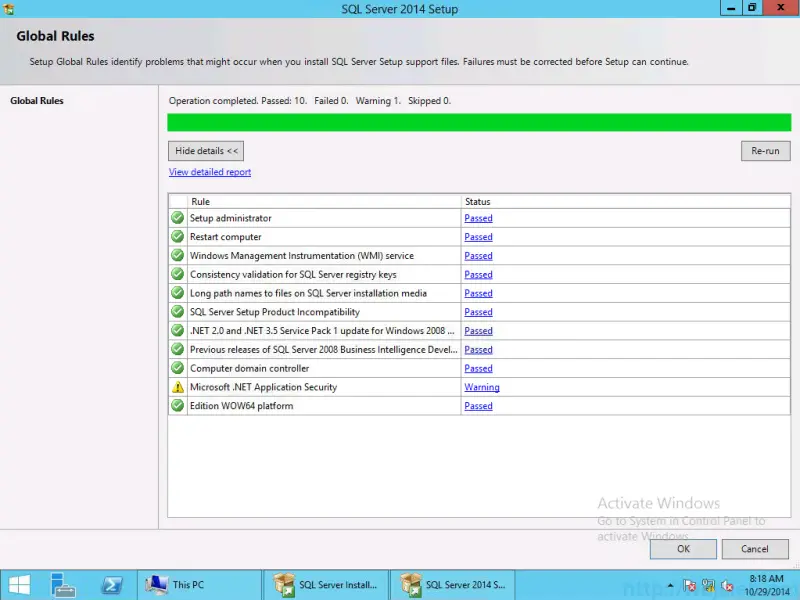
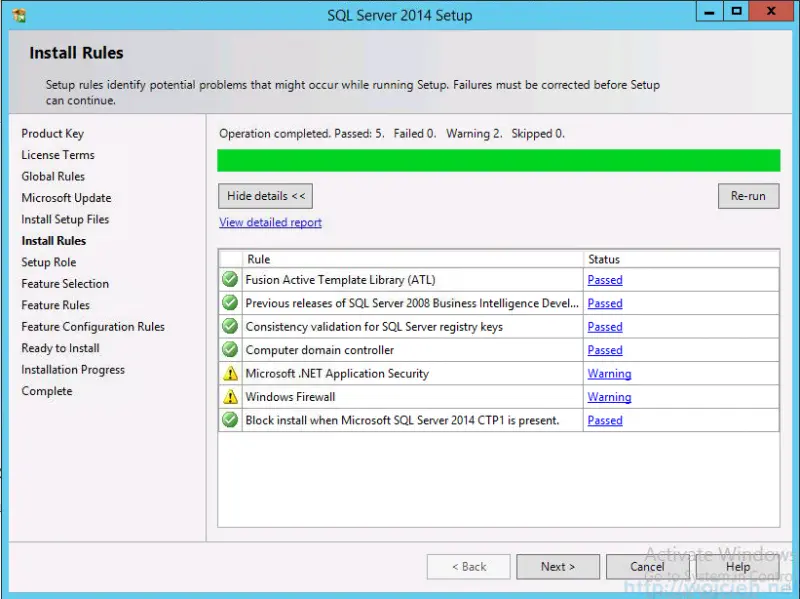
- Click next and Setup will initiate another check to make sure that there will be no problems.
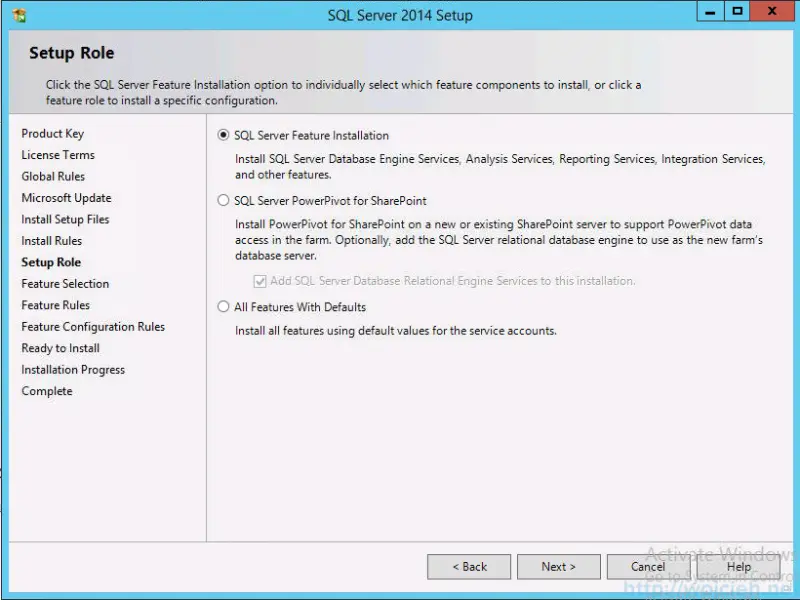
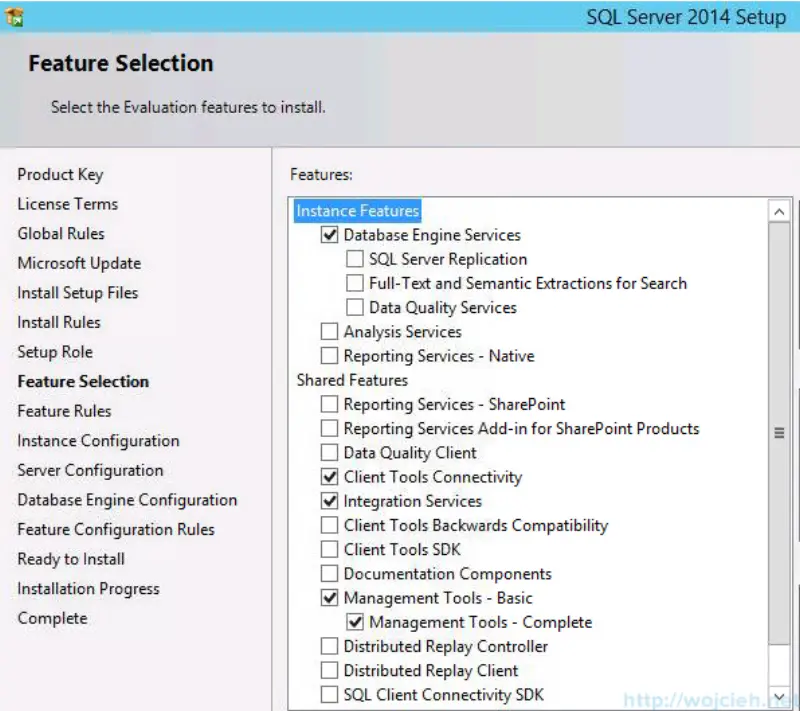
- Click next and select SQL Server Feature Installation
- Choose following features:
- Database Engine Services
- Client Tools Connectivity
- Integration Services
- Management Tools – Basic
- Management Tools – Complete
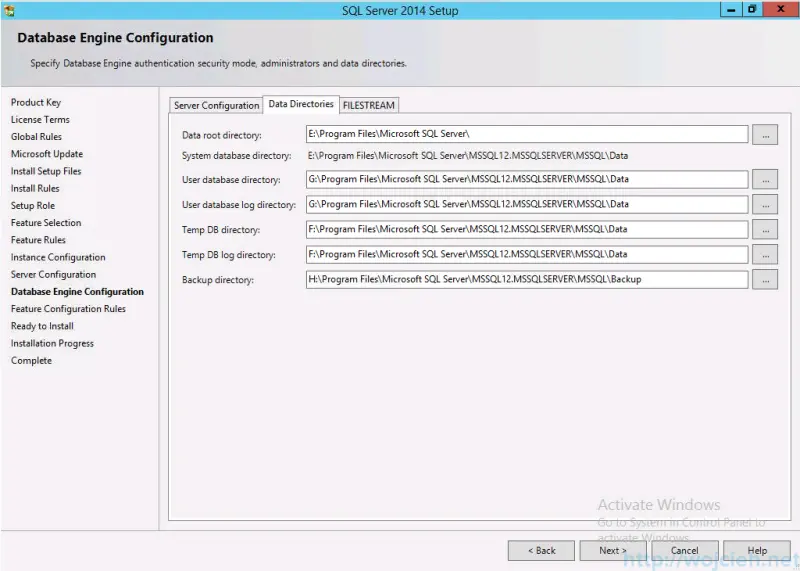
- And select following directories:

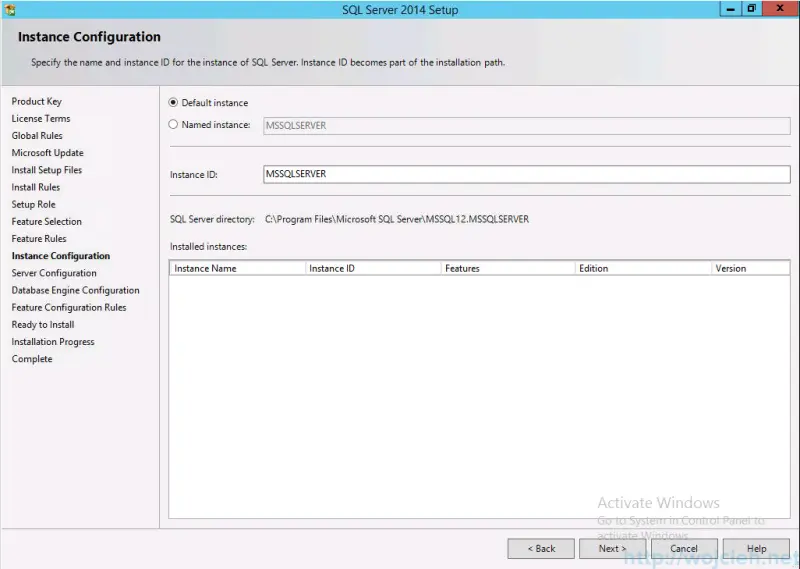
- In Instance Configuration, I selected Default instance and I clicked Next.
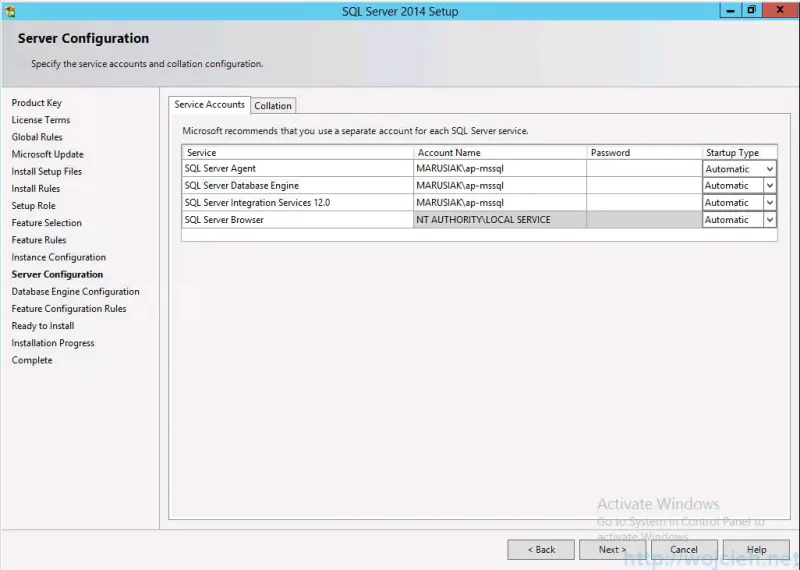
- To run all SQL services we will use user called ap-mssql.
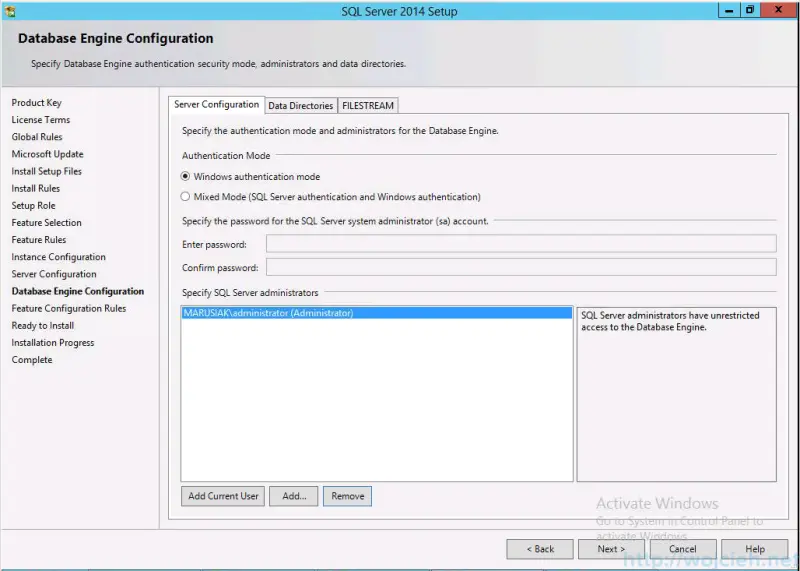
- I added my user as SQL Server administrator. I selected Windows authentication mode.
- As I wrote at the beginning I will distribute directories across different disks.
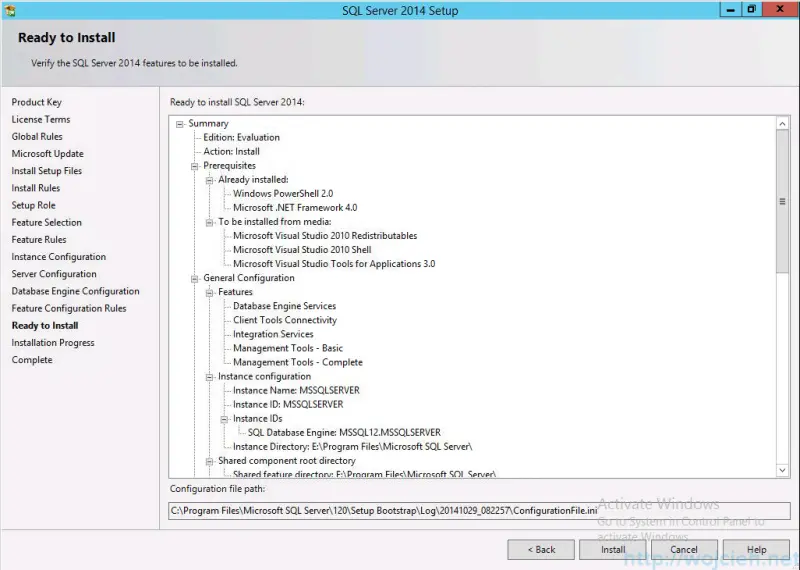
 13 .Select Install and watch the progress.
Summary
This concludes the installation of Microsoft SQL Server 2014 on Windows Server 2012 R2. In the next post, I will proceed with SQL Server configuration.