
It has been a while since I wrote about NFS datastores and VMware ESXi. In my previous post How to add NFS export to VMware ESXi 6.5I used NFS server on my host back then. In this post I will show you how you can use QNAP NFS exports with VMware ESXi.
Prerequisites
- QNAP NAS
- VMware ESXi - mentioned solution should work starting from VMware ESXi 6.0+
QNAP Configuration
QNAP configuration is pretty much straightforward. Let’s configure NFS.
- Login to QNAP NAS.
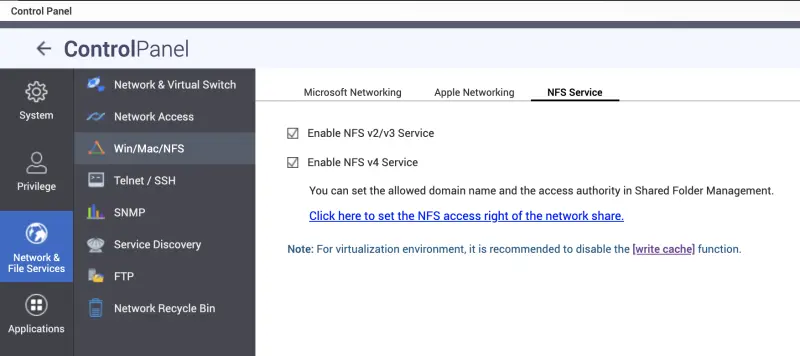
- From Control Panel choose Win/Mac/NFS

- Switch to NFS Service. Select desired NFS version. I’ve tested it with both NFS v2/v3 and NFS v4.
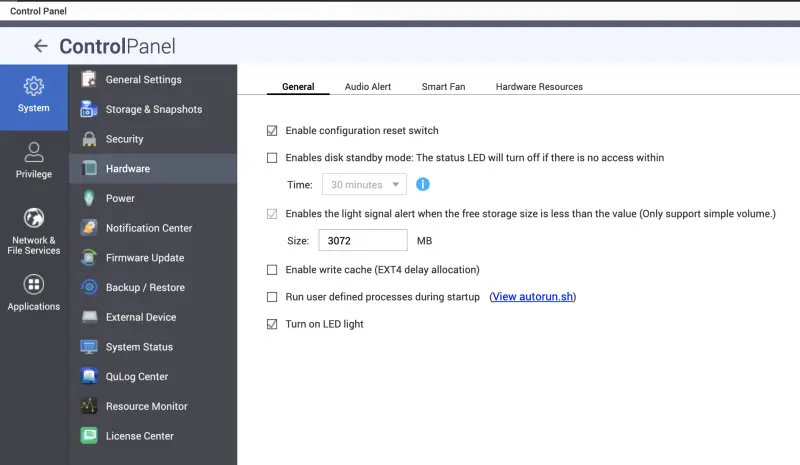
- QNAP recommends disabling write cache function. Simply click on the link fron the NFS service or go to Control Panel, System, Hardware. De-select Enable write cache (EXT4 delay allocation) and click Apply.
- Now we need to create a shared folder. Go to Control Panel, Priviledge, Shared Folders. Click Create. Provide share name and choose disk volume if you have more than one.

- Now we need to change NFS priviliges to allow access from ESXi hosts. Once the shared folder is crated click the middle icon to assign permissions.

- In a new window choose NFS Host Access.
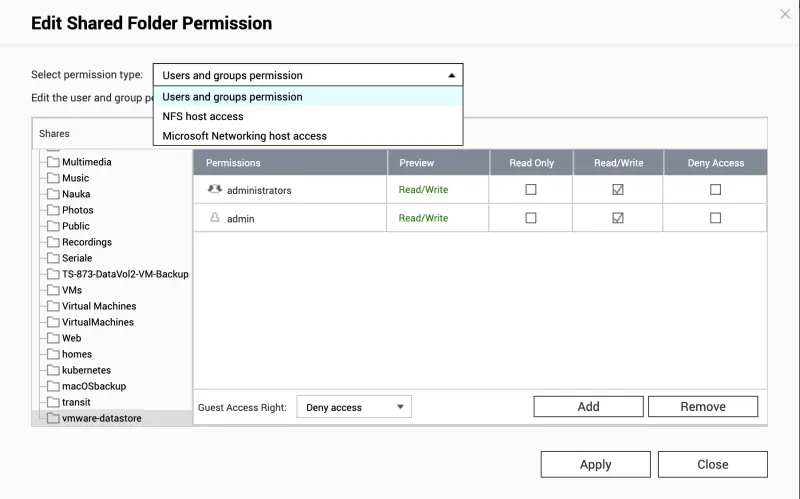
- Once selected you need to provide following information:
- Host/IP/Network. In my case I’ve selected Network. If you want to grant access from anywhere simply use * as a wildcard.
- Choose read/write.
- Select Squash no users
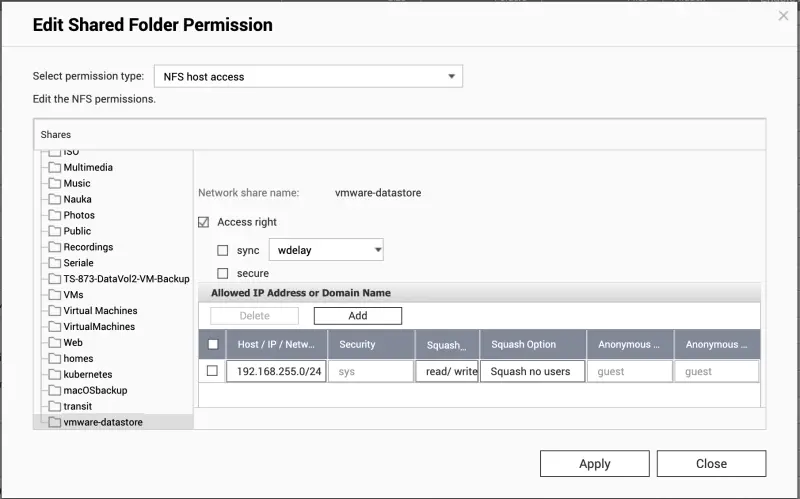
- Settings are applied and ready to be consumed by VMware ESXi.
ESXi Configuration
VMware ESXi can consume NFS resources by using NFS version 3 and version 4. I’ve tested it with both and I will descibre the process.
NFS v3
- Click on Datacenter, Cluster or ESXi where you want to attach NFS Datastore.
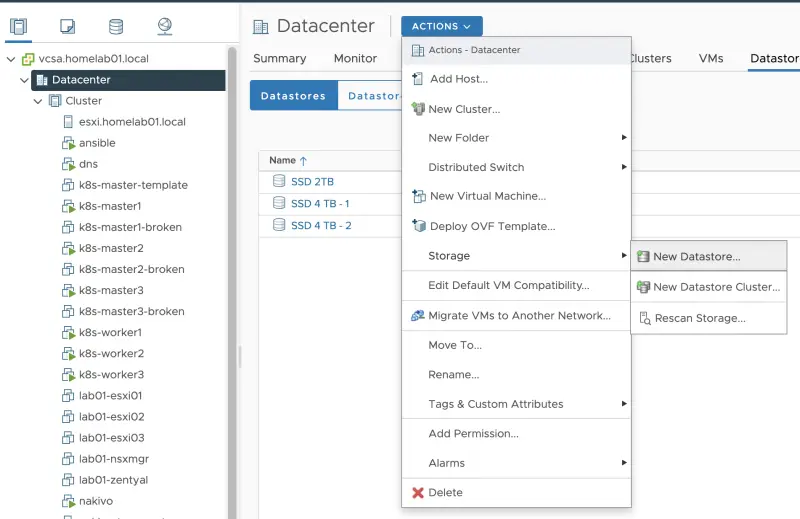
- Choose NFS as a new datastore type.
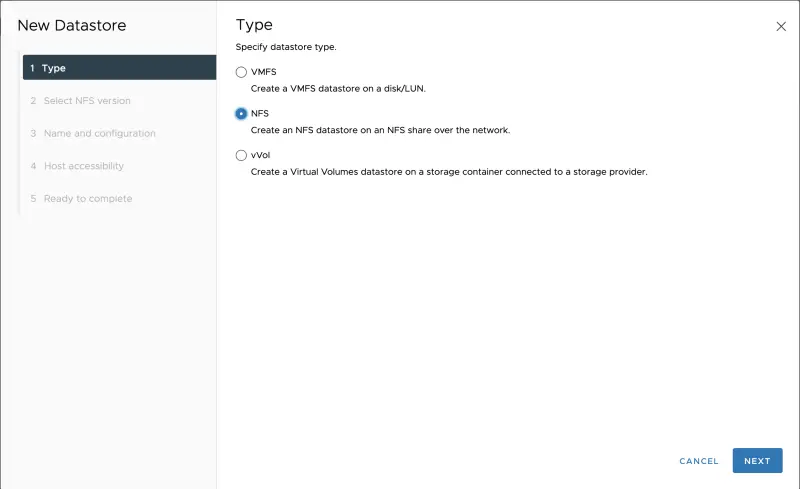
- Choose NFS 3.

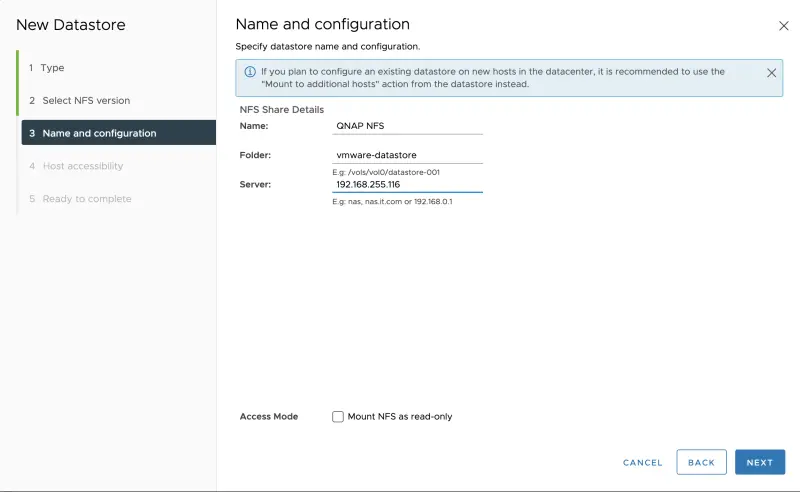
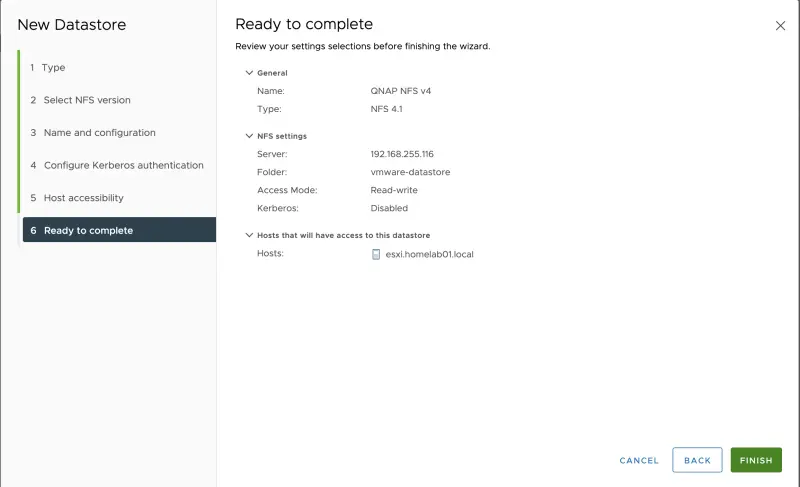
- Provide datastore name, QNAP shared folder and QNAP IP or FQDN.
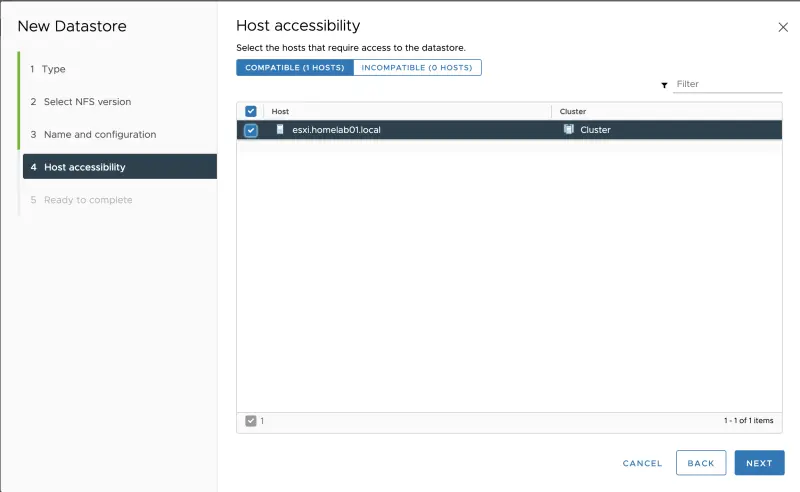
- Select to which hosts or Cluster you want to attach the NFS datastore.
- Click Finish on ready to complete section.
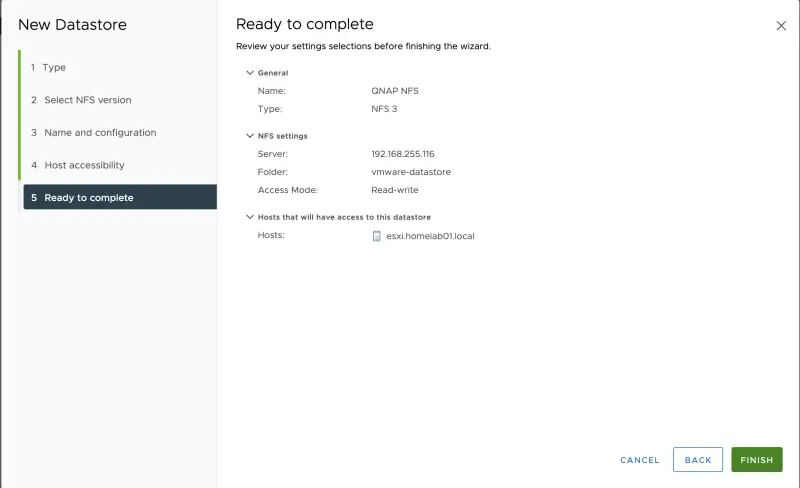
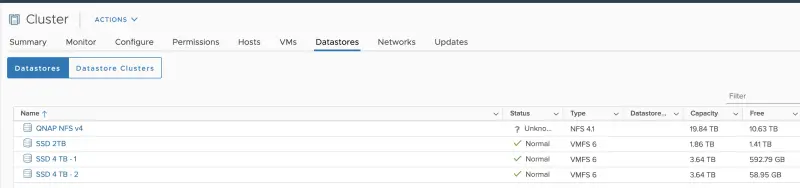
- NFS datastore is added.
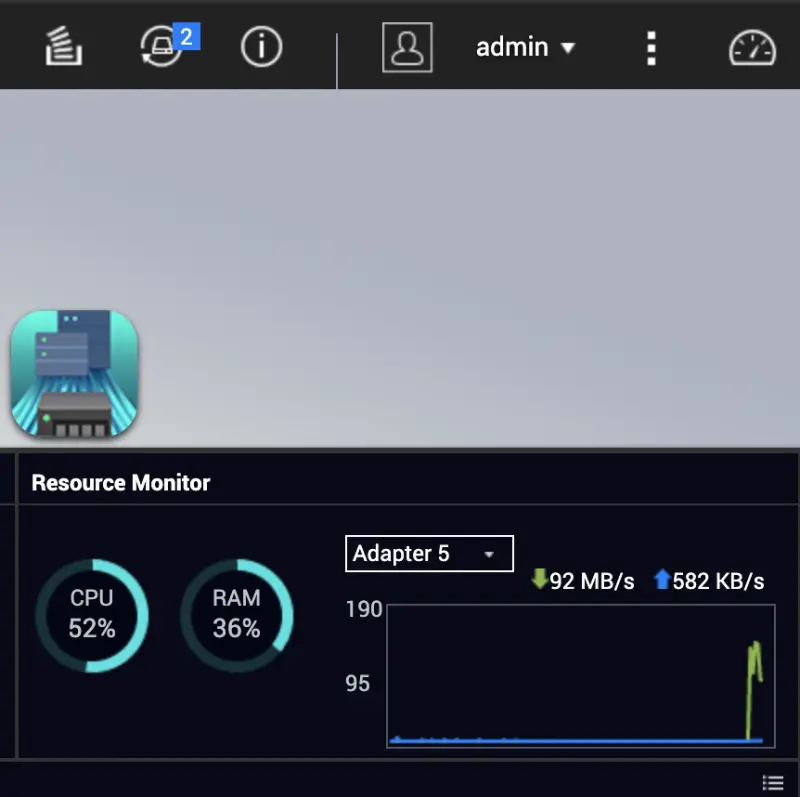
- I initiated Storage vMotion from my local drives to shared NFS drive. It works well.

- From QNAP point of view we see incoming data :)
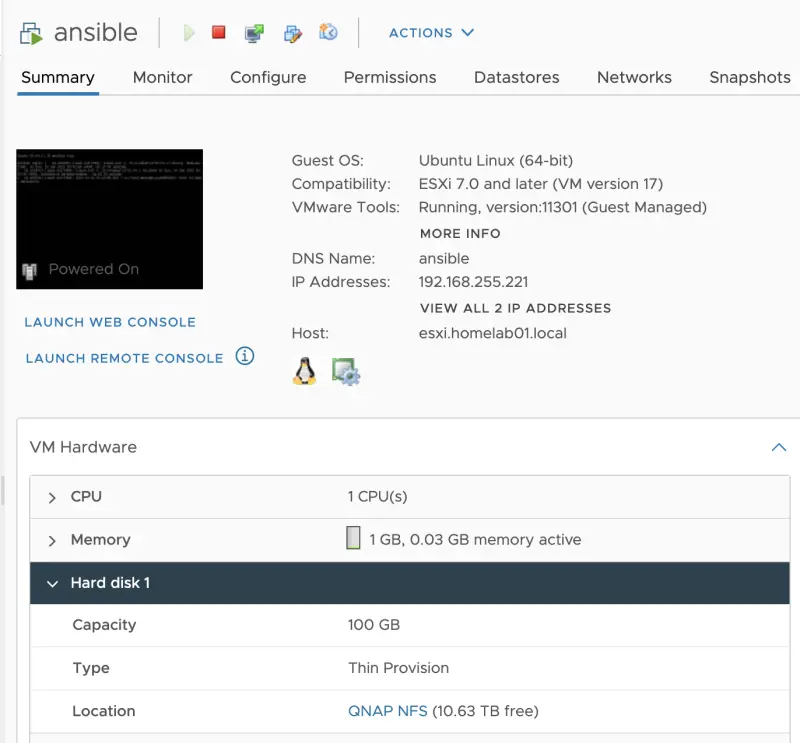
- Here is vMotioned virtual machine.
NFS v4
- The procedure only differs from the point number 3.
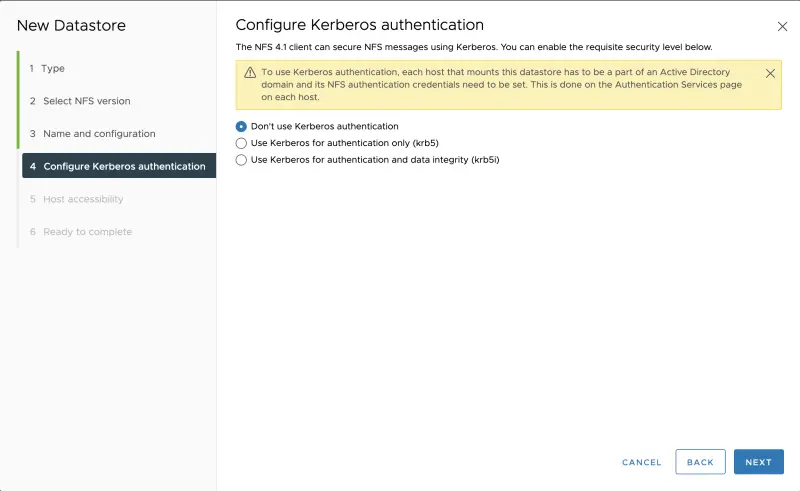
- You can but you don’t need to use authentication. In my case I don’t have Active Directory so I can’t test it. However it works :)
Summary
In this post I showed you how to configure QNAP and its NFS service to create a datastore on VMware ESXi. I hope it will all work for you. In the next post I will configure datastore using iSCSI from QNAP. Stay tuned!