---
title: "Zentyal – my new Homelab Swiss Army Knife"
date: "2018-10-10T17:34:44Z"
tags: ["Active Directory", "DNS", "Home Lab"]
categories: ["Blog & Other", "VMware"]
---
 I recently had to rebuild homelab due to the SSD disk failure. I had backups but the initial setup wasn't optimal. I decided to rebuild it from scratch.
As I am using PowerCLI script from William Lam https://github.com/lamw/vghetto-vsphere-automated-lab-deployment one of the prerequisites to successful lab deployment is working DNS. As I don't want to use Windows Server Active Directory I used Zentyal Server. Besides Directory & Domain Server has many more features: mail server, gateway (routing, gateway, firewall, proxy, ids/ips), and infrastructure server (dhcp, ntp, ca, ftp).
If you want to know all features simply visit the webpage http://www.zentyal.com/zentyal-server/.
Zentyal is based on Ubuntu Server and has a very nice management panel via a browser.
# Zentyal Server installation
The installation is quite simple but let's go with the steps.
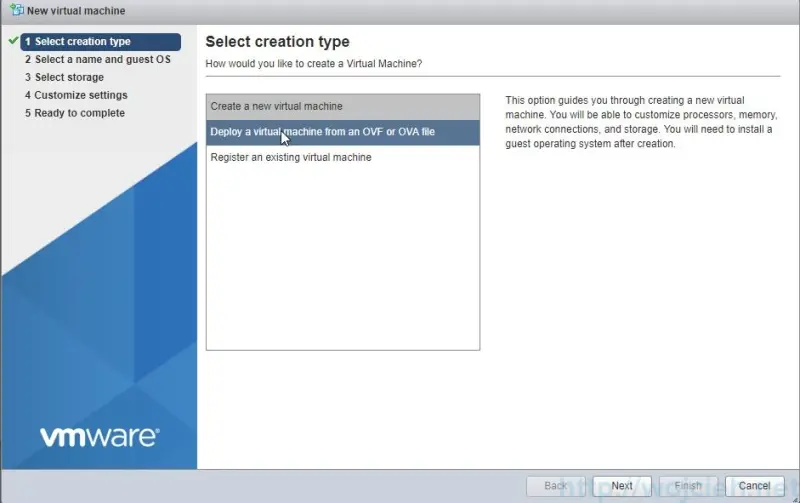
1. On ESXi, click **Create / Register VM** and select **Create a new virtual machine.**
I recently had to rebuild homelab due to the SSD disk failure. I had backups but the initial setup wasn't optimal. I decided to rebuild it from scratch.
As I am using PowerCLI script from William Lam https://github.com/lamw/vghetto-vsphere-automated-lab-deployment one of the prerequisites to successful lab deployment is working DNS. As I don't want to use Windows Server Active Directory I used Zentyal Server. Besides Directory & Domain Server has many more features: mail server, gateway (routing, gateway, firewall, proxy, ids/ips), and infrastructure server (dhcp, ntp, ca, ftp).
If you want to know all features simply visit the webpage http://www.zentyal.com/zentyal-server/.
Zentyal is based on Ubuntu Server and has a very nice management panel via a browser.
# Zentyal Server installation
The installation is quite simple but let's go with the steps.
1. On ESXi, click **Create / Register VM** and select **Create a new virtual machine.**
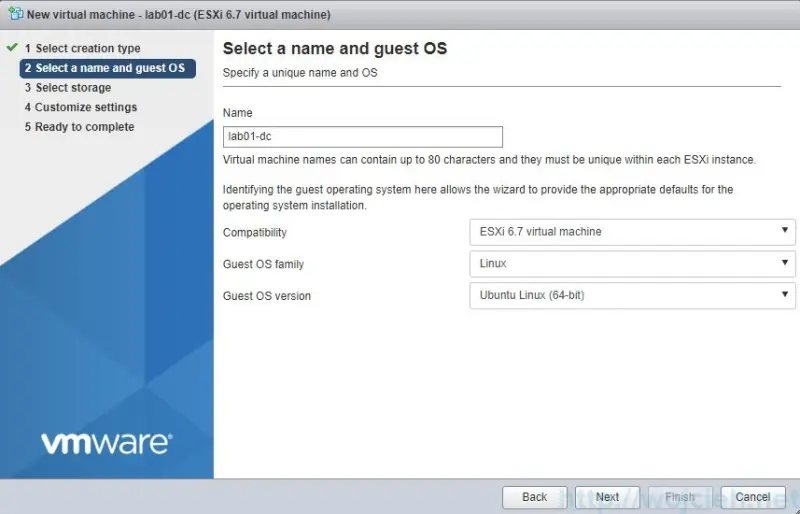
 2. Provide a virtual machine name, choose compatibility, guest os family and guest os version.
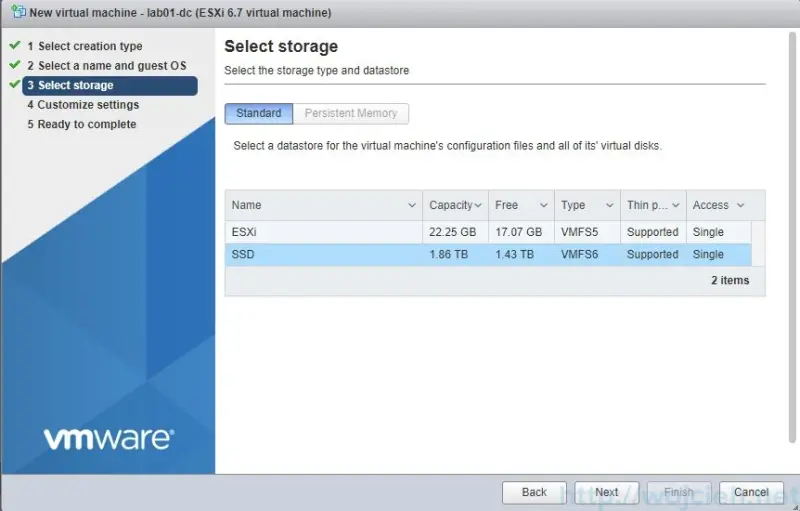
 3. Select the Datastore.
 4. As per installation wiki, we will provide 1vCPU and 2GB RAM and 80GB disk.
5. Click OK.
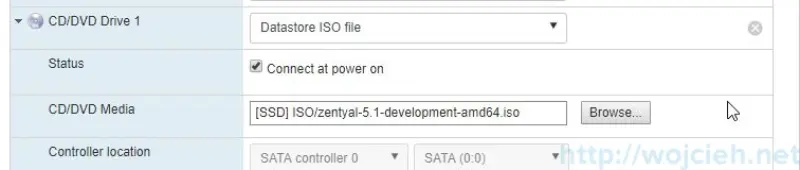
6. We need to mount Zentyal ISO - it is a pity that they don't provide OVA/OVF for easy deployments.
4. As per installation wiki, we will provide 1vCPU and 2GB RAM and 80GB disk.
5. Click OK.
6. We need to mount Zentyal ISO - it is a pity that they don't provide OVA/OVF for easy deployments.
 7. Power the virtual machine.
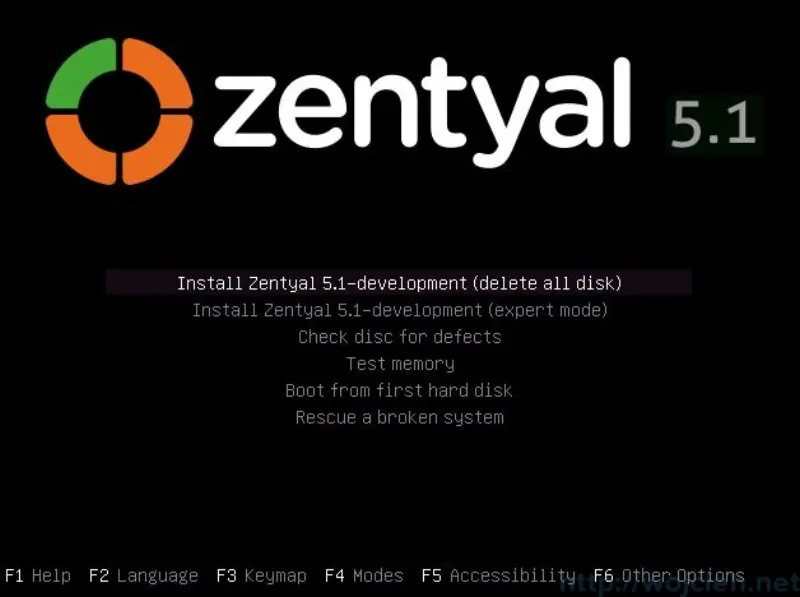 8. As the virtual machine is powered on we can proceed with Zentyal Server installation. Choose the desired language.
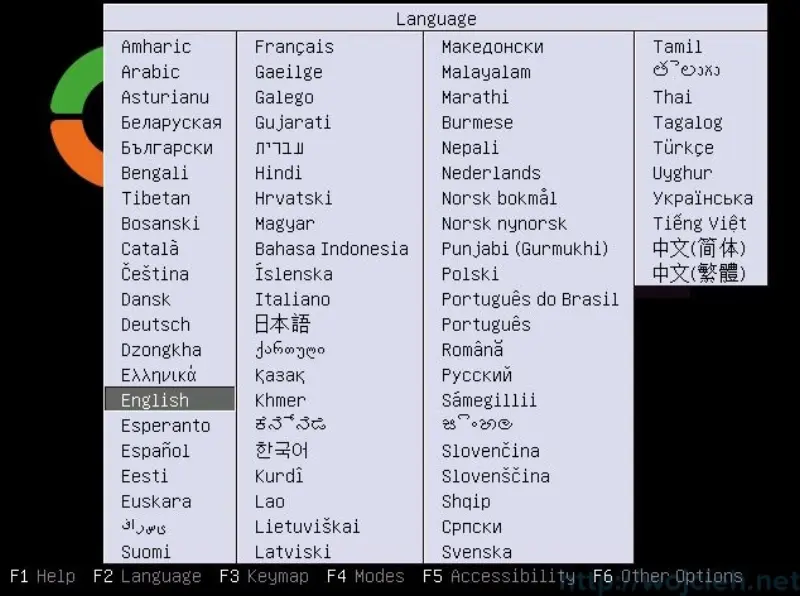 9. Select your location.
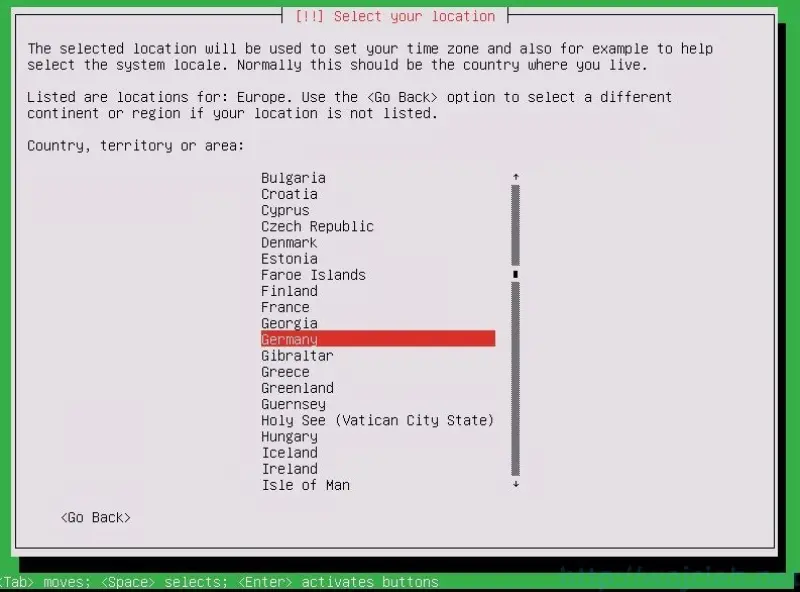 10. Choose default locale.
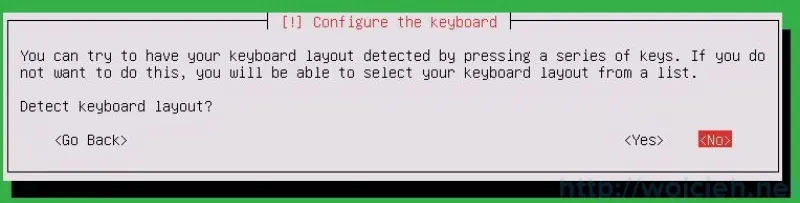
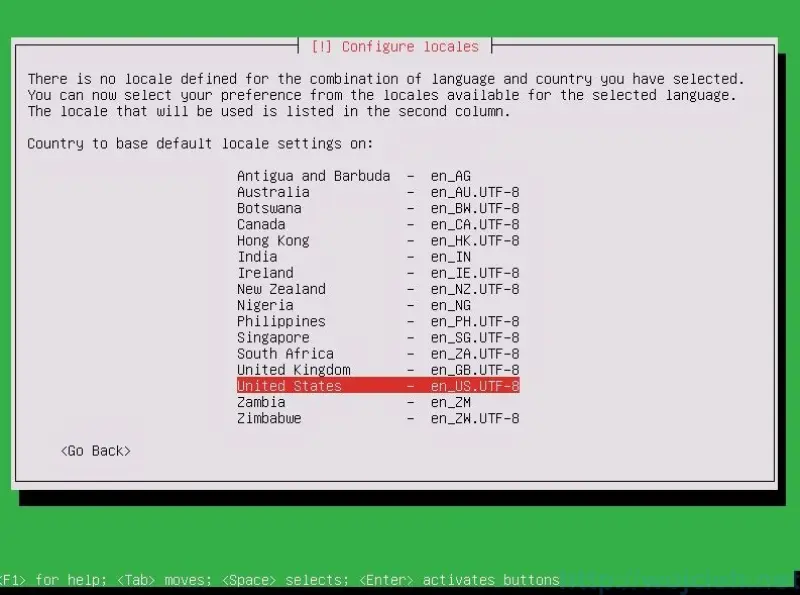 11. We can skip the keyboard layout detection.
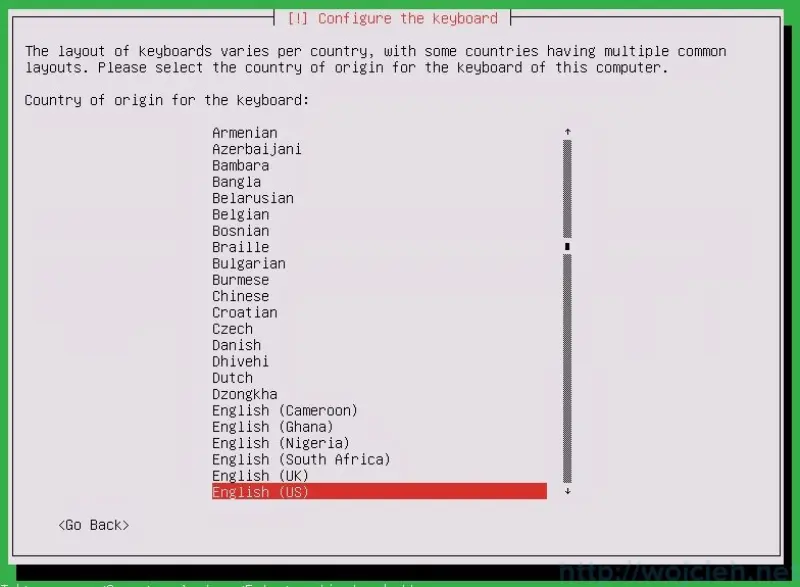
 12. Choose your desired keyboard layout.
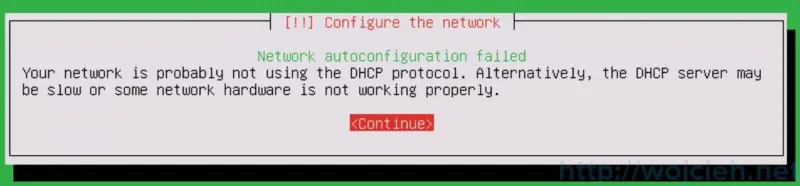
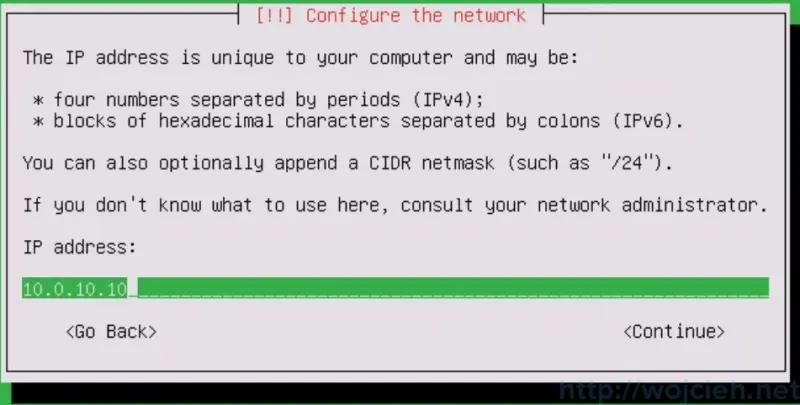
 13. In my case, I am in an isolated network and there isn't a DHCP server. We must provide static IP.
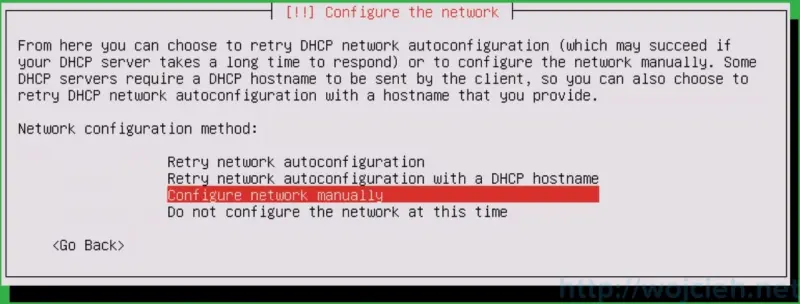
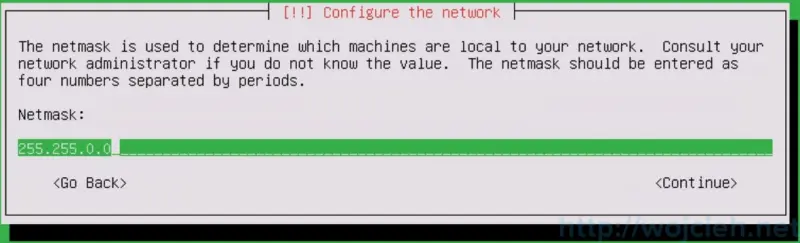
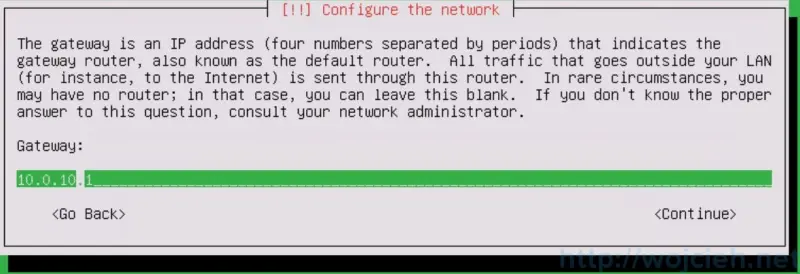
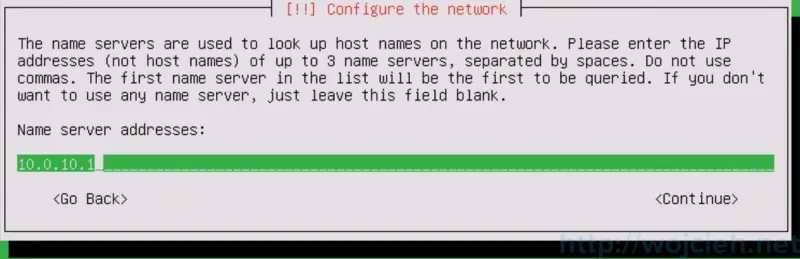
 14. We must enter the static IP configuration.
 15. First IP address.
 16. Then the netmask.
 17. The gateway.
 18. Finally the name server address.
 19. We need to choose a hostname and enter it into the wizard.
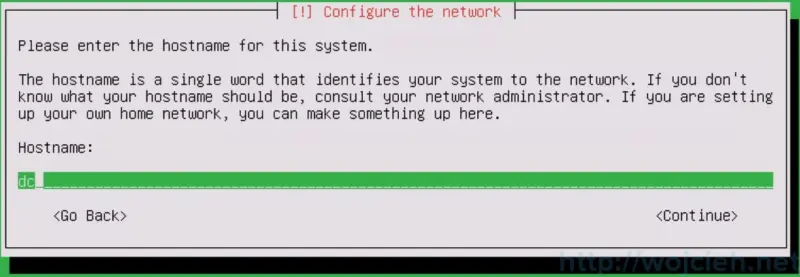 20. The last step from the networking part will be the domain name.
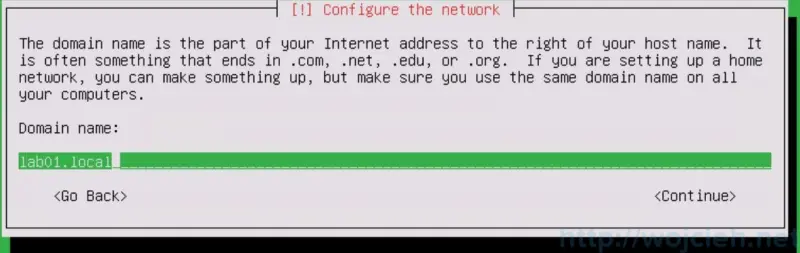 21. In the next step, we have to create a username.
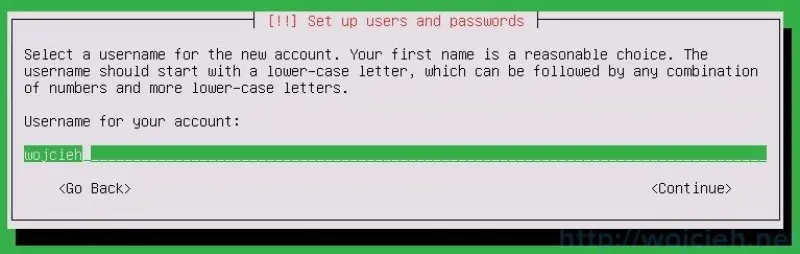 22. Choose a password and confirm it again.
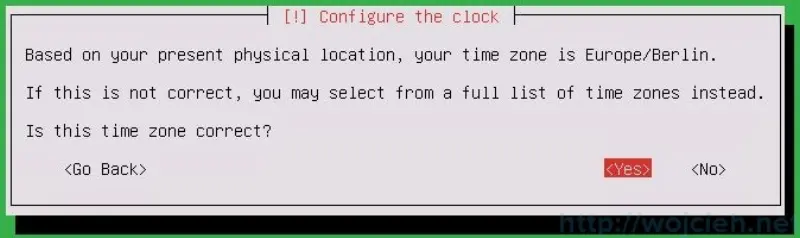
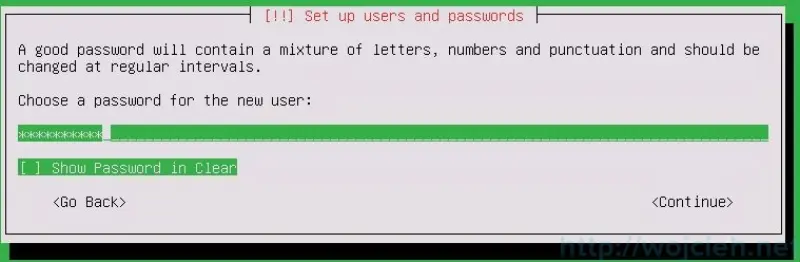 23. Confirm detected timezone.
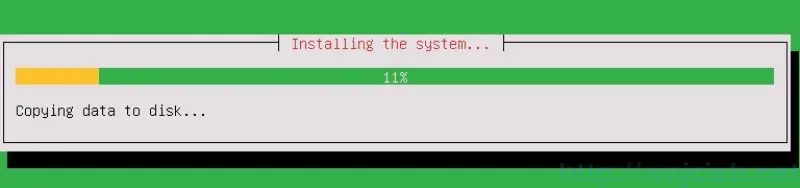
 24. Zentyal will be installed on the disk.
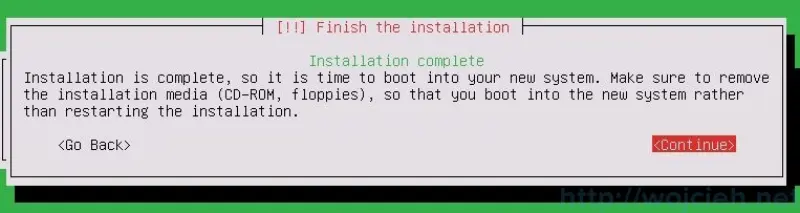
 25. After a few minutes installation will be completed.
 # Zentyal Server configuration
For my homelab, I need the following services: Active Directory and DNS. We will configure those two services in this section.
## Zentyal Server Packages Installation
After the installation, we must install the desired services/packages.
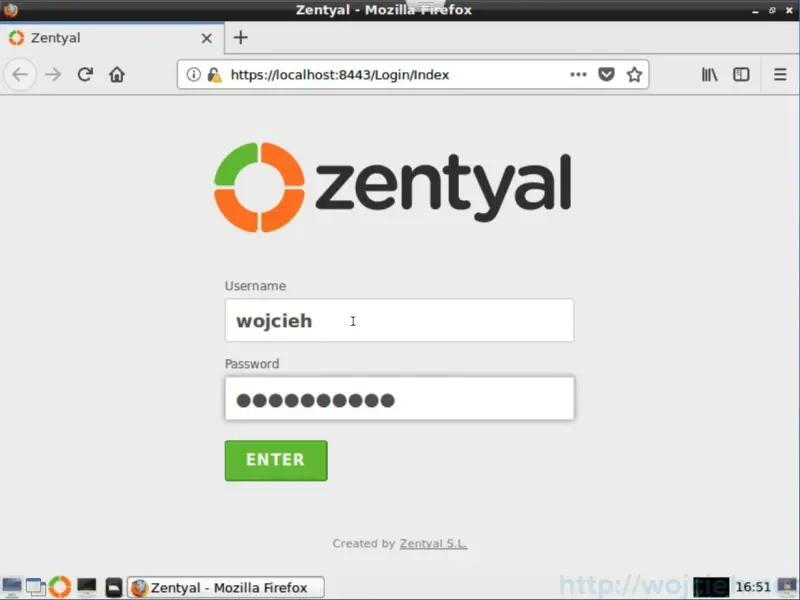
1. Login to the web interface using previously entered username and password.
# Zentyal Server configuration
For my homelab, I need the following services: Active Directory and DNS. We will configure those two services in this section.
## Zentyal Server Packages Installation
After the installation, we must install the desired services/packages.
1. Login to the web interface using previously entered username and password.
 2. Click continue. We must select the services we want to install.
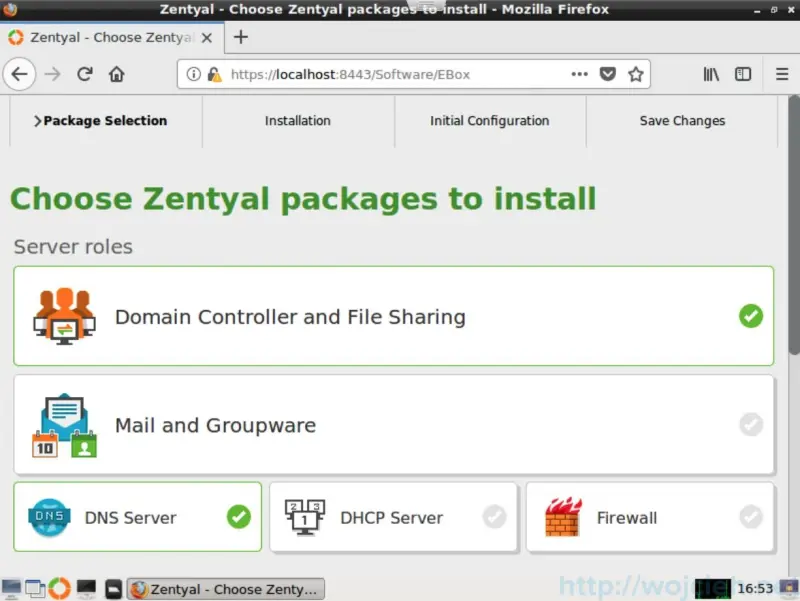 3. Click install. On the next screen, we will see the summary of selected services.
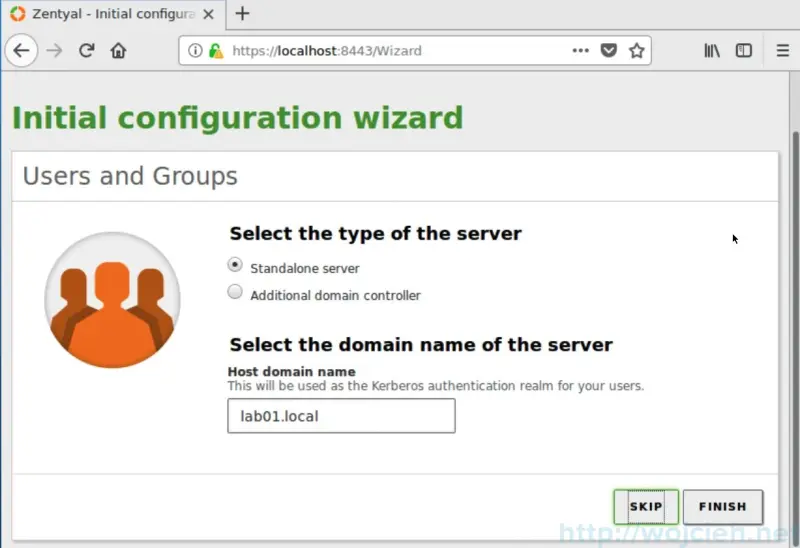
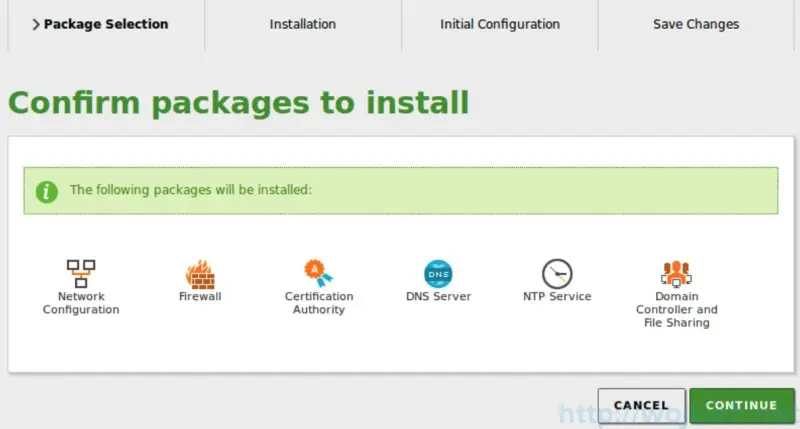 4. Once the packages are installed we are being asked about Active Directory configuration. We need to provide Host domain name.
 ## Zentyal Server Active Directory
1. In order to fully enable Active Directory, we must enable the module.
2. Go to Module Status section and enable **Domain Controller and File Sharing**. Please note that it depends on Network, DNS and NTP modules.
## Zentyal Server Active Directory
1. In order to fully enable Active Directory, we must enable the module.
2. Go to Module Status section and enable **Domain Controller and File Sharing**. Please note that it depends on Network, DNS and NTP modules.
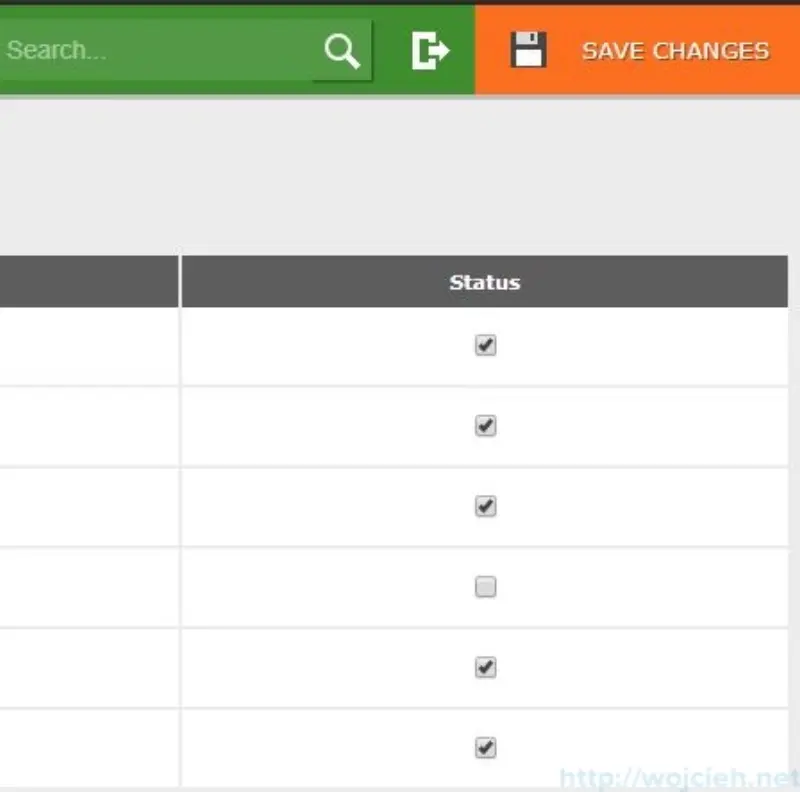
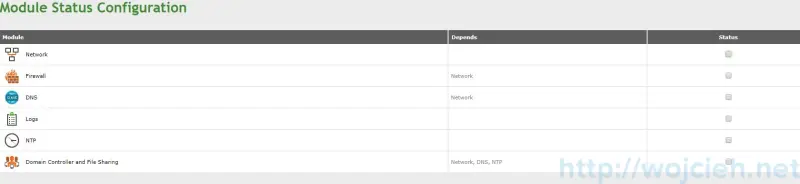 3. The most important part is to click **Save Changes **in the upper right corner.
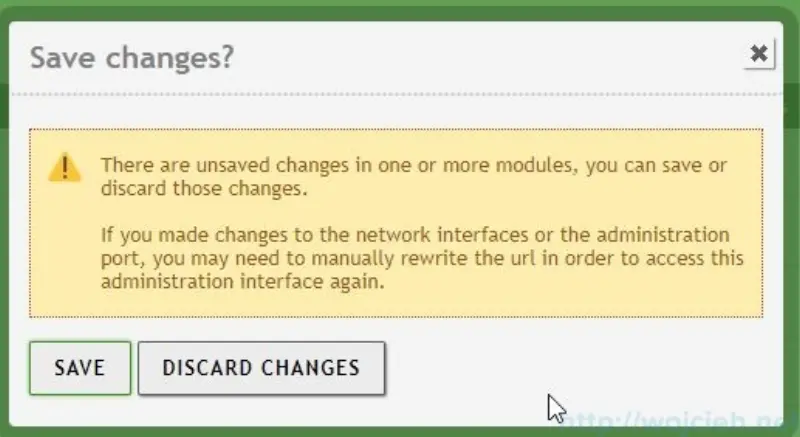
 4. Confirm changes.
 ## Zentyal Server DNS
1. In my case, I will use DNS to host internal homelab DNS entries. In order to add DNS entries go to DNS.
## Zentyal Server DNS
1. In my case, I will use DNS to host internal homelab DNS entries. In order to add DNS entries go to DNS.
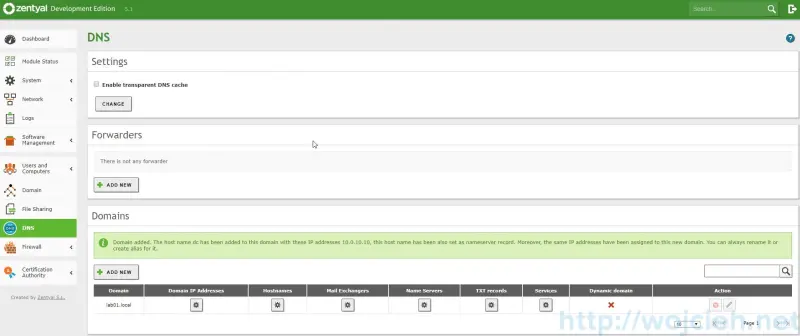 2. Click **Hostnames** and **Add new**.
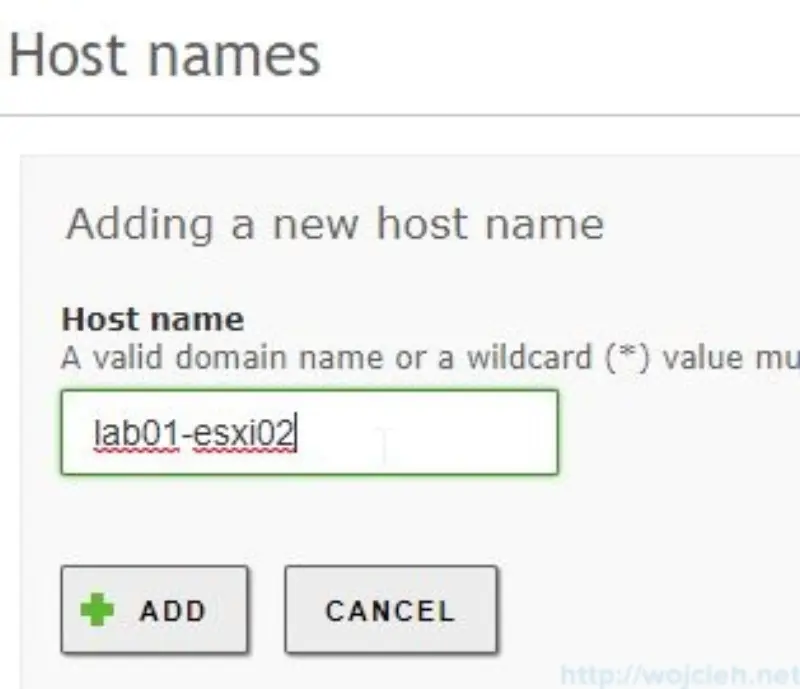 3. Next step is to add IP addresses to DNS entries. Click gearbox on desired DNS entry.
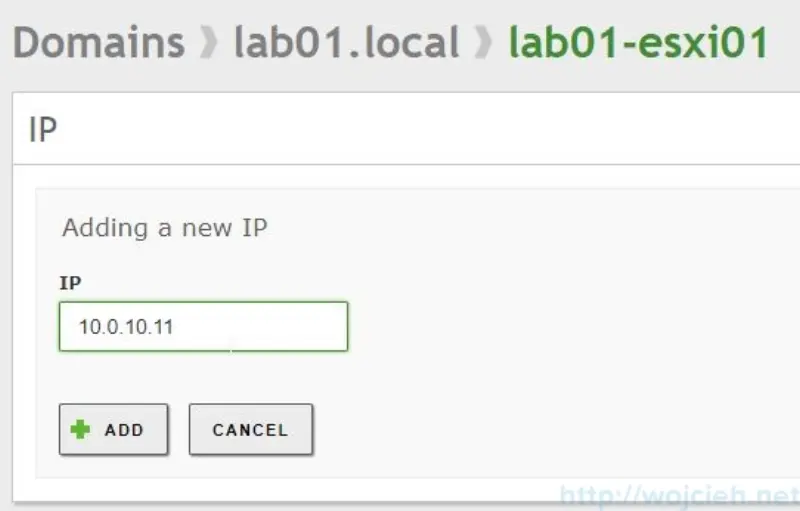 4. The most important part is to Save Changes in the upper right corner.
# Summary
Zentyal is the perfect solution for a Homelab where you want to have open source DNS, Active Directory and many more services. I use it every day and I am really happy.
## Zentyal documentation
Installation wiki https://wiki.zentyal.org/wiki/En/5.0/Installation
4. The most important part is to Save Changes in the upper right corner.
# Summary
Zentyal is the perfect solution for a Homelab where you want to have open source DNS, Active Directory and many more services. I use it every day and I am really happy.
## Zentyal documentation
Installation wiki https://wiki.zentyal.org/wiki/En/5.0/Installation